Publish WebRTC Stream
Publish a WebRTC Live Stream in Android
In this step, we will implement the core functionality of publishing a live WebRTC stream from your Android app. This involves creating the UI, coding an Activity, and updating the manifest file.
Create the UI
-
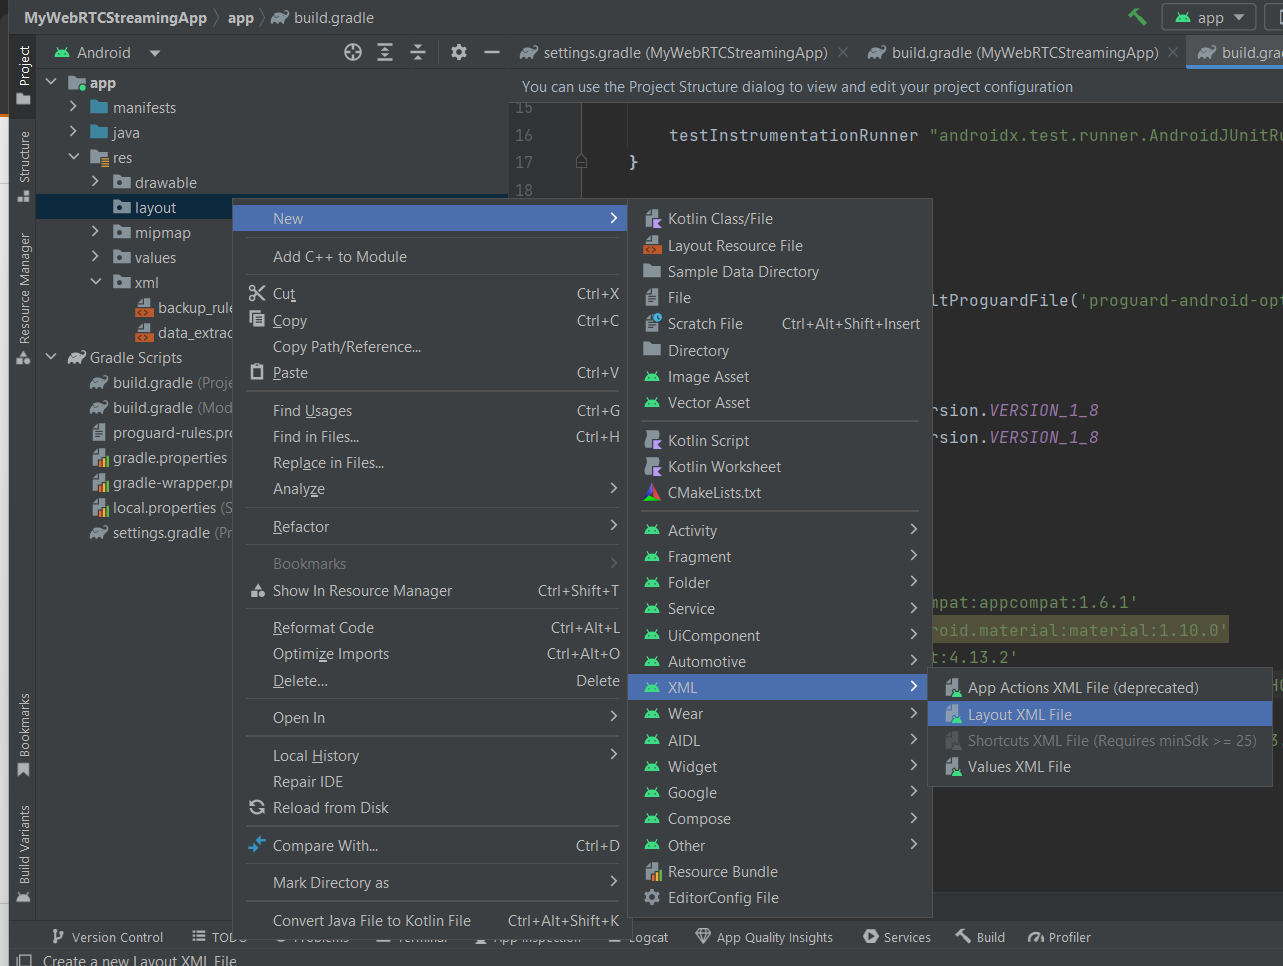
Create a
layoutfolder underresif it does not exist. -
Create an XML layout file, e.g.,
webrtc_streaming.xml. For this app, a simple UI with a singleSurfaceViewRendereris sufficient. This view is provided by the WebRTC Android SDK and will render the camera feed locally.
<?xml version="1.0" encoding="utf-8"?>
<RelativeLayout xmlns:android="http://schemas.android.com/apk/res/android"
    android:layout_width="match_parent"
    android:layout_height="match_parent">
    <org.webrtc.SurfaceViewRenderer
        android:id="@+id/full_screen_renderer"
        android:layout_width="match_parent"
        android:layout_height="match_parent" />

</RelativeLayout>
You can either use the Android Studio UI Designer or copy the above XML directly.
Create the Activity
Create a Java class named WebRTCStreamingActivity that extends Activity. In the onCreate method, build an IWebRTCClient object and call its publish method.
package io.antmedia.mywebrtcstreamingapp;

import android.app.Activity;
import android.os.Bundle;
import io.antmedia.webrtcandroidframework.api.IWebRTCClient;

public class WebRTCStreamingActivity extends Activity {
    @Override
    protected void onCreate(Bundle savedInstanceState) {
        super.onCreate(savedInstanceState);
        setContentView(R.layout.webrtc_streaming);

        IWebRTCClient webRTCClient = IWebRTCClient.builder()
                .setActivity(this)
                .setLocalVideoRenderer(findViewById(R.id.full_screen_renderer))
                .setServerUrl("wss://test.antmedia.io:5443/live/websocket")
                .build();

        webRTCClient.publish("stream1");
    }
}
Edit Android Manifest
Update AndroidManifest.xml to:
-
Set
WebRTCStreamingActivityas the default launcher activity. -
Add required permissions for camera, audio, and network access.
<?xml version="1.0" encoding="utf-8"?>
<manifest xmlns:android="http://schemas.android.com/apk/res/android"
    xmlns:tools="http://schemas.android.com/tools">

    <uses-feature android:name="android.hardware.camera" />
    <uses-feature android:name="android.hardware.camera.autofocus" />
    <uses-feature
        android:glEsVersion="0x00020000"
        android:required="true" />

    <uses-permission android:name="android.permission.ACCESS_NETWORK_STATE" />
    <uses-permission android:name="android.permission.BLUETOOTH" />
    <uses-permission android:name="android.permission.CAMERA" />
    <uses-permission android:name="android.permission.MODIFY_AUDIO_SETTINGS" />
    <uses-permission android:name="android.permission.INTERNET" />
    <uses-permission android:name="android.permission.BLUETOOTH_CONNECT" />

    <application
        android:allowBackup="true"
        android:dataExtractionRules="@xml/data_extraction_rules"
        android:fullBackupContent="@xml/backup_rules"
        android:icon="@mipmap/ic_launcher"
        android:label="@string/app_name"
        android:supportsRtl="true"
        android:theme="@style/Theme.MyWebRTCStreamingApp" >

        <activity android:name=".WebRTCStreamingActivity"
            android:exported="true"
            android:theme="@style/Theme.AppCompat.DayNight">
            <intent-filter>
                <action android:name="android.intent.action.MAIN" />

                <category android:name="android.intent.category.LAUNCHER" />
            </intent-filter>
        </activity>
    </application>
</manifest>
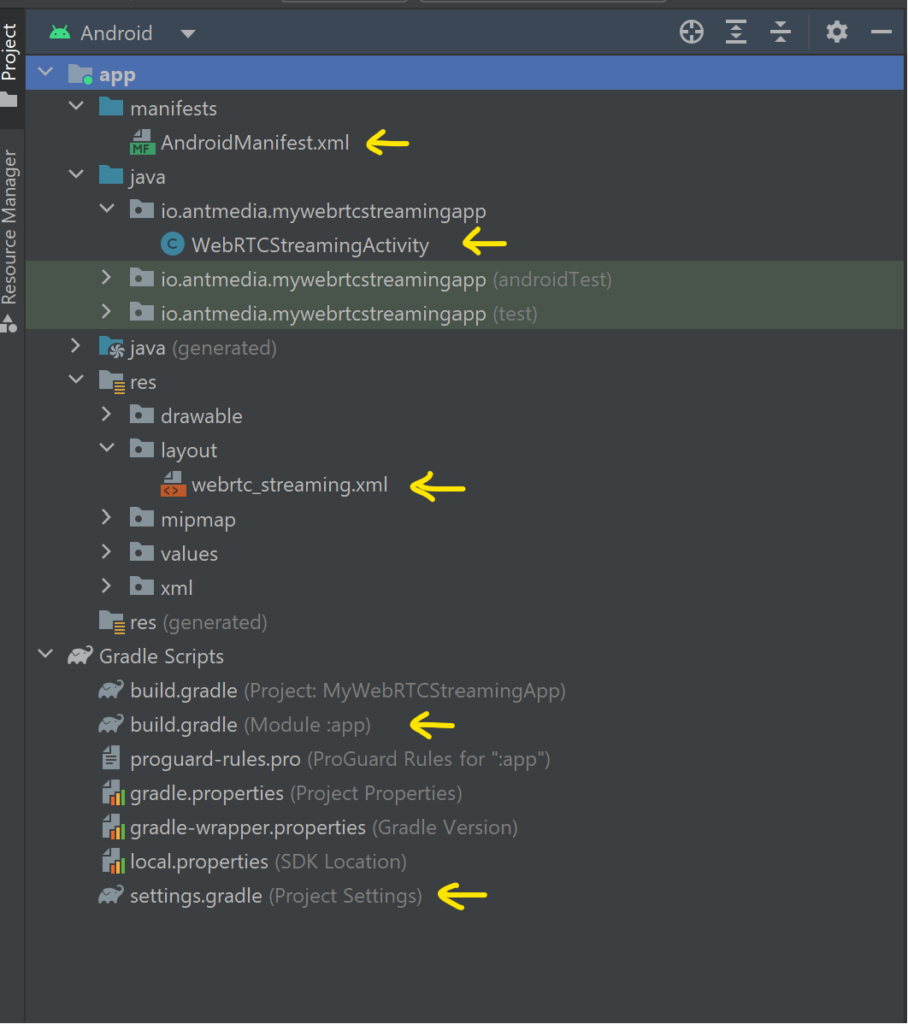
Project Structure and Running the App
The project structure should look like this, highlighting the files we created and modified:
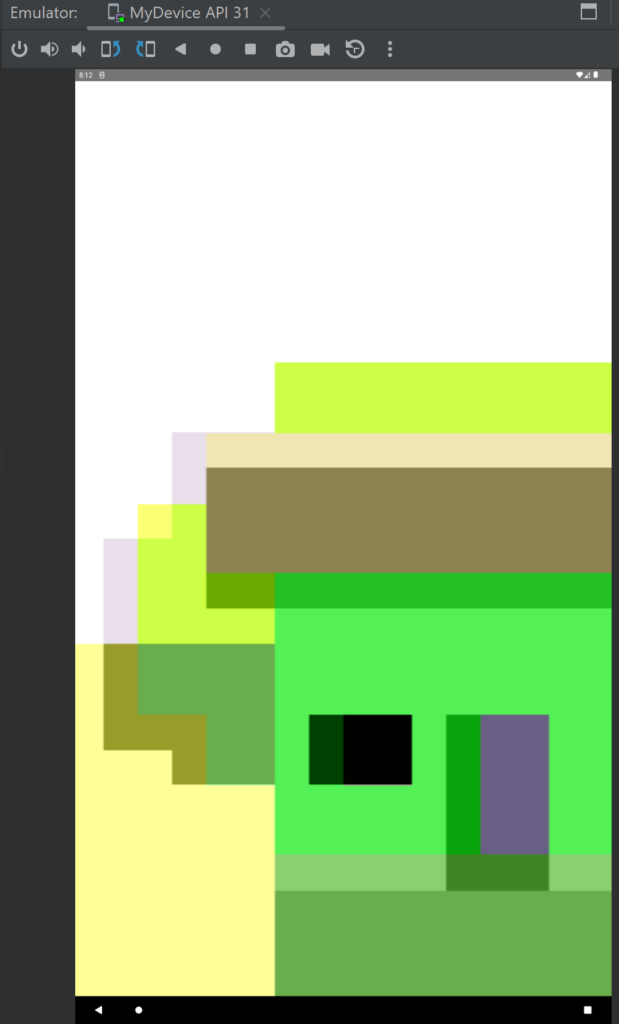
Run the app on an Android emulator or a physical device. Grant permissions when prompted. The app will start streaming automatically:
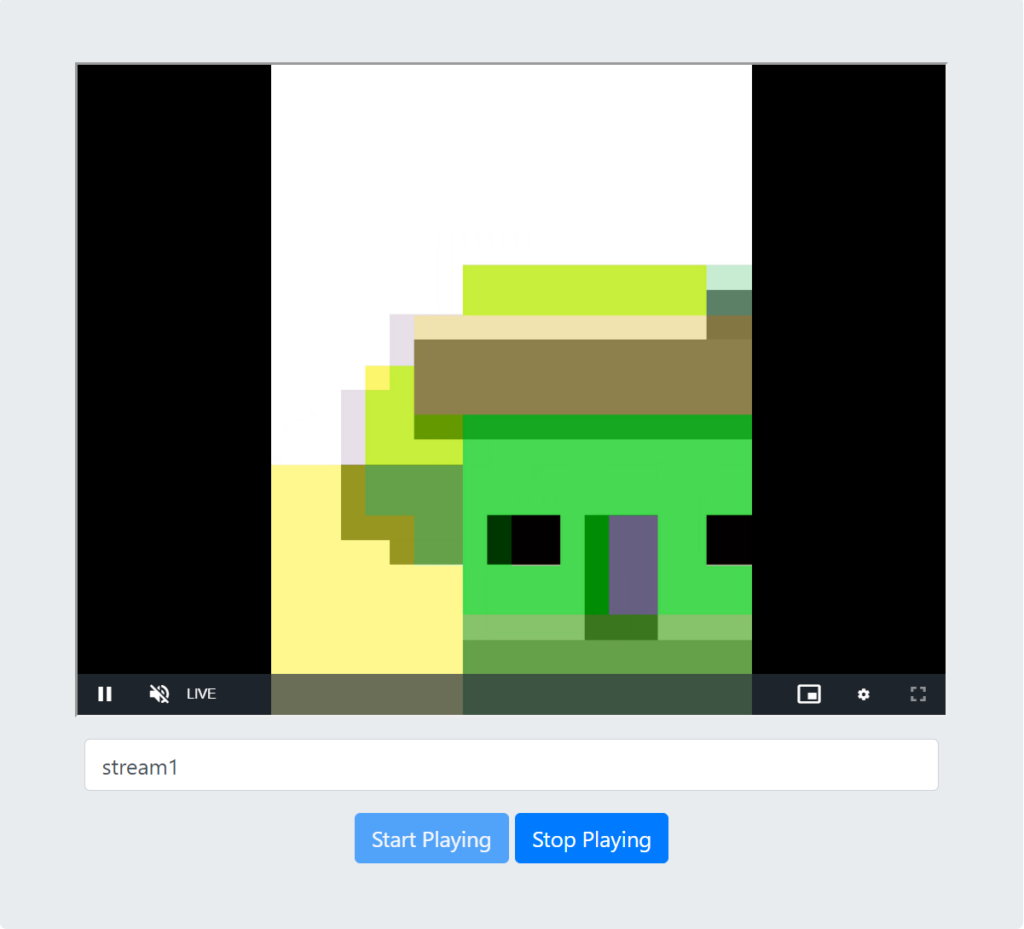
Verify Stream Playback
To view the live stream from your Android app:
-
Enter 'stream1' in the input box.
-
click Start Playing
Congratulations!
Your WebRTC Android Publish Application is now live.
-
You successfully created the UI, implemented the publishing logic, and configured your manifest.
-
You can now stream live video directly from your Android device to Ant Media Server.
On the next page we will explore playing a webrtc stream in a bit more detail.