Publish WebRTC Stream
To build the publishing sample project, follow the steps below:
- Open the /example/src/App.tsx file and update the defaultStreamName variable for streamId and the webSocketUrl variable with your server domain or IP address.

- Open the /examples/android folder and provide read, write, and execute permissions to the gradlew file.
chmod 750 gradlew
- Move to the examples folder, edit the below index.js file as below:
import { AppRegistry } from 'react-native';
import App from './src/App';
//import App from './src/Play';
//import App from './src/Peer';
//import App from './src/Conference';
//import App from './src/Chat';
import { name as appName } from './app.json';
AppRegistry.registerComponent(appName, () => App);
- Run the following commands to install dependencies and run the Publish sample React native app:
npm install
npm run android
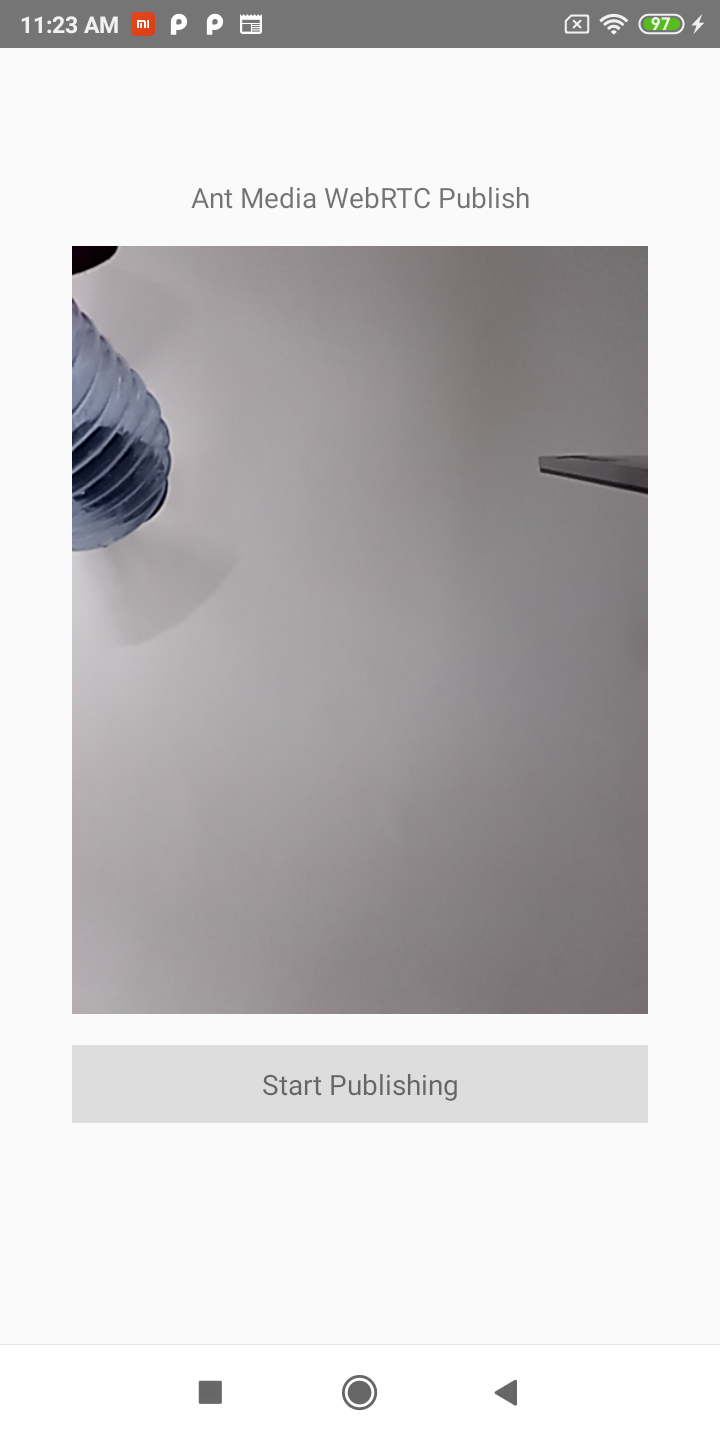
- Click the
Start Publishingbutton on the screen to publish your stream on the server.
-
You can now go to the web panel of Ant Media Server (e.g., http://serverIP:5080) to watch the stream.
-
You can also play the stream via an embedded player. For more details, check this document
Congratulations!
You’ve successfully published your first WebRTC stream from a React Native application! Now your stream is live on the server, and you can watch it on multiple devices. Enjoy experimenting with your live streaming setup and explore all the possibilities of Ant Media’s WebRTC features. Happy streaming!