Publish WebRTC stream in iOS
Step 3: Publish a WebRTC Live Stream in iOS
To publish a WebRTC live stream from your iOS application, follow these steps:
1. Add a UIView in Main.storyboard
-
Open Main.storyboard and go to View > Show Library.
-
Search for UIView in the library search box.
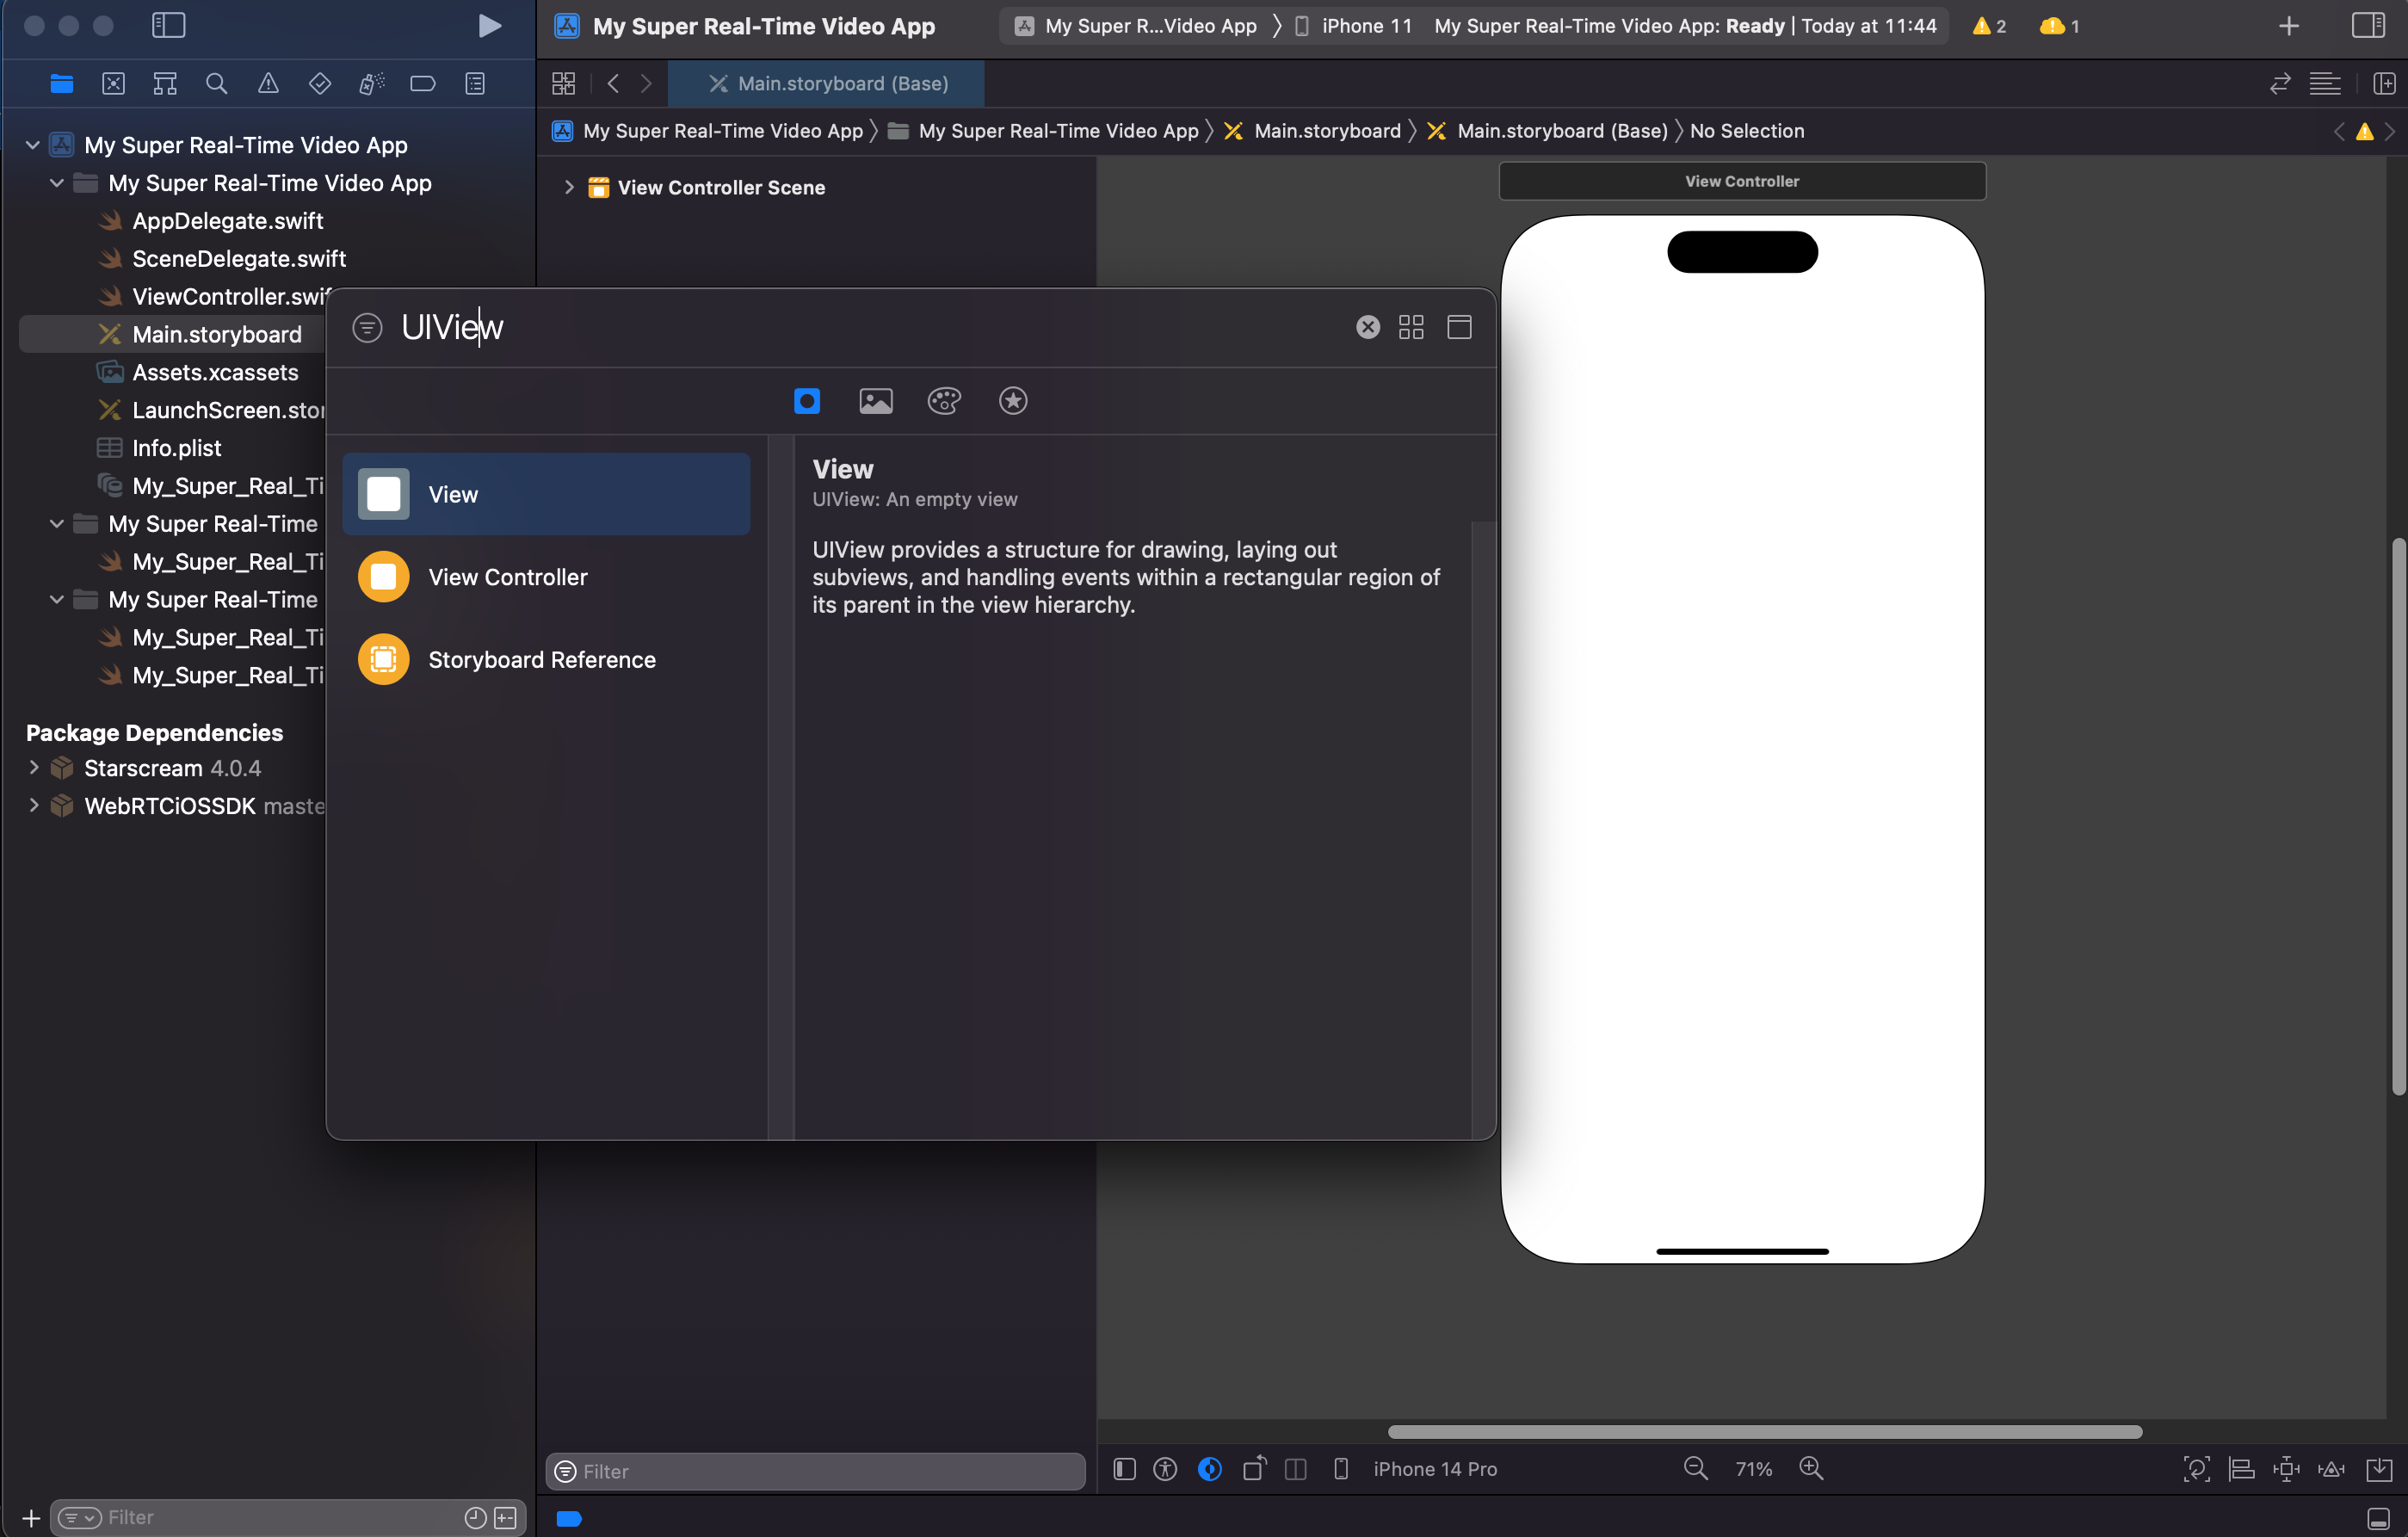
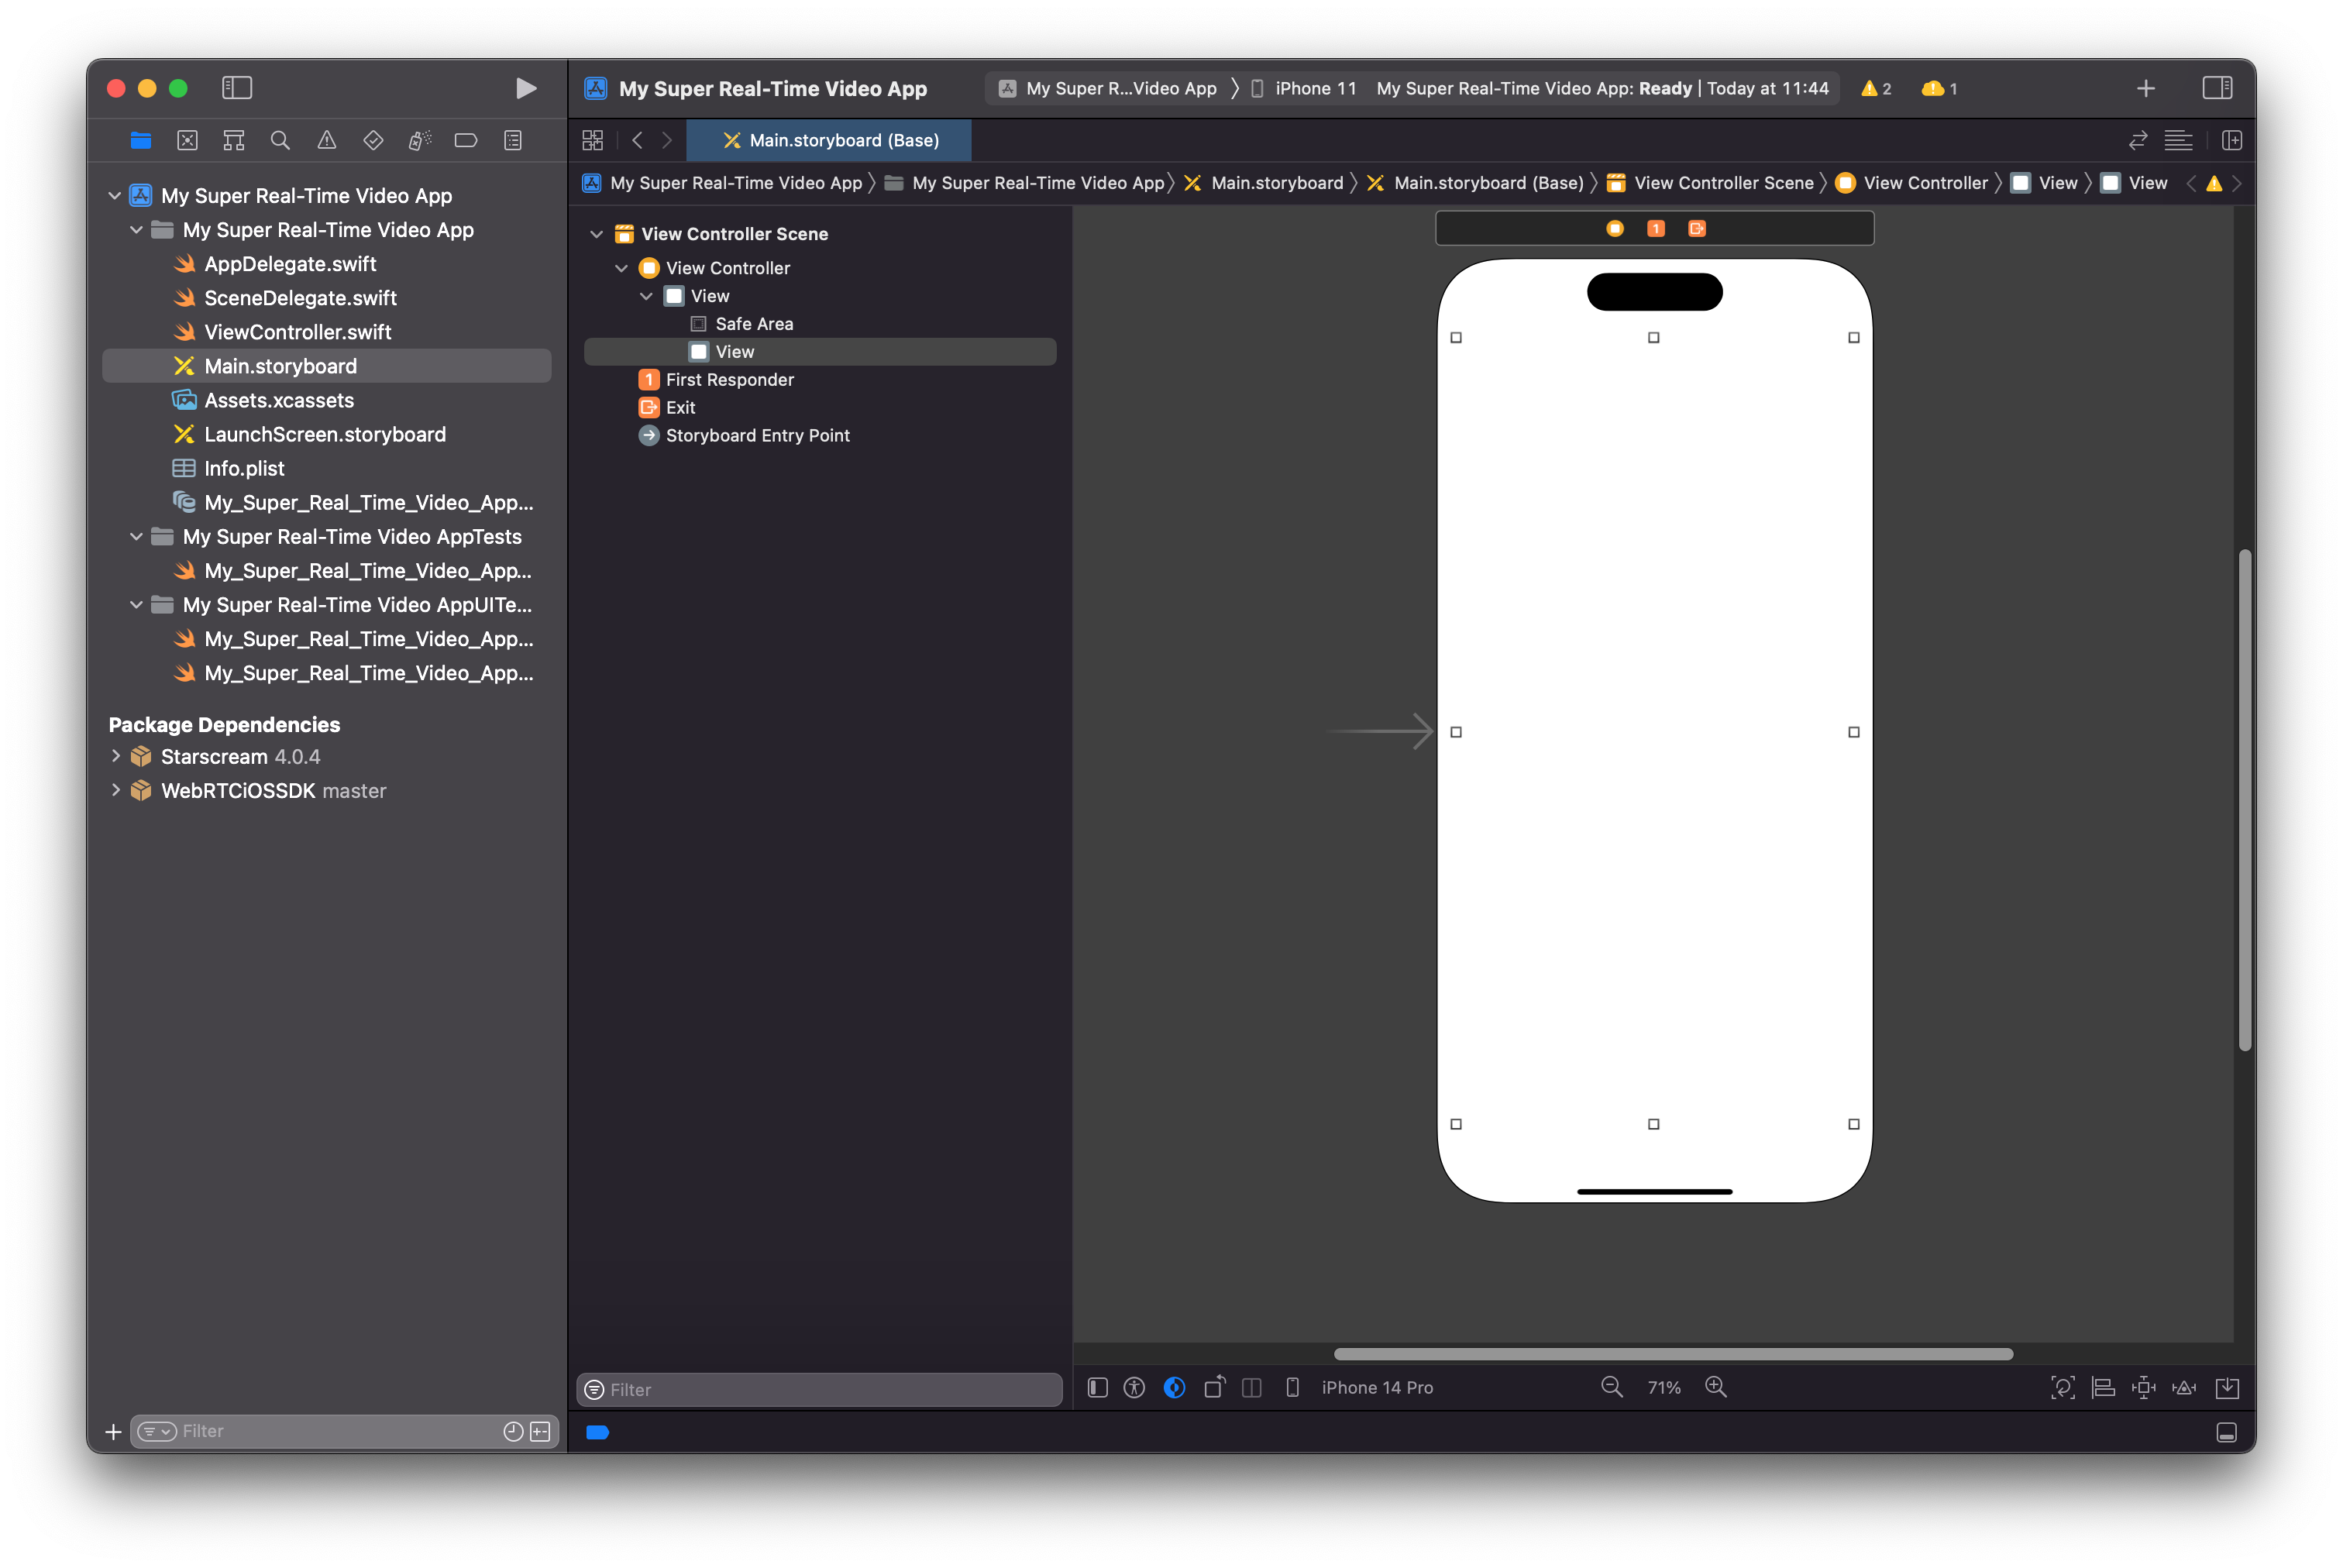
- Drag the UIView onto the storyboard and adjust its size as needed.
2. Connect UIView to ViewController
-
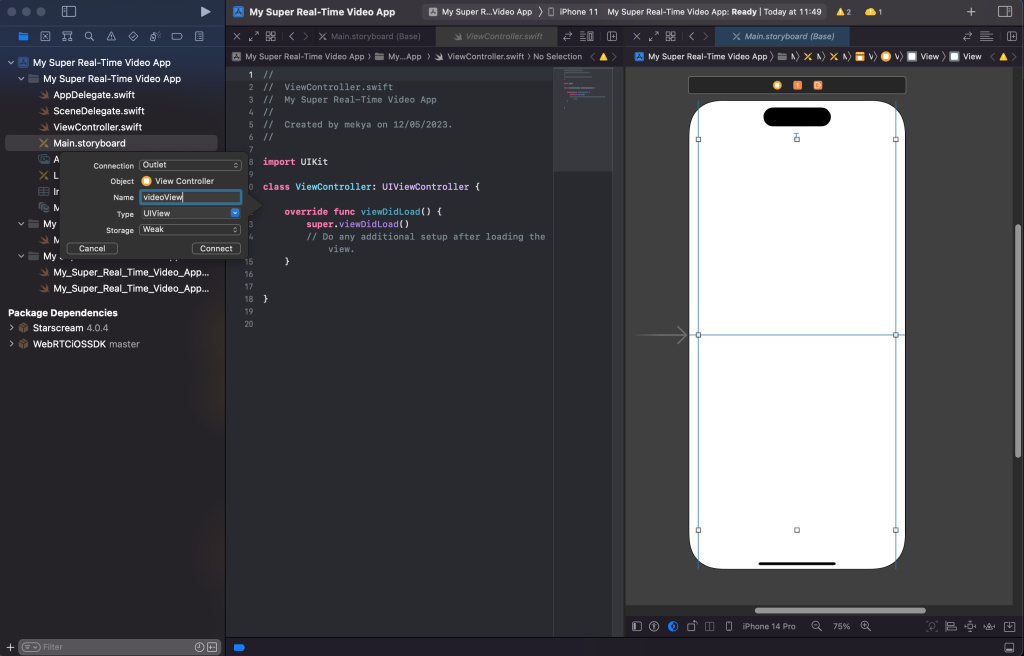
Open two editors: one for Main.storyboard and another for ViewController.swift.
-
Right-click on the UIView in the storyboard, drag it to the ViewController editor, and release the right-click. Name your outlet.
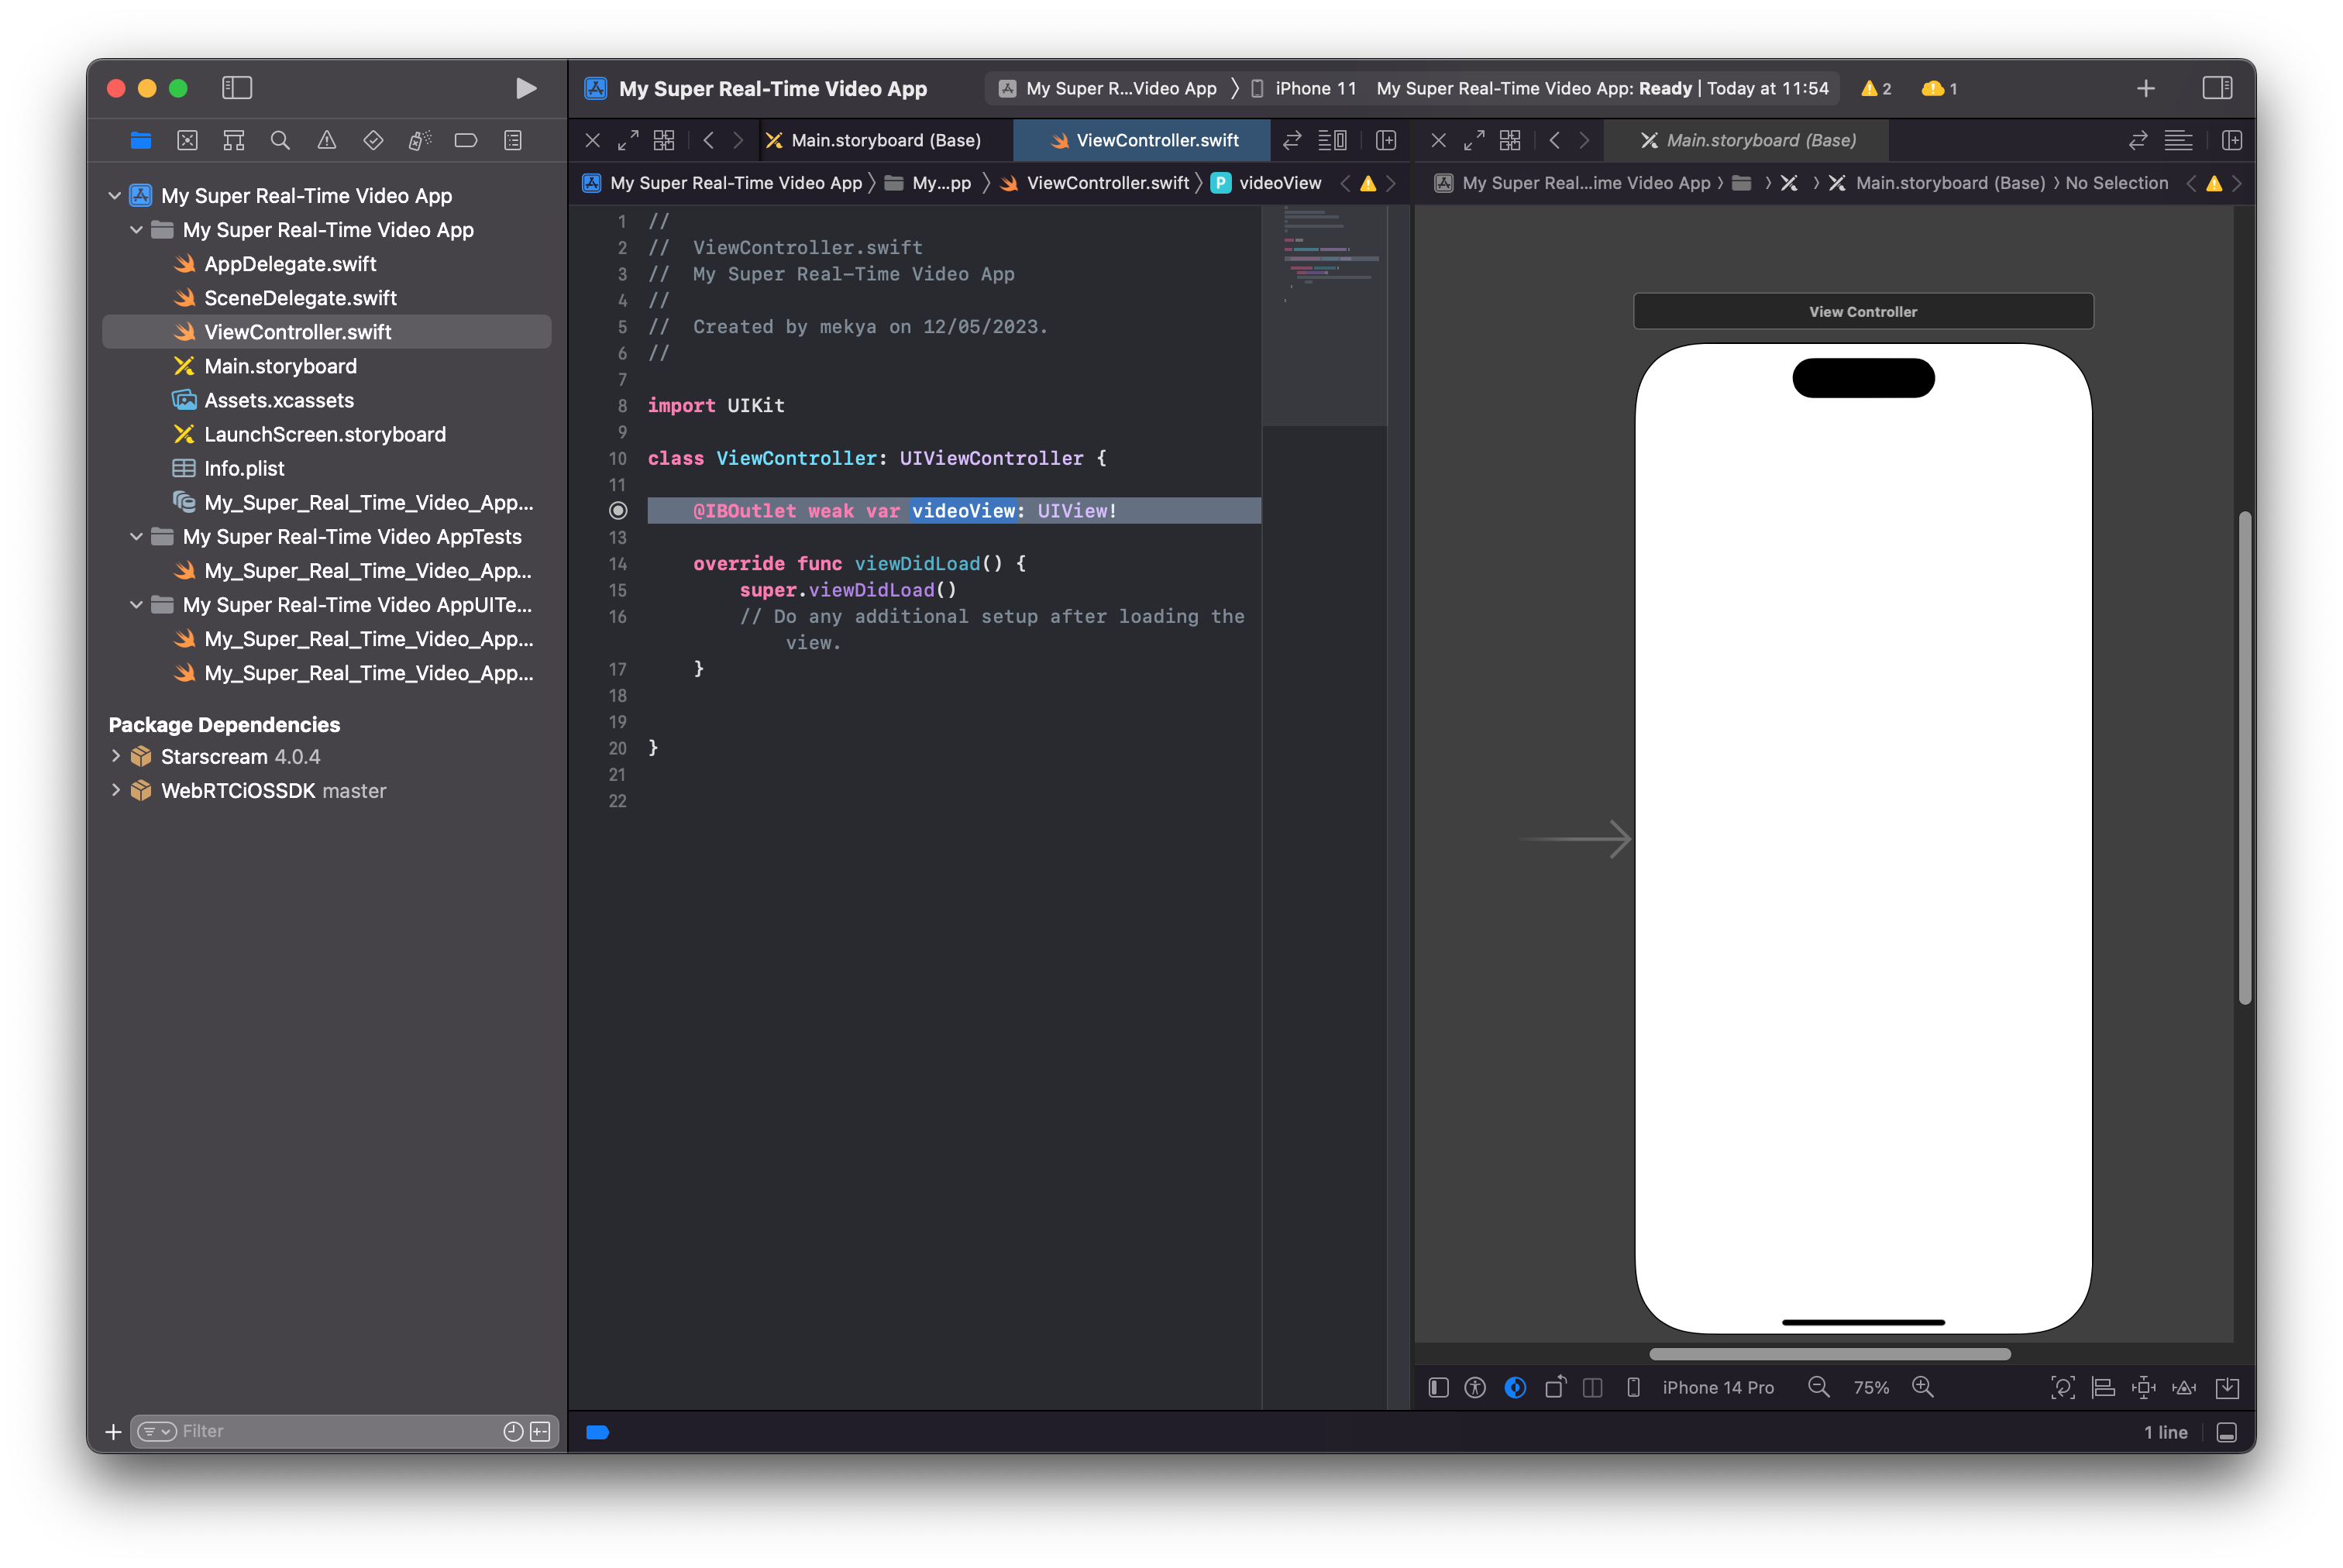
- After connecting, it should look like this:
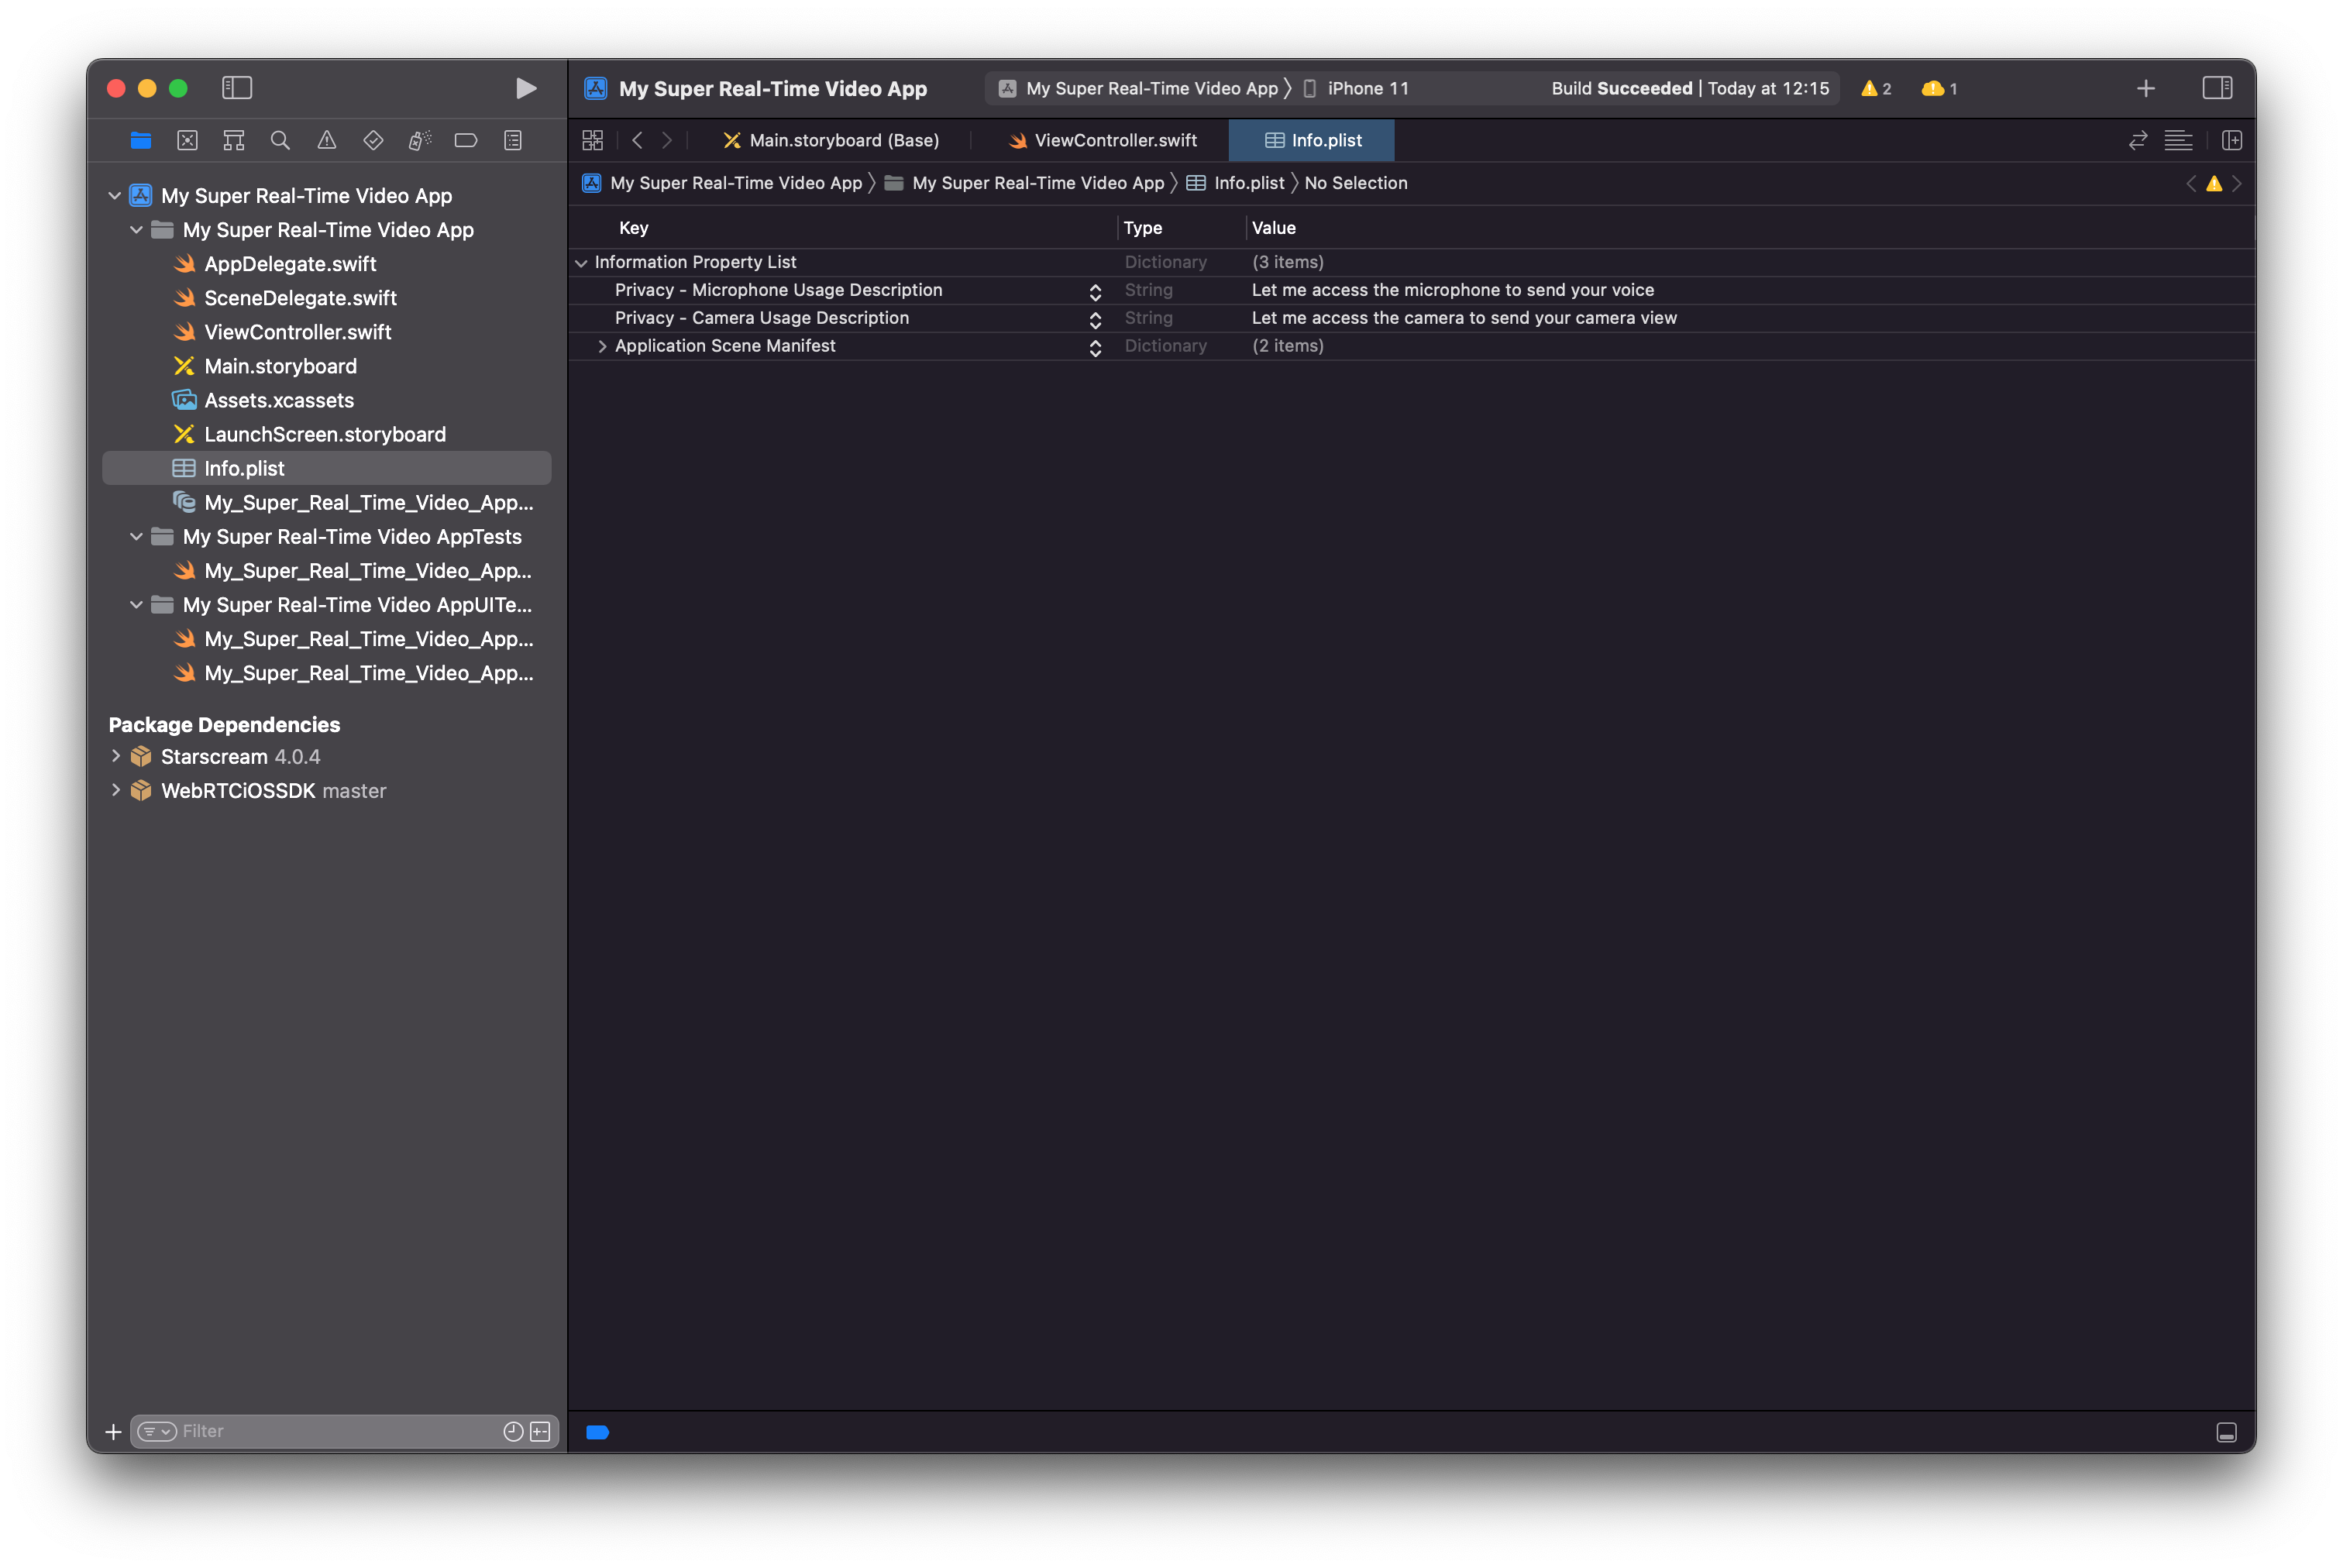
3. Add Privacy Descriptions in Info.plist
-
Right-click Info.plist and select Add Row.
-
Add descriptions for Camera Usage and Microphone Usage.

- Your Info.plist should look like this:
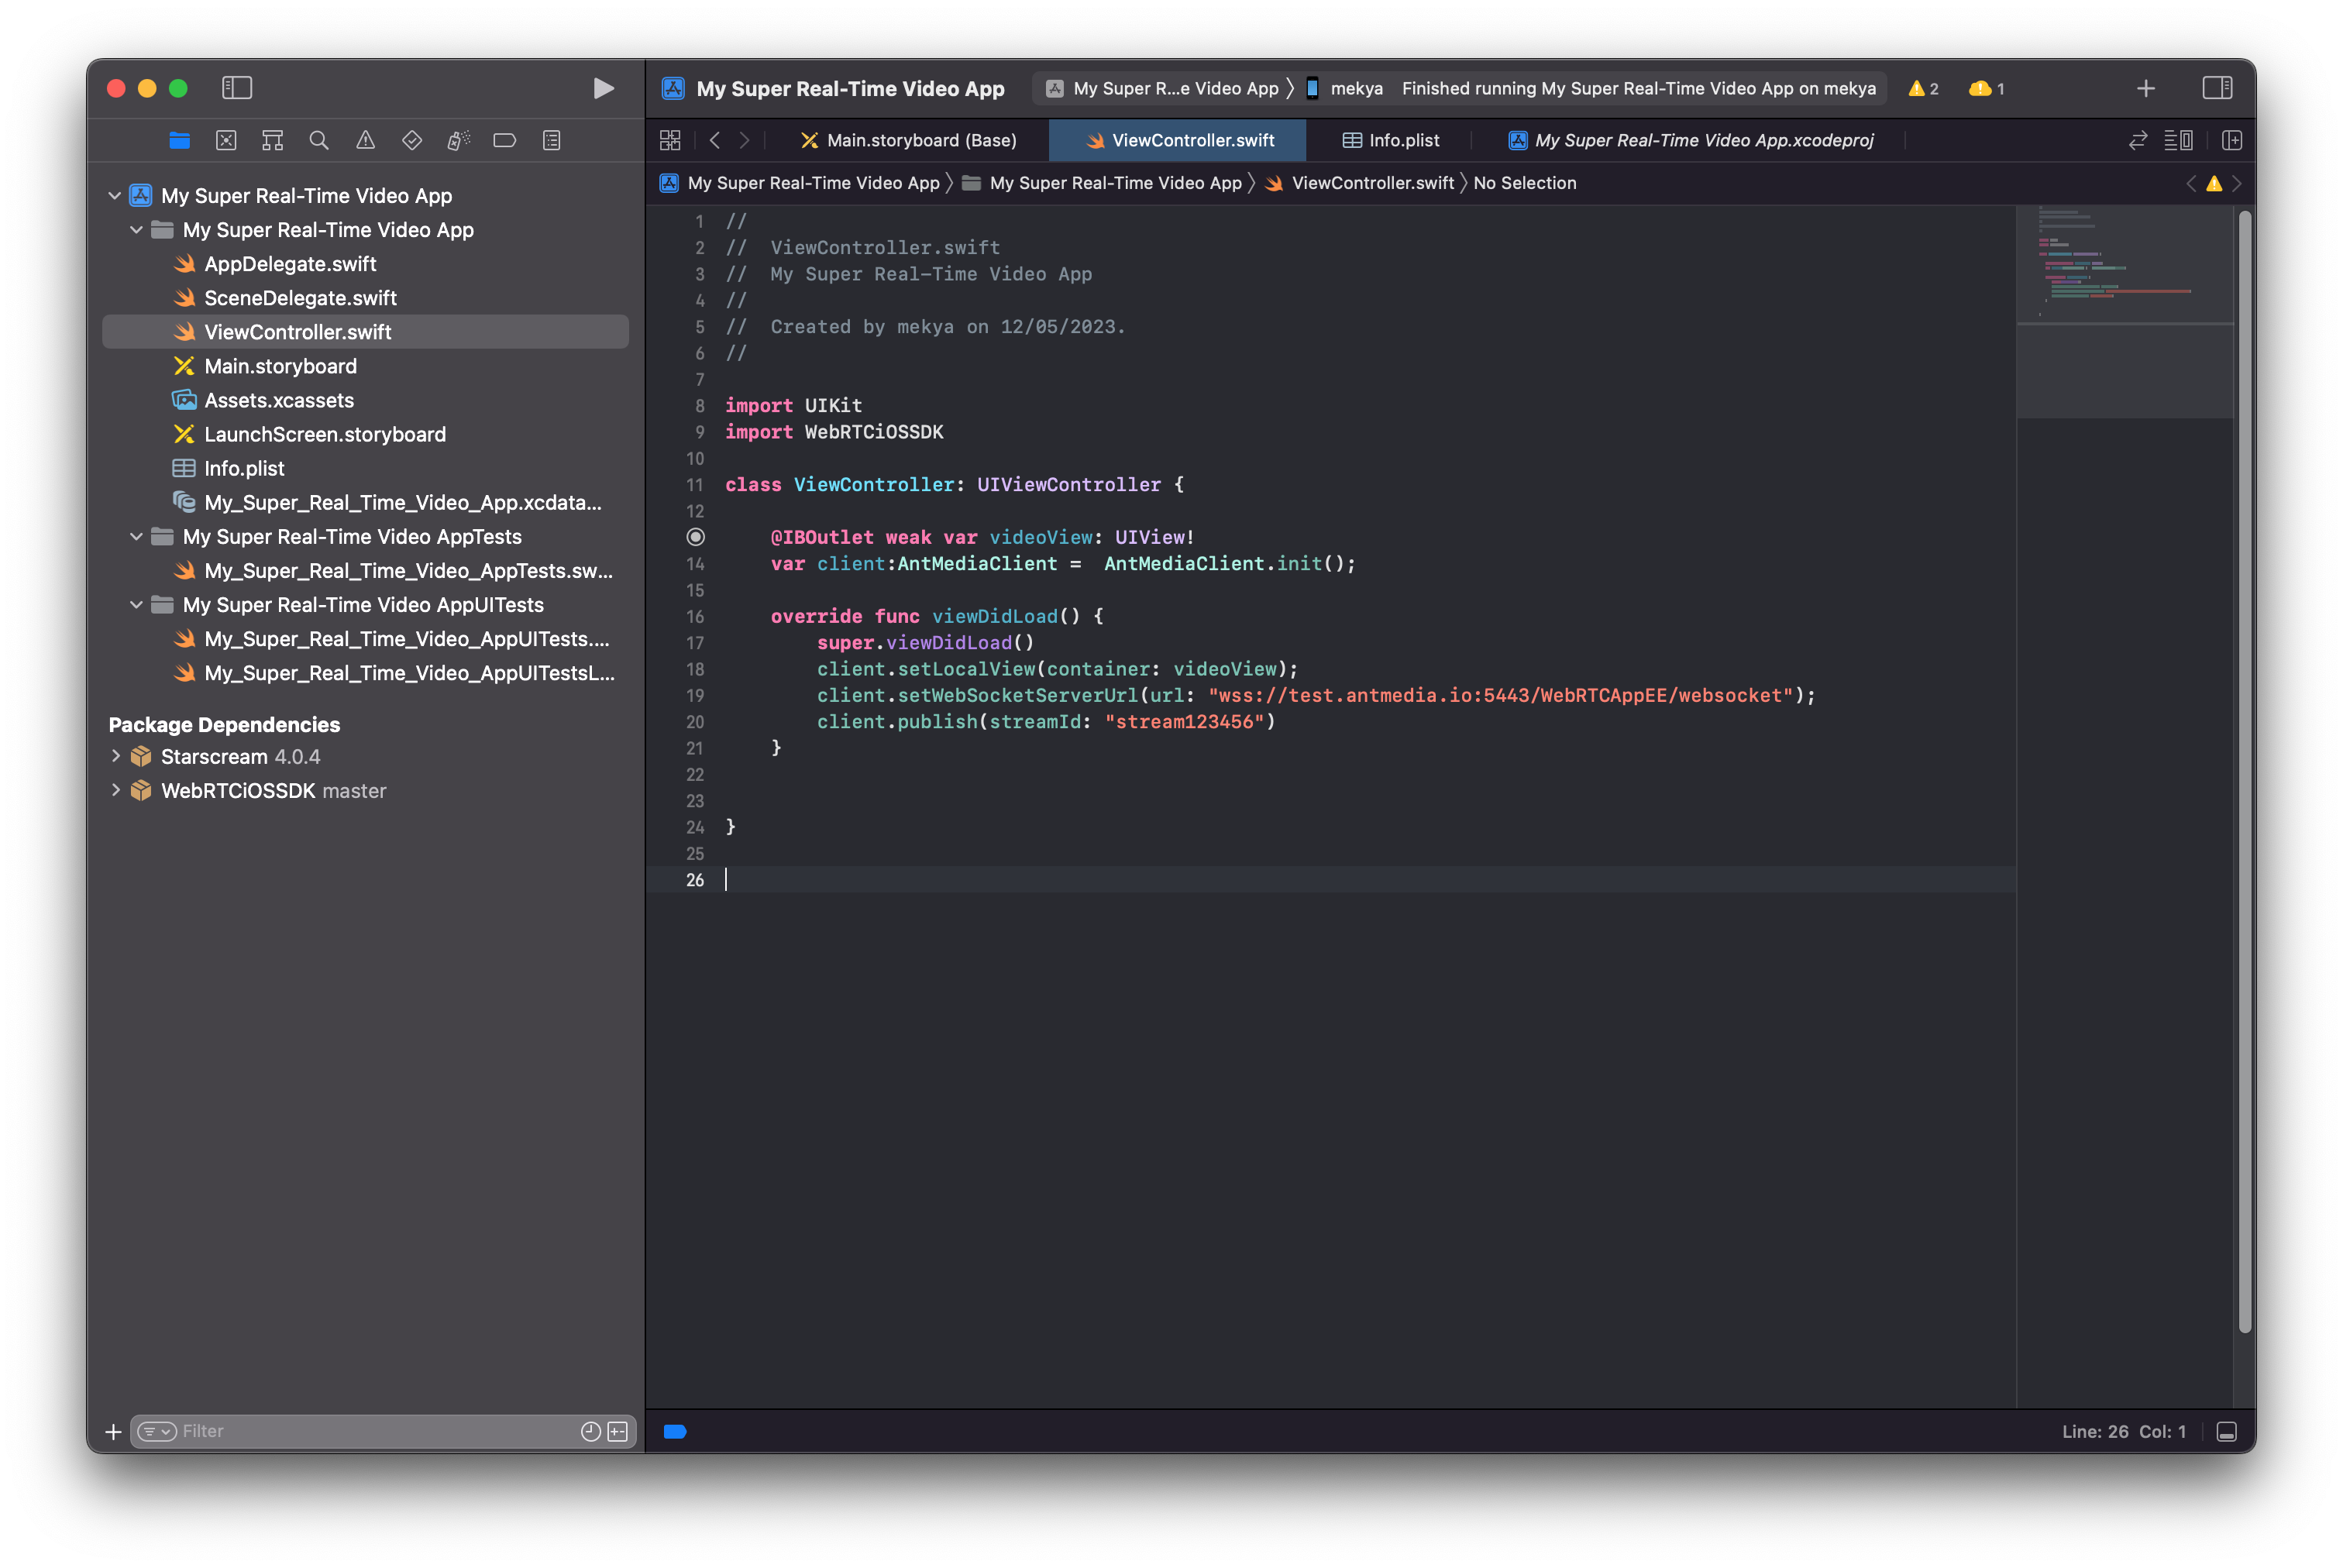
4. Edit ViewController.swift
- Initialize the
AntMediaClient, set the WebSocket URL, and callpublishwith astreamId.
import UIKit
import WebRTCiOSSDK

class ViewController: UIViewController {

    @IBOutlet weak var videoView: UIView!
    var client:AntMediaClient =  AntMediaClient.init();

    override func viewDidLoad() {
        super.viewDidLoad()
        client.setLocalView(container: videoView);
        client.setWebSocketServerUrl(url: "wss://test.antmedia.io:5443/WebRTCAppEE/websocket");
        client.publish(streamId: "stream123456")
    }
}
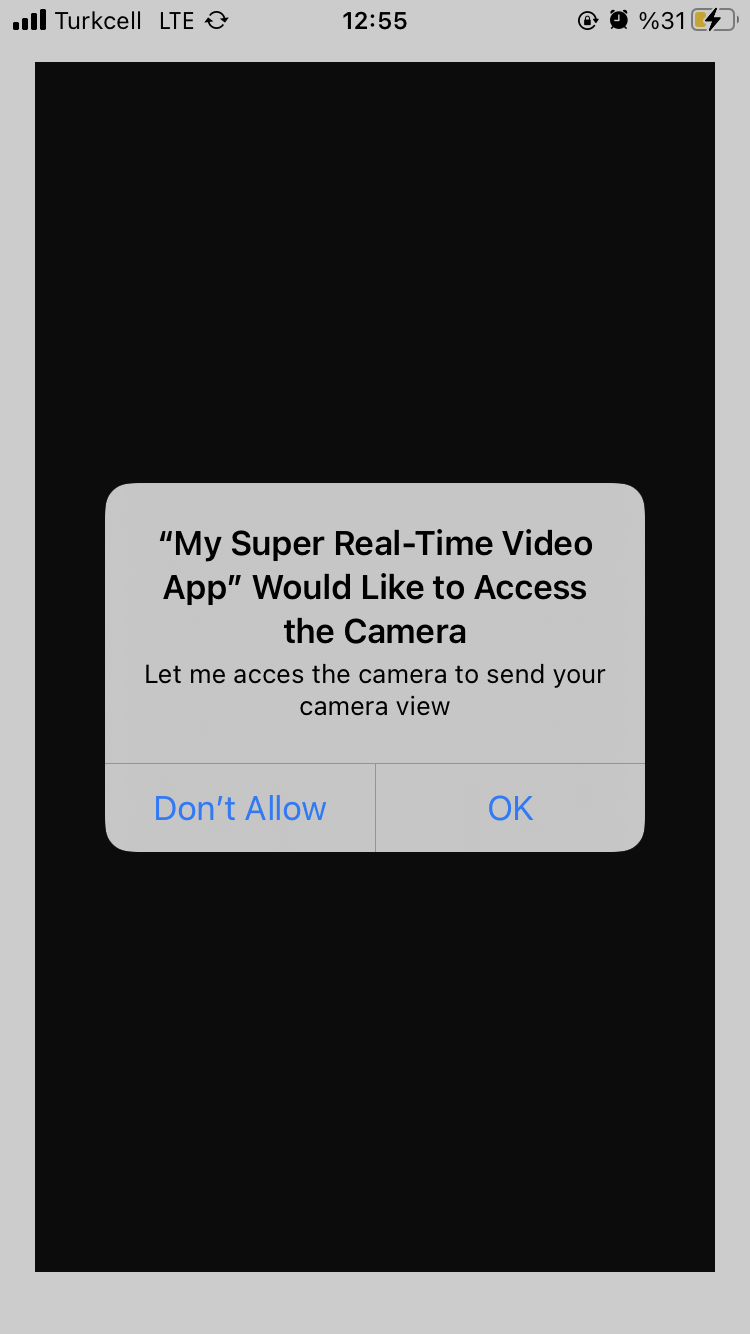
5. Run Your Application
- Launch your app on a real iOS device and grant Camera and Microphone permissions.
6. Congratulations!
- You are now publishing a live WebRTC stream from your iOS device.

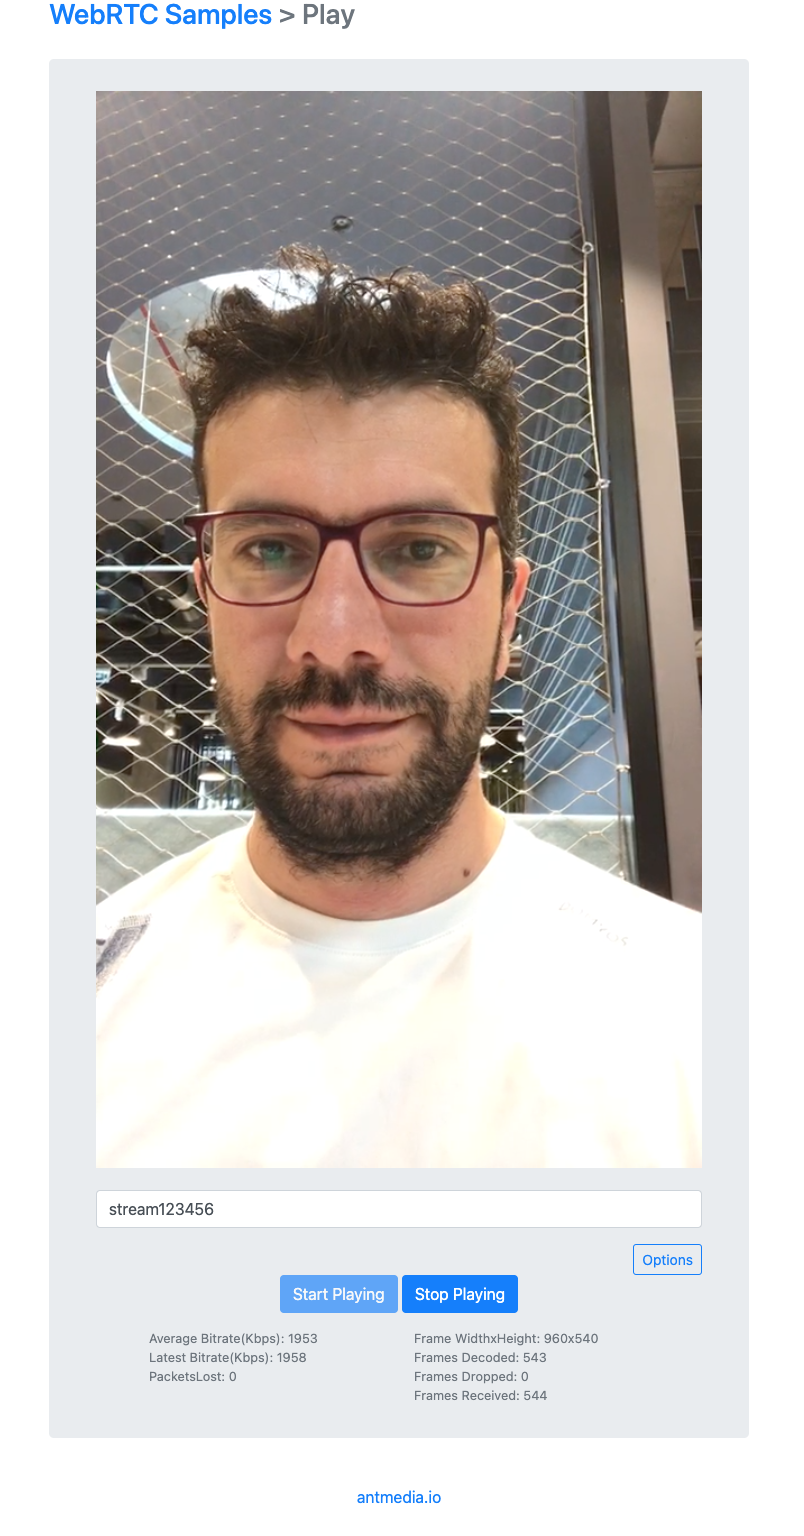
7. Play the Stream
To verify the stream, visit Ant Media’s Test WebRTC Player, enter the streamId "stream123456", and click Start Playing.
You now have a fully working iOS app capable of publishing WebRTC streams. You can continue exploring features like playing streams and screen sharing using our SDK.