Auto-Managed Service: Live Streaming, Simplified
Live streaming is powerful — but managing it is not. Scaling infrastructure, handling peak traffic, ensuring low latency, and paying for idle servers can quickly become overwhelming. Many teams spend more time managing infrastructure than building their product.
Ant Media’s Auto‑Managed Live Streaming Service solves these challenges. It provides a fully managed, scalable, pay-only-when-you-use platform on AWS that gives you complete control over your content — without the operational overhead.
Whether you are a developer, a product team, or a streaming company, this service allows you to focus on what matters: delivering seamless, real-time streaming experiences to your users.
Why Auto‑Managed Live Streaming Service Matters
Modern live streaming faces three main pain points:
-
Operational Complexity Scaling servers, handling failures, and managing clusters is time-consuming and error-prone.
-
Hidden Costs Traditional platforms bill continuously, even when streams are idle, leading to wasted resources.
-
Limited Control & Flexibility Many solutions lock your data or restrict how you can build custom workflows, analytics, or integrations.
Auto‑Managed Live Streaming Service addresses all three: it automatically scales, charges only for active usage, and provides full ownership and flexibility over your streaming workflows.
Why Use Auto-Managed Service
| Feature | Why It Matters |
|---|---|
| Automatic Scaling | Spin up resources on demand; no manual server setup required. |
| Usage-Based Billing | Idle periods cost nothing; you pay only when streaming. |
| Full Content Ownership | Streams are encrypted and fully under your control. |
| SDKs & APIs | Easy integration with web and mobile apps. |
| Custom Workflow Support | Add AI, analytics, recording, or moderation pipelines as needed. |
| 24/7 Developer Support | Help is always available for implementation or troubleshooting. |
Result: Teams can achieve up to 5× cost savings compared to always-on setups, without sacrificing quality or control.
How It Works: Step-by-Step
Here’s a clear path to enable and use the Auto‑Managed Live Streaming Service.
Step 1: Subscribe Ant Media Server via AWS Marketplace
-
Visit the Ant Media Server listing in AWS Marketplace and click
View purchase options.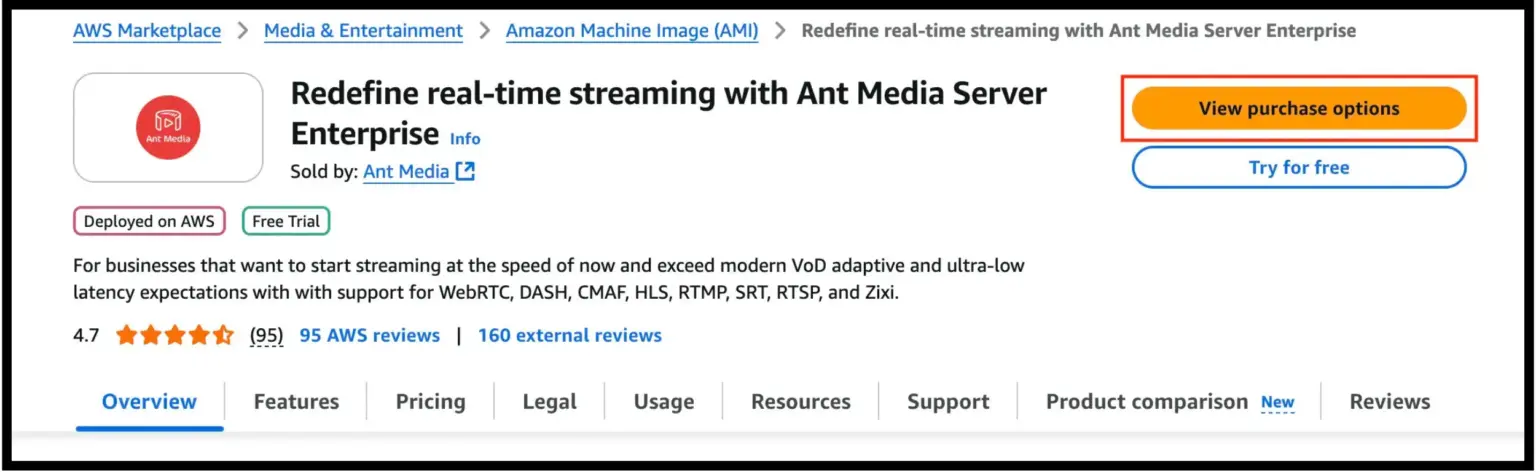
-
Click
Subscribe— no charges are incurred until usage begins.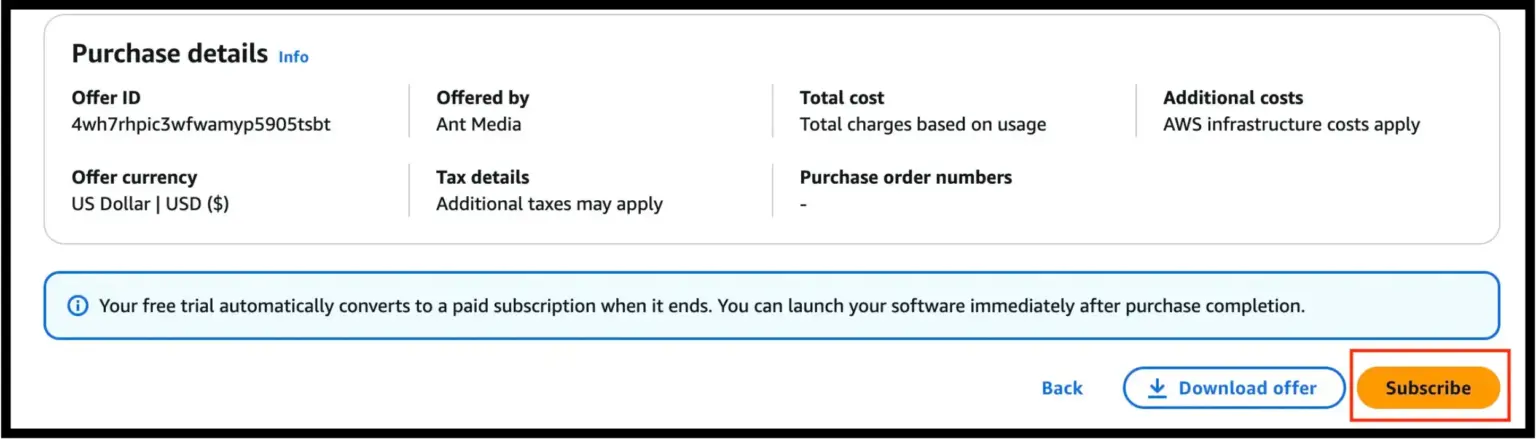
-
Wait for confirmation that your subscription is active.
Step 2: Deploy with CloudFormation
-
Download the CloudFormation template from Ant Media.
-
In the AWS Console, go to AWS CloudFormation > Stacks.
-
Click
Create StackwithNew Resourcesoption. -
Focus on
Specify Templateand chooseUpload a Template Fileand Upload the CloudFormation Template you have just downloaded. Then clickNext.
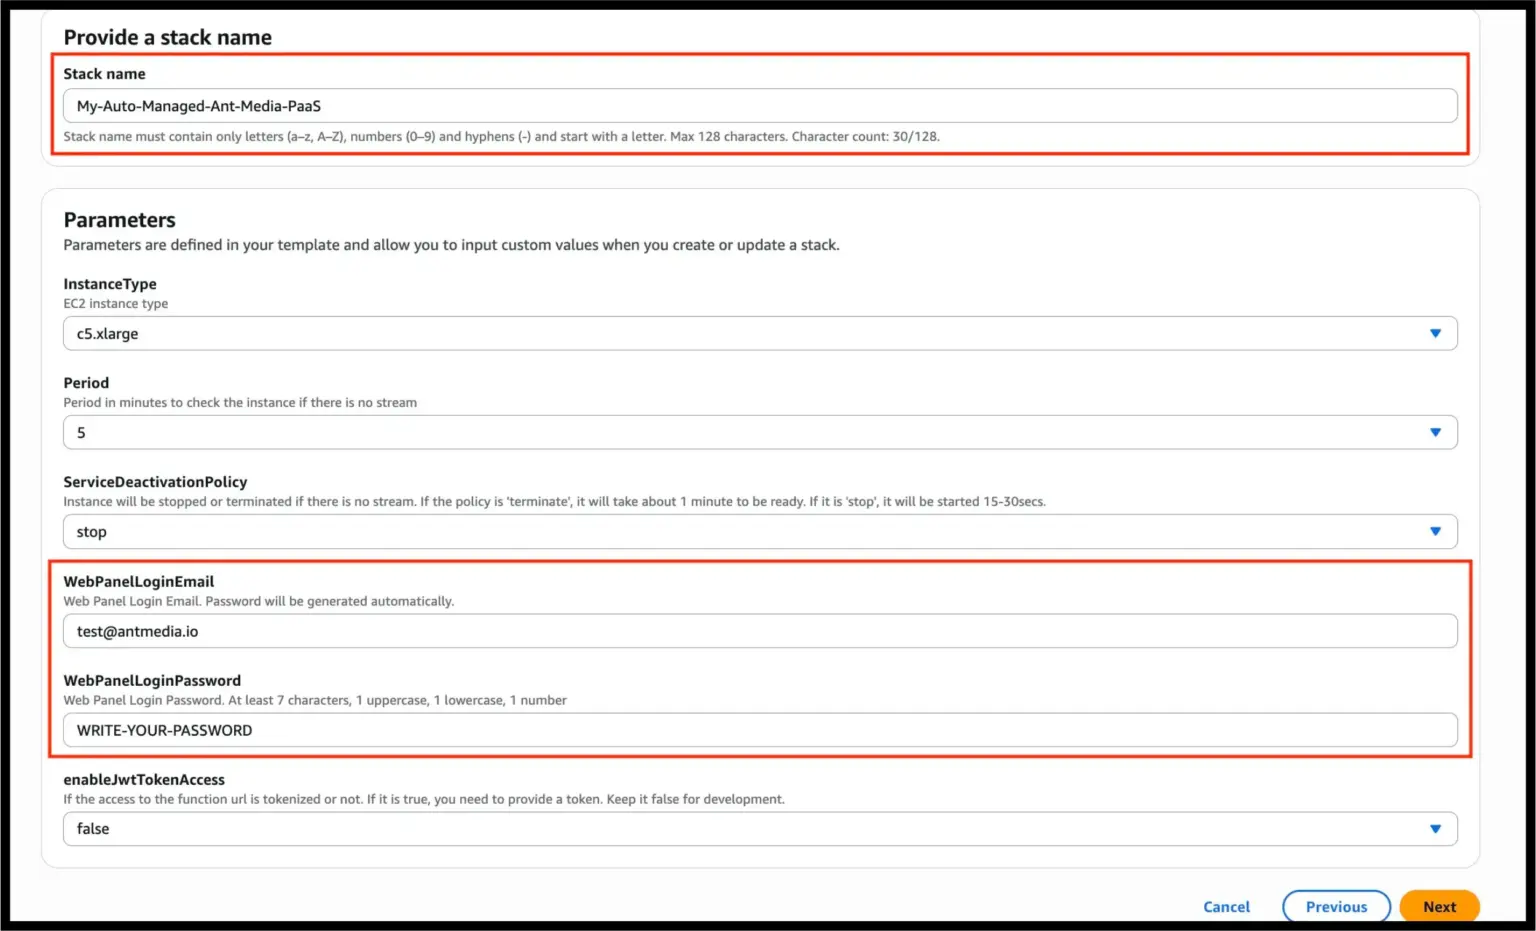
-
Fill in required parameters (
Stack name, Web PanelEmail,Password, etc.) and clickNext.
Note: The Period value specifies the time after which the instance will stop/terminate if there is no stream on the server.
For example, the default value is 3, which implies that if there is no stream for 3 minutes, the server would stop/terminate.
-
click
Nextfor the other pages, andSubmit. -
Deployment takes ~5 minutes.
-
Copy the Lambda URL endpoint from the stack outputs.
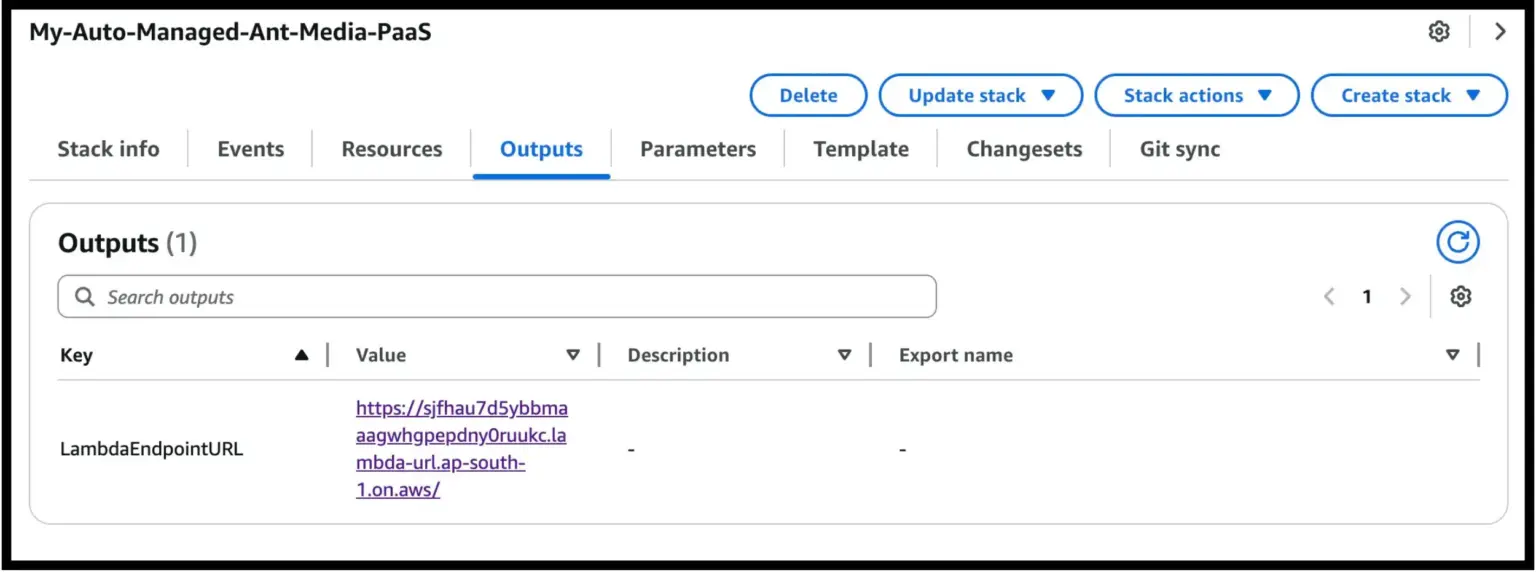
-
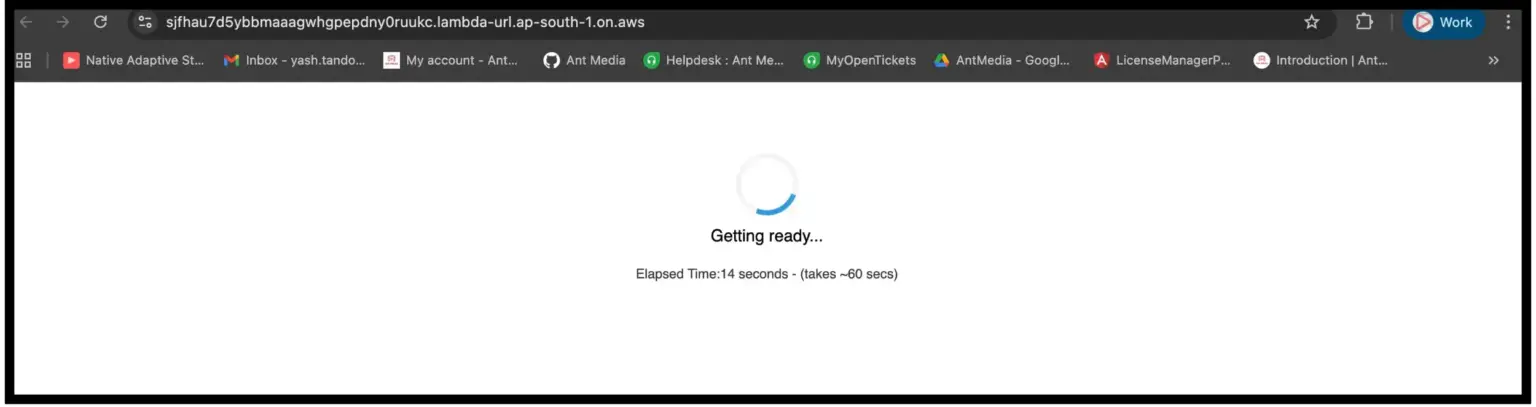
Visiting this URL triggers a backend instance (first spin-up ~60 seconds; subsequent ~20 seconds).
-
Congratulations, your backend is ready! Log in to the Web Panel to confirm everything is ready.
Step 3: Start Streaming with Auto-Managed Service
Option 1: Using JavaScript SDK
Integrate the Lambda URL into your WebRTC or JS SDK:
var webRTCAdaptor = new WebRTCAdaptor({
  httpEndpointUrl: "<REPLACE_WITH_LAMBDA_URL>",
  localVideoElement: document.getElementById("localVideo"),
  callback: (info, obj) => {
   console.log("callback info: " + info);
   if (info == "initialized")
   {
      webRTCAdaptor.publish("myStream")
   }
   else if (info == "publish_started") {
      console.log("publish started");
   }
   else if (info == "publish_finished") {
      console.log("publish finished")
   }
  }
}
Check out the AMS Javascript SDK guide for the integration.
Option 2: Direct URL (Browser)
Open the Lambda URL in a browser to access the Web Panel and start streaming.
Check out the stream publishing section to publish streams using different protocols and ways.
Step 4: Configure Persistence & Recording
- Data Persistence: Metadata and settings are stored in ElastiCache; they survive instance spin-ups.
- Recording: Enable S3 recording to ensure your streams are saved even if instances terminate. Local disk recording may be lost when instances spin down.
Step 5: Stop or Terminate Instances
- Stop: Preserves Elastic IP and EBS volumes; minimal storage cost; fast spin-ups.
- Terminate: Deletes the instance completely; no idle cost; slower spin-ups.
- Use CloudFormation to delete stacks when no longer needed.
Best Practices & Tips
- Set a sensible idle timeout (~3 minutes recommended).
- Prefer S3-based recording for important streams.
- Monitor usage regularly to optimize cost and performance.
- Combine Auto‑Managed instances with your existing pipelines for AI moderation, analytics, or custom workflows.
Real Impact: Before vs After
| Problem | Traditional Approach | Auto‑Managed Streaming |
|---|---|---|
| Scaling | Manual, slow, error-prone | Automatic, fast, hands-free |
| Costs | Always-on servers, wasted resources | Pay only when streaming |
| Content Control | Limited, vendor-controlled | Full ownership & encryption |
| Flexibility | Locked workflows | Customizable SDKs, APIs, and pipelines |
| Operational Burden | High | Minimal, backend fully managed |