Record Streams To AWS S3
Ant Media Server supports recording live streams directly to Amazon S3, enabling durable, scalable, and cost-effective storage for your video content.
By recording streams to S3, you can:
- Persist live streams for on-demand playback
- Store recordings securely outside the server lifecycle
- Integrate with downstream workflows such as VOD delivery, archiving, analytics, or processing
- Avoid local disk limitations on the Ant Media Server instance
This guide explains how to configure Ant Media Server to upload recorded streams to Amazon S3. It covers the required AWS setup, access permissions, and the credentials needed to allow Ant Media Server to write recordings to your S3 bucket.
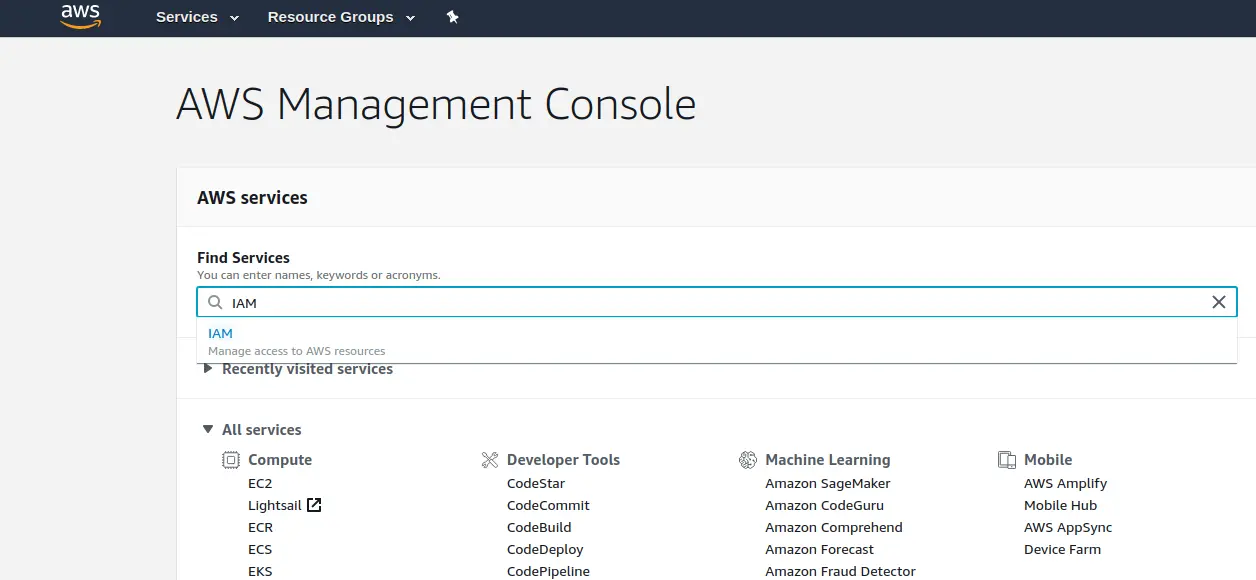
Prerequisites: AWS IAM Access for S3
To access Amazon S3 programmatically, you need an Access Key ID and Secret Access Key associated with an IAM user. These credentials are created in the AWS IAM (Identity and Access Management) console by:
- Creating an IAM user without console access, and
- Generating access keys for that user after creation.
The access key and secret key are then used by applications or services to authenticate API requests to Amazon S3.
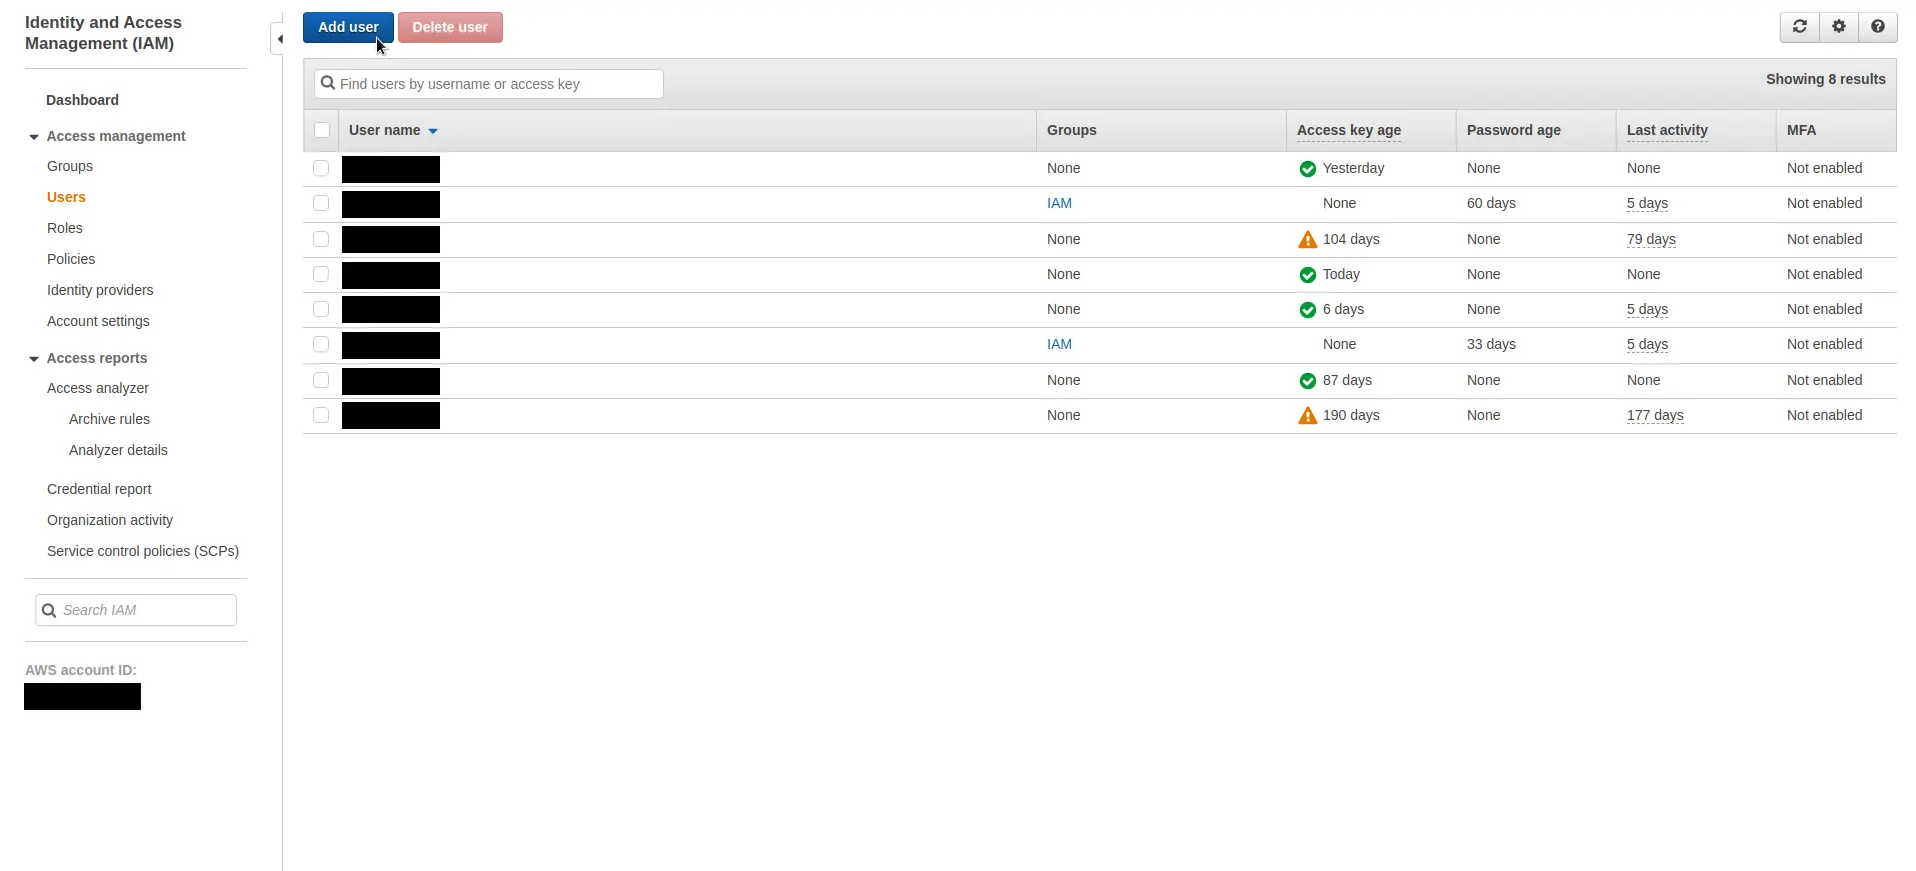
Create a new IAM user for S3 access.
- In the IAM → Users → Create user screen, enter a User name.
- Do not select AWS Management Console access. This user is intended for programmatic access only.
- Click Next to proceed to permissions.
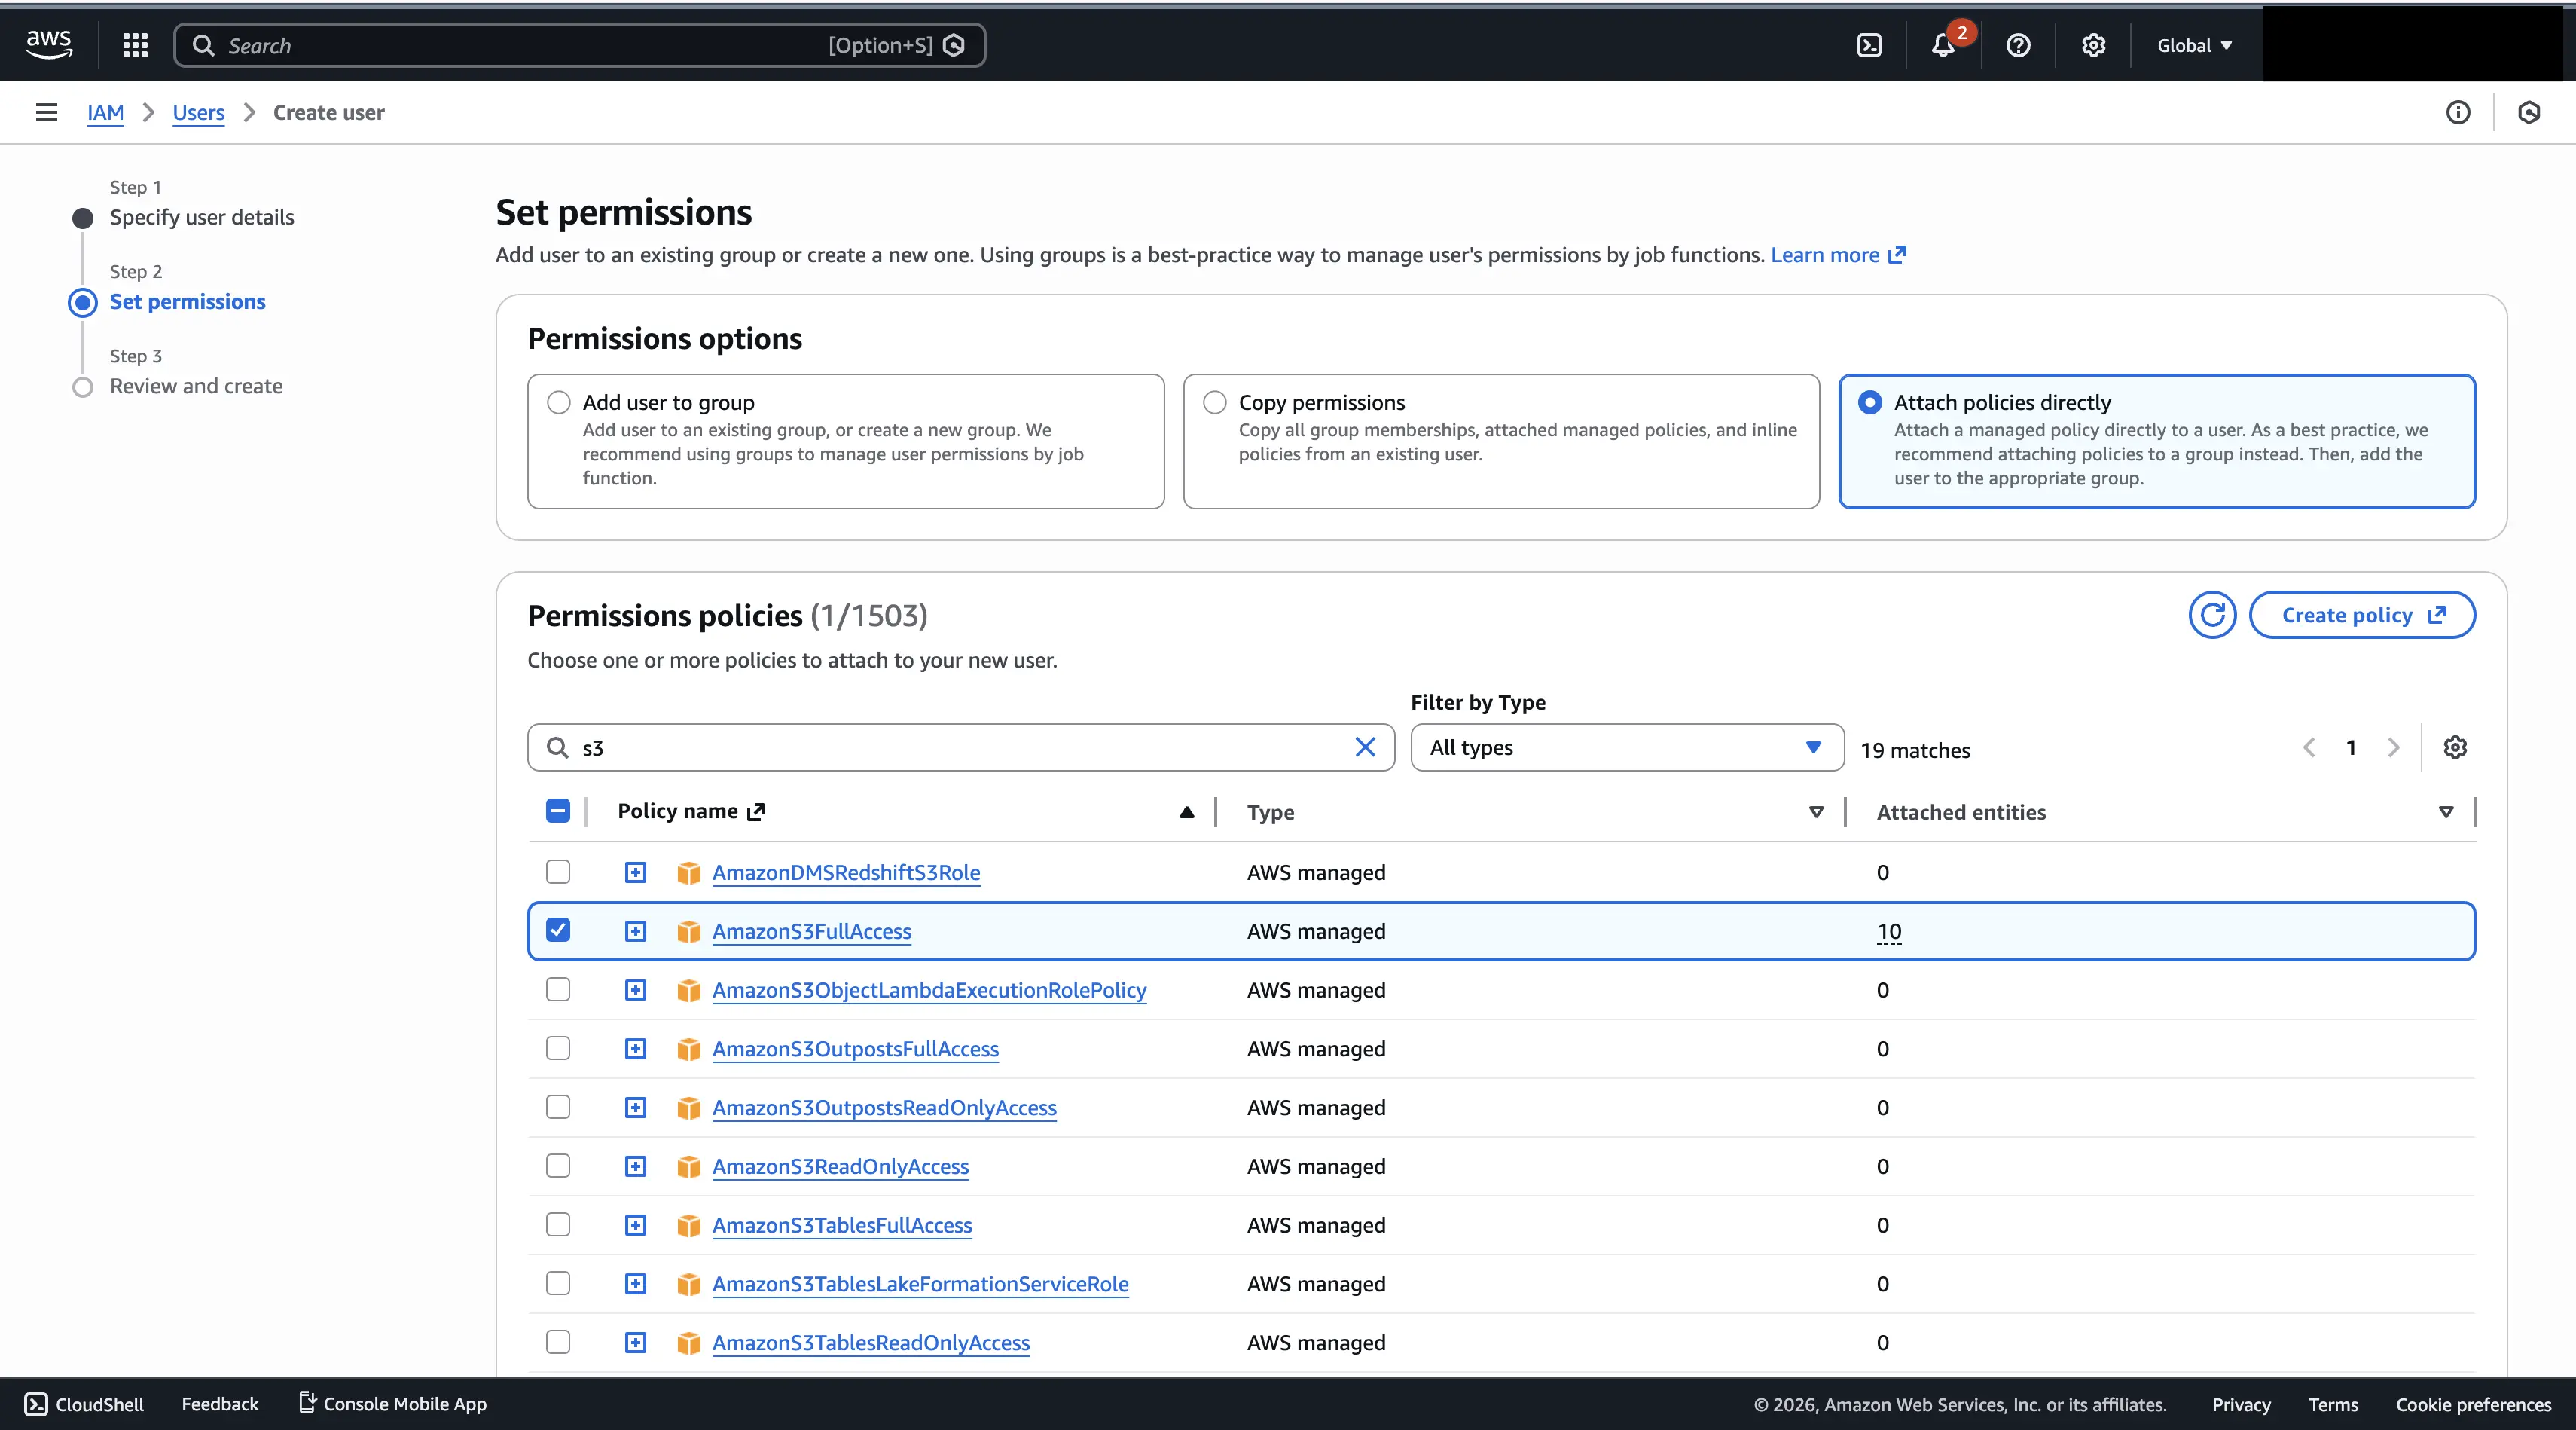
- In the Set permissions step, choose Attach policies directly.
- Attach the AmazonS3FullAccess policy (or a more restrictive custom S3 policy if required).
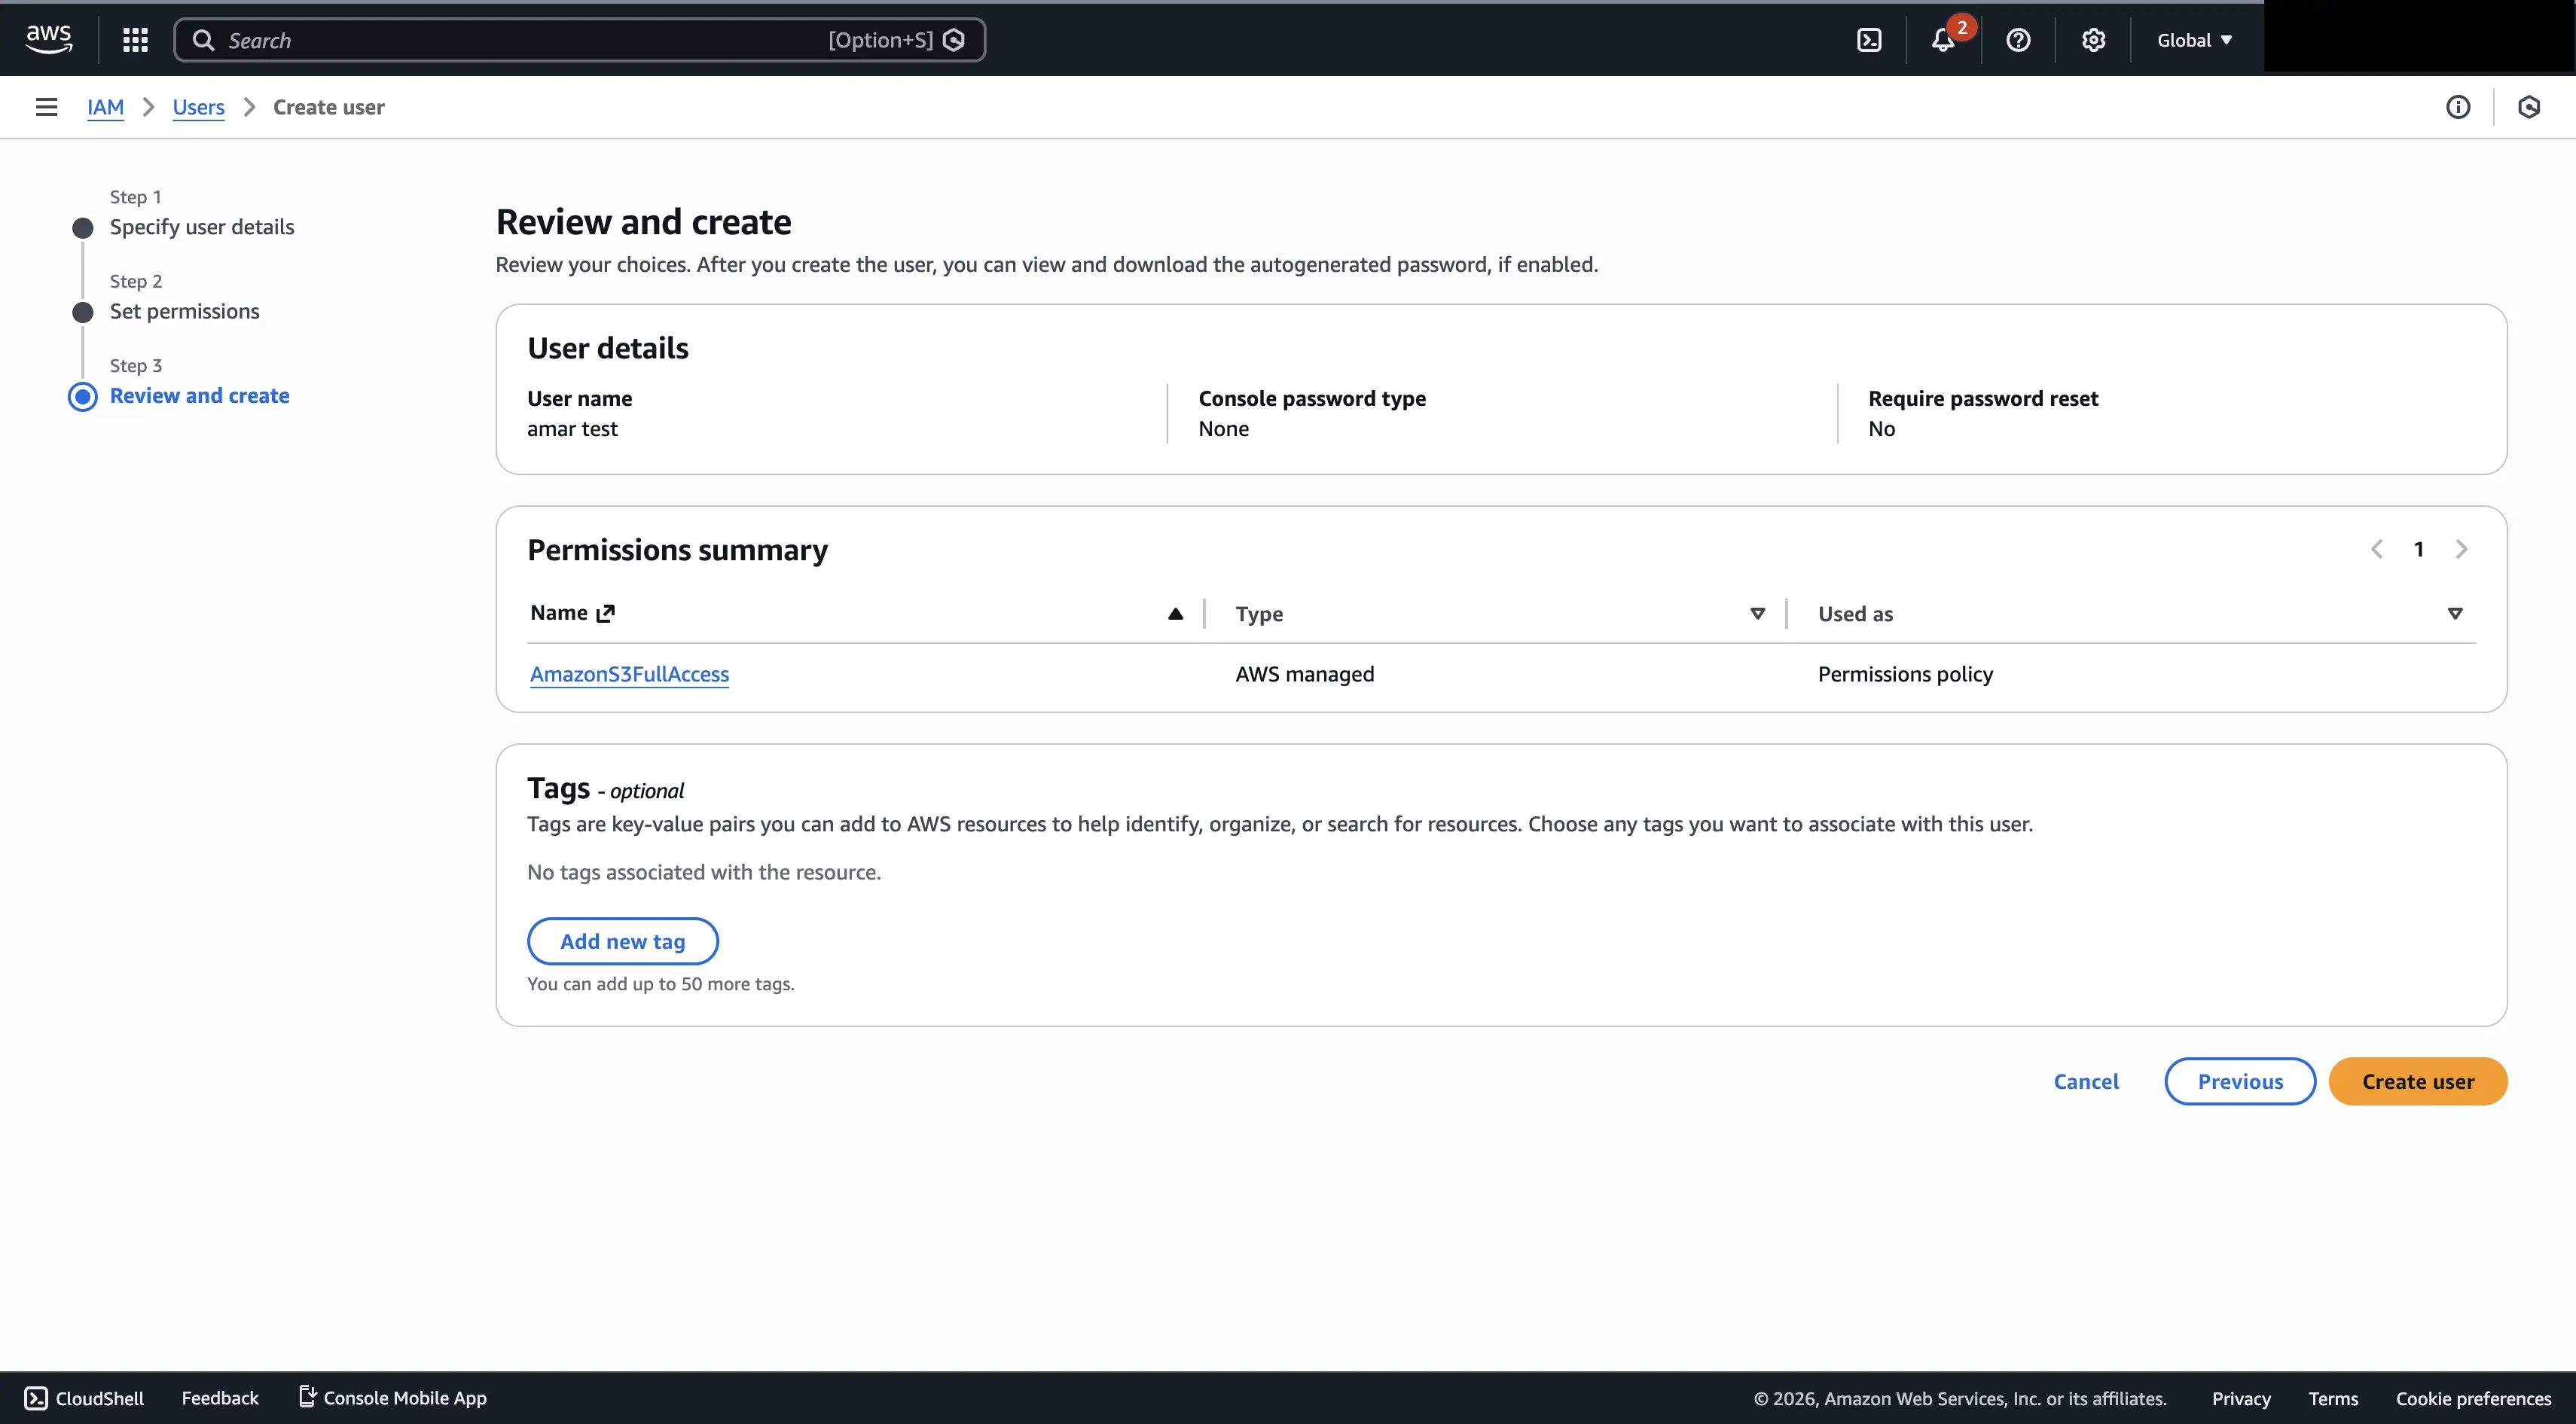
- Complete the user creation process.

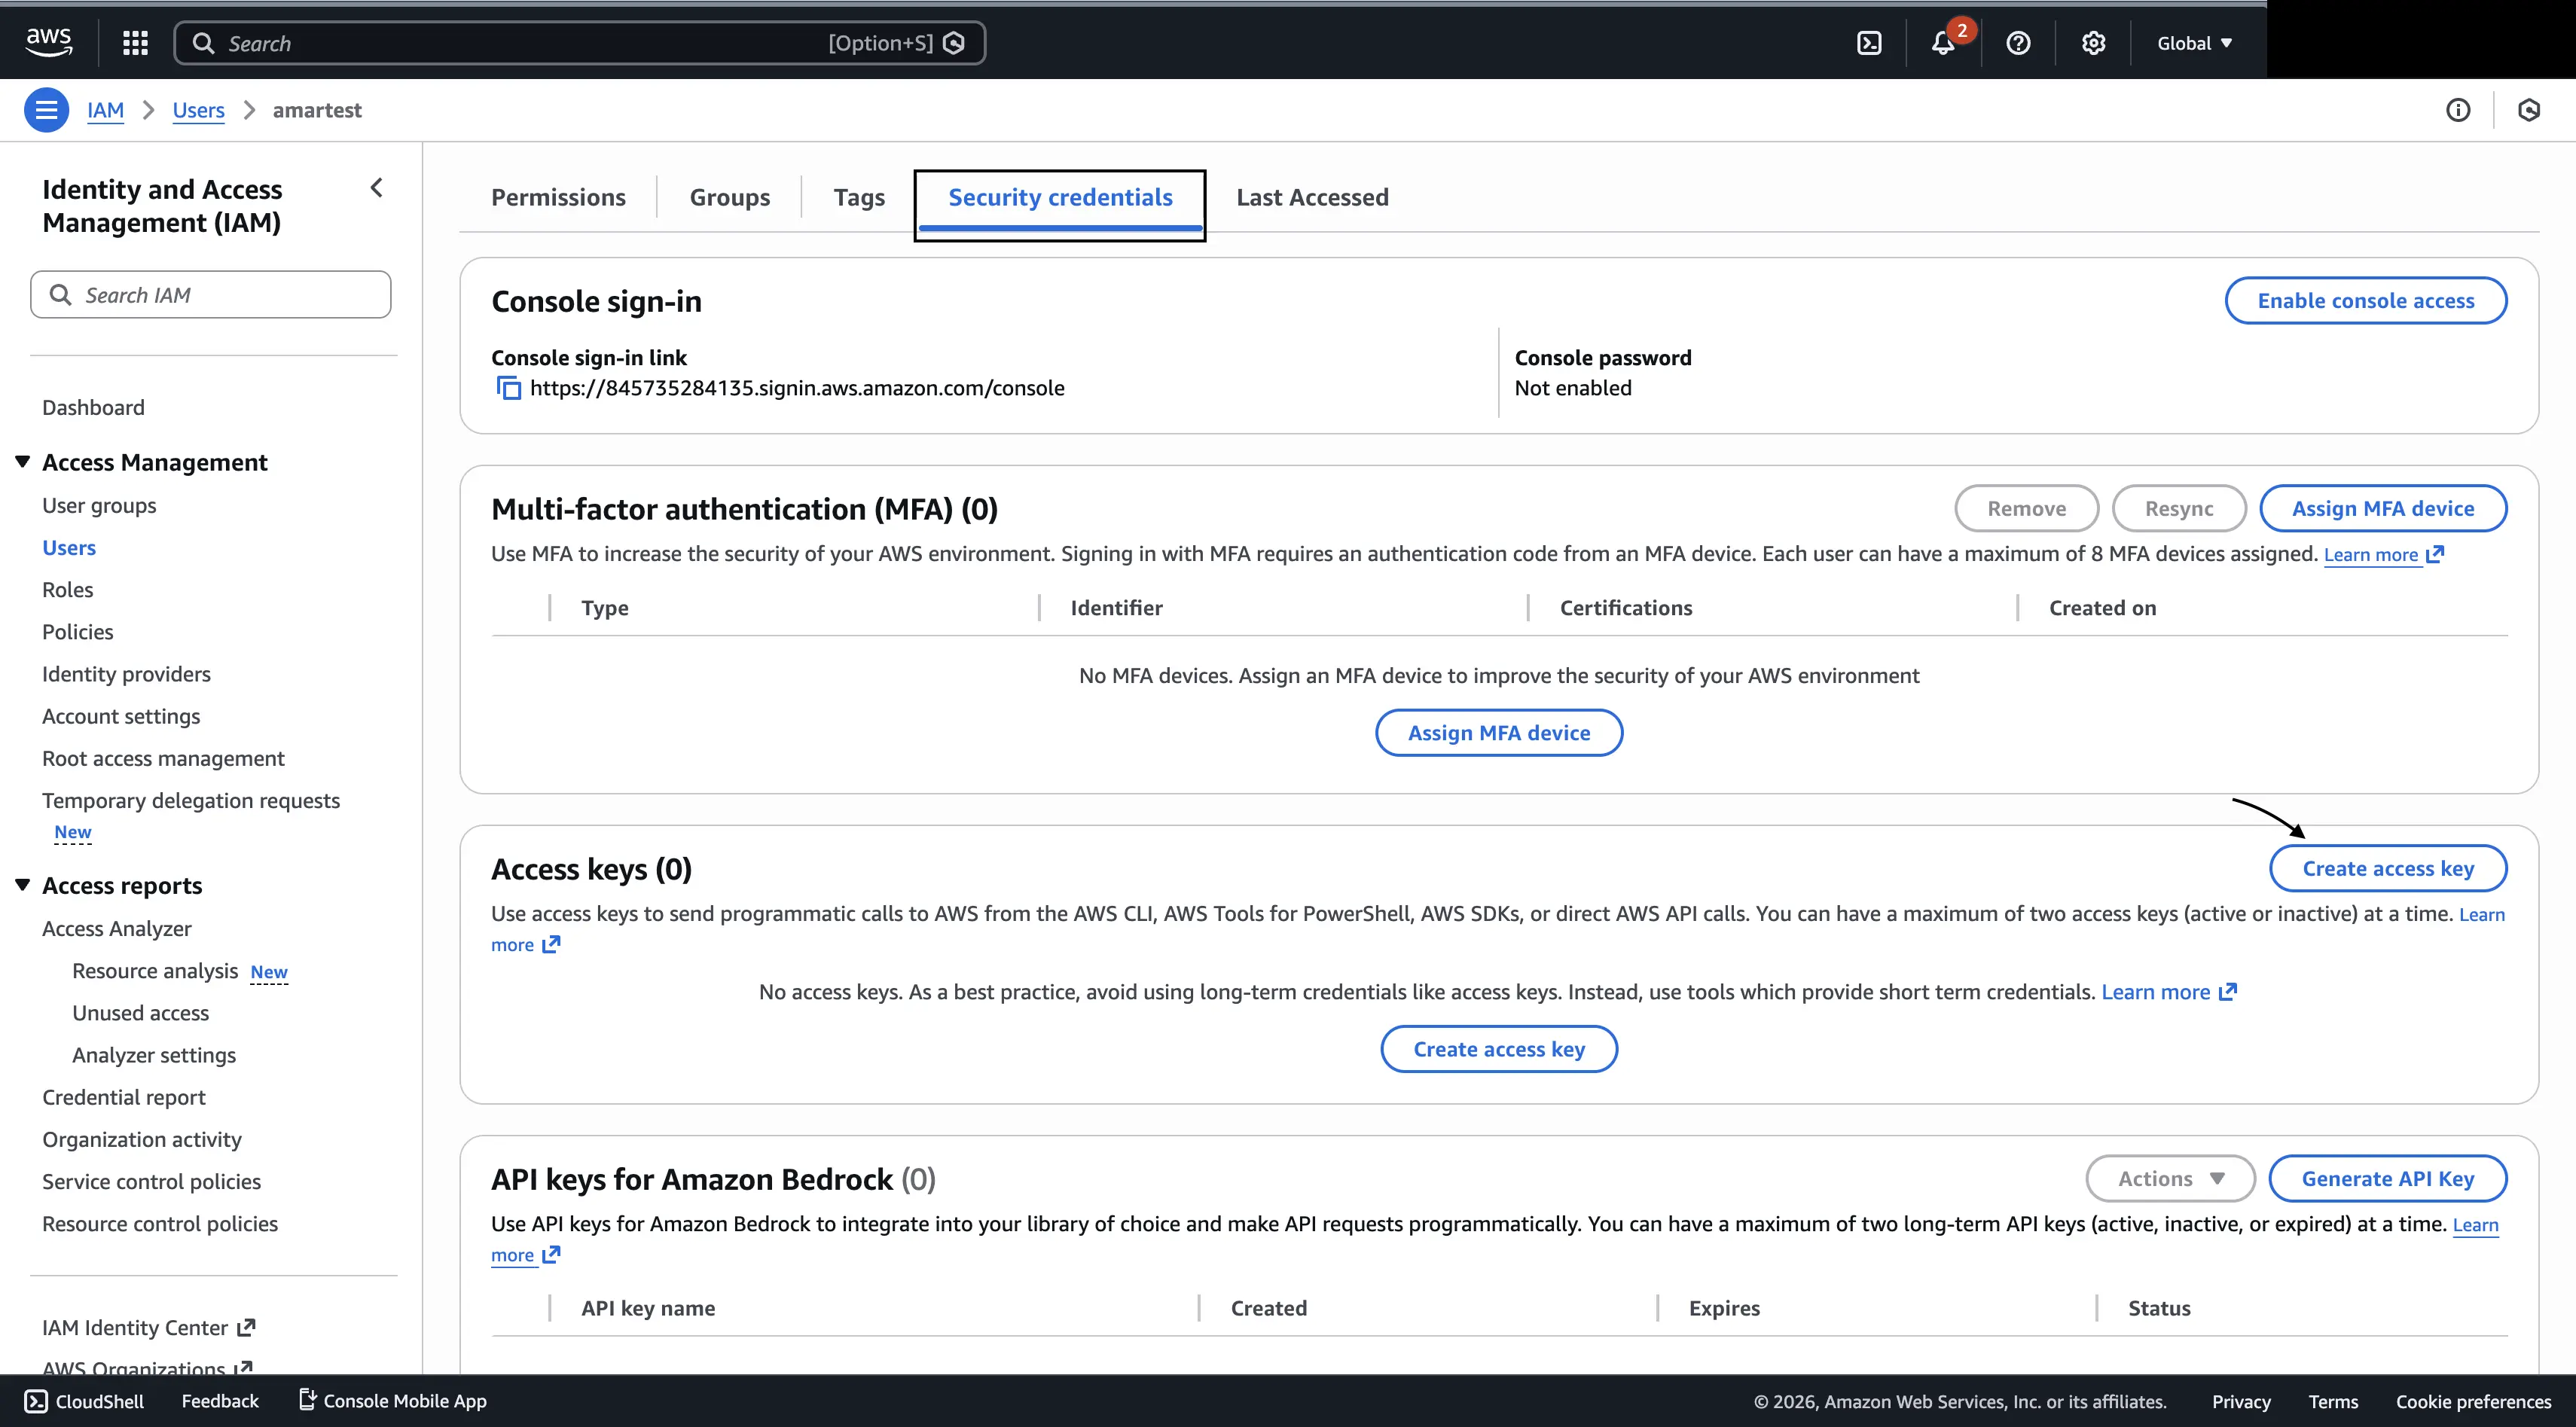
After the user is created:
- Open the newly created IAM user.
- Go to the Security credentials tab.
- Under Access keys, click Create access key.
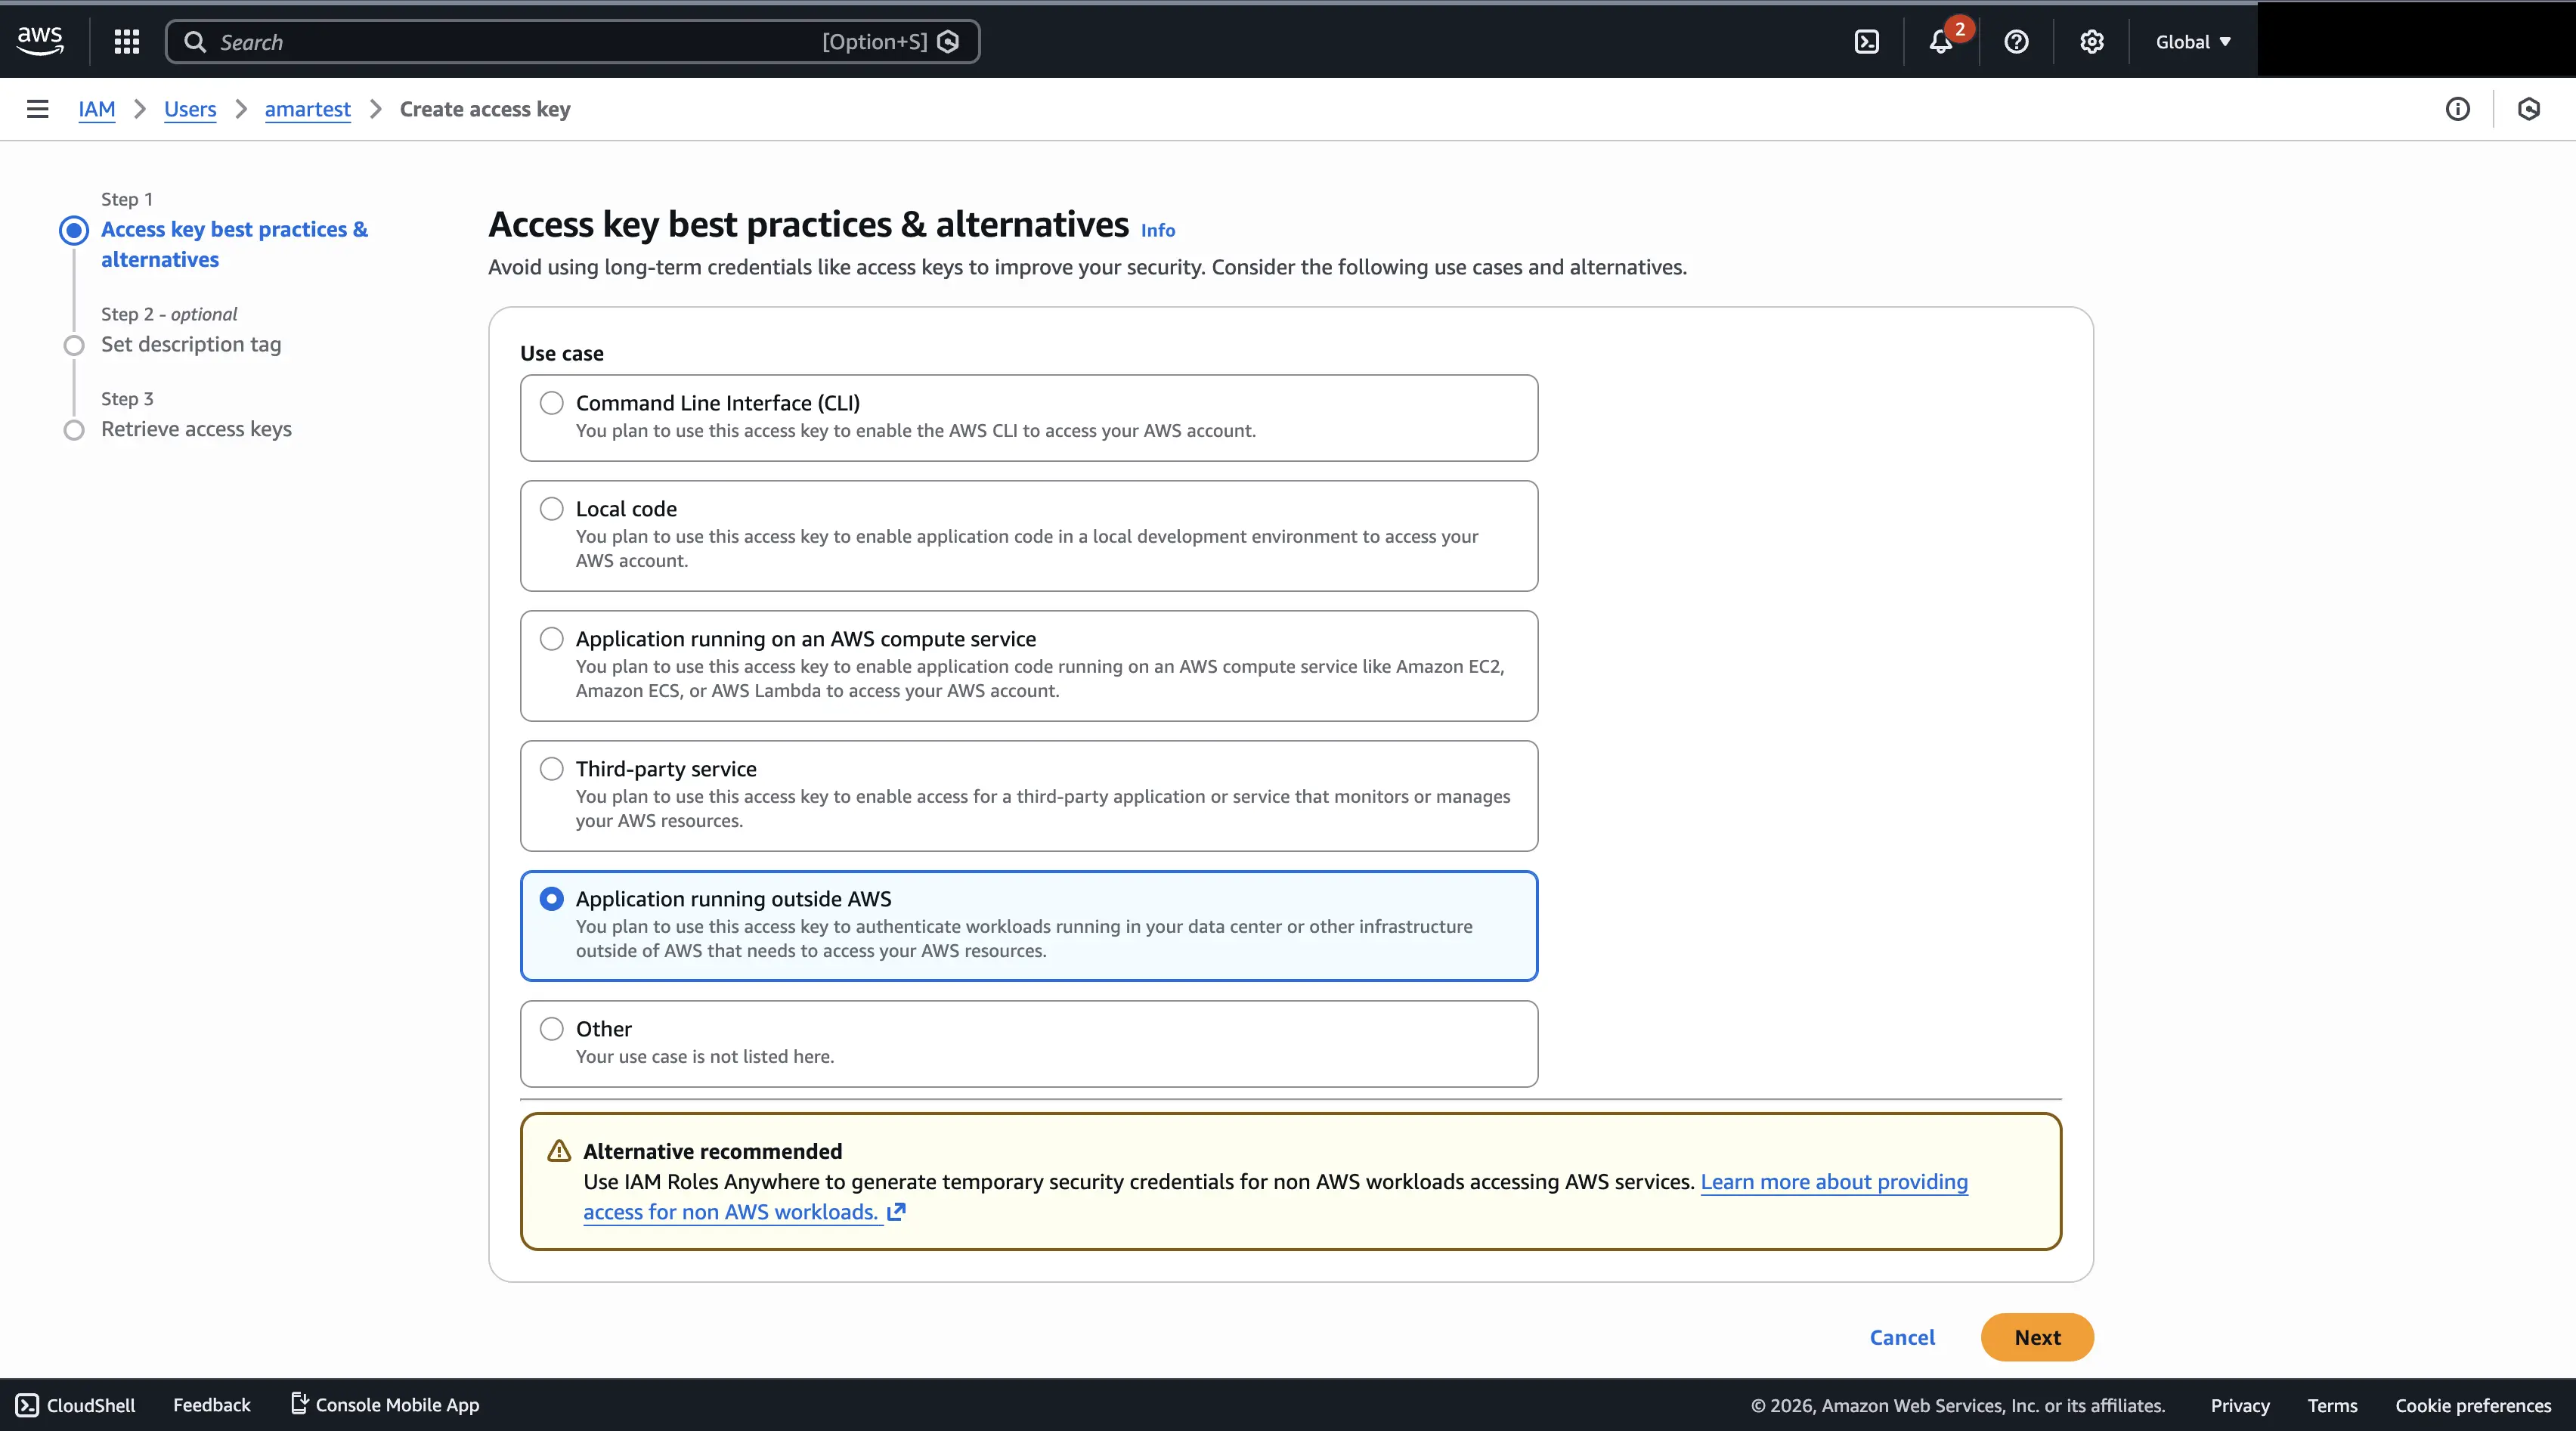
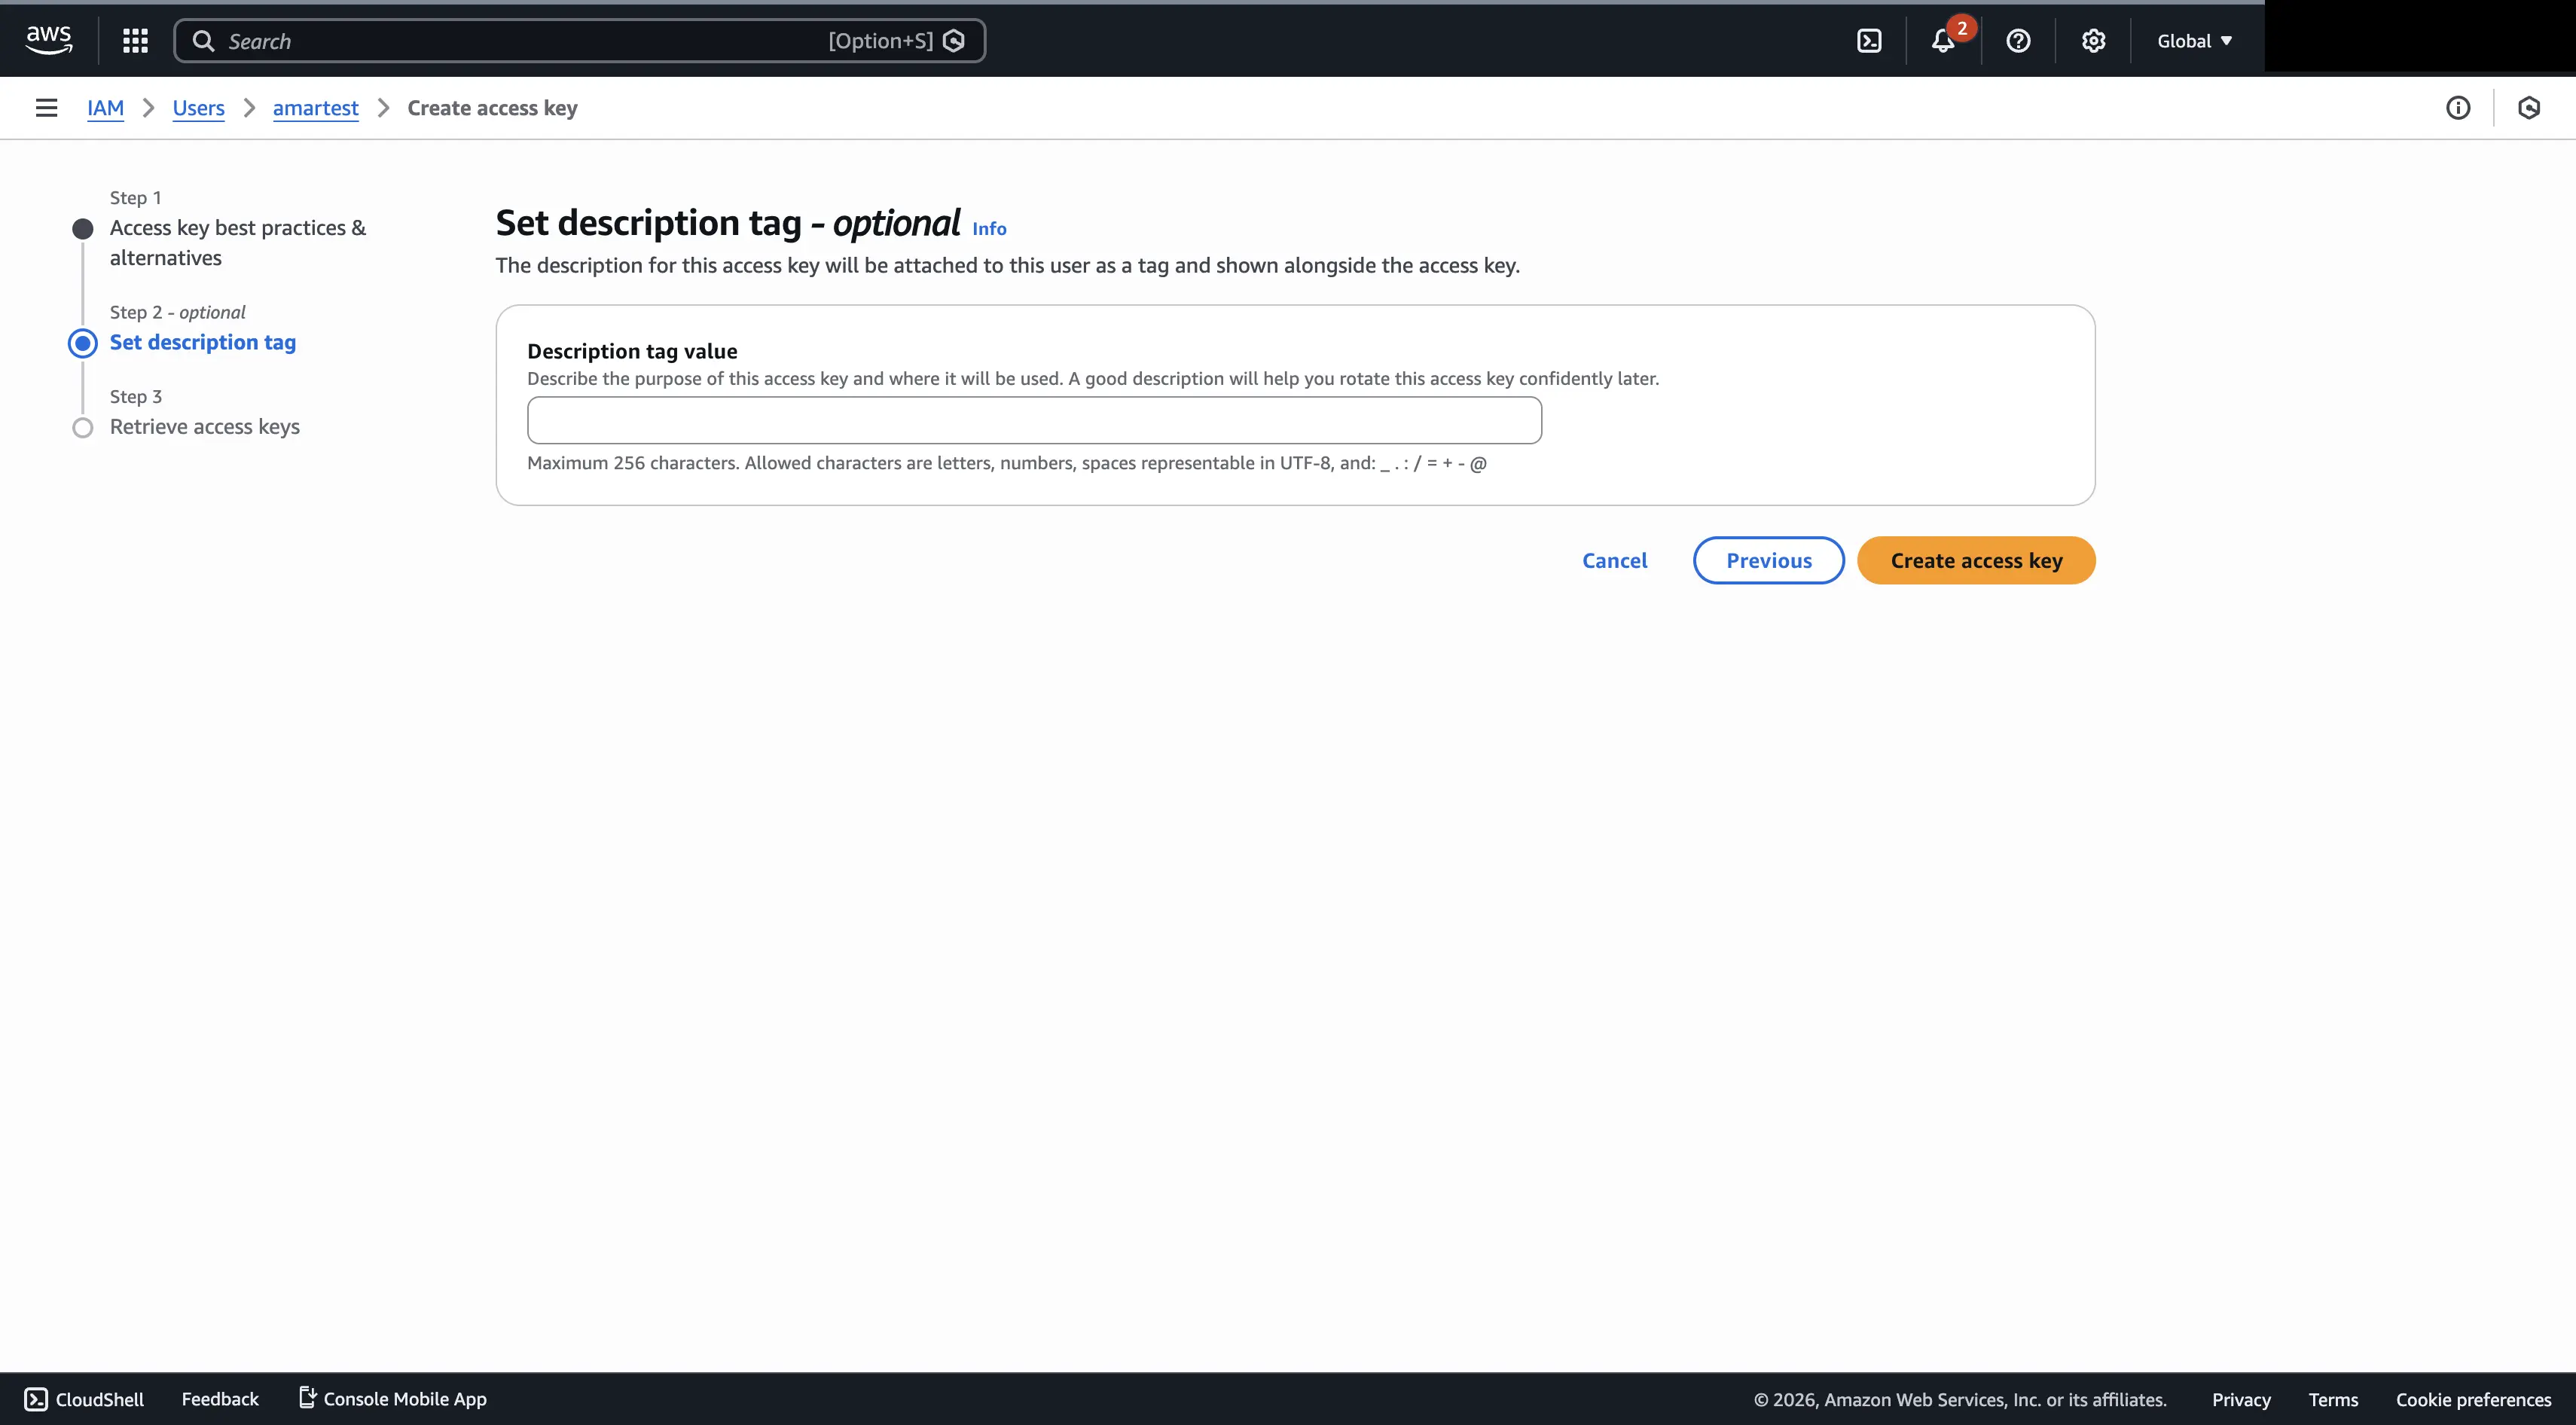
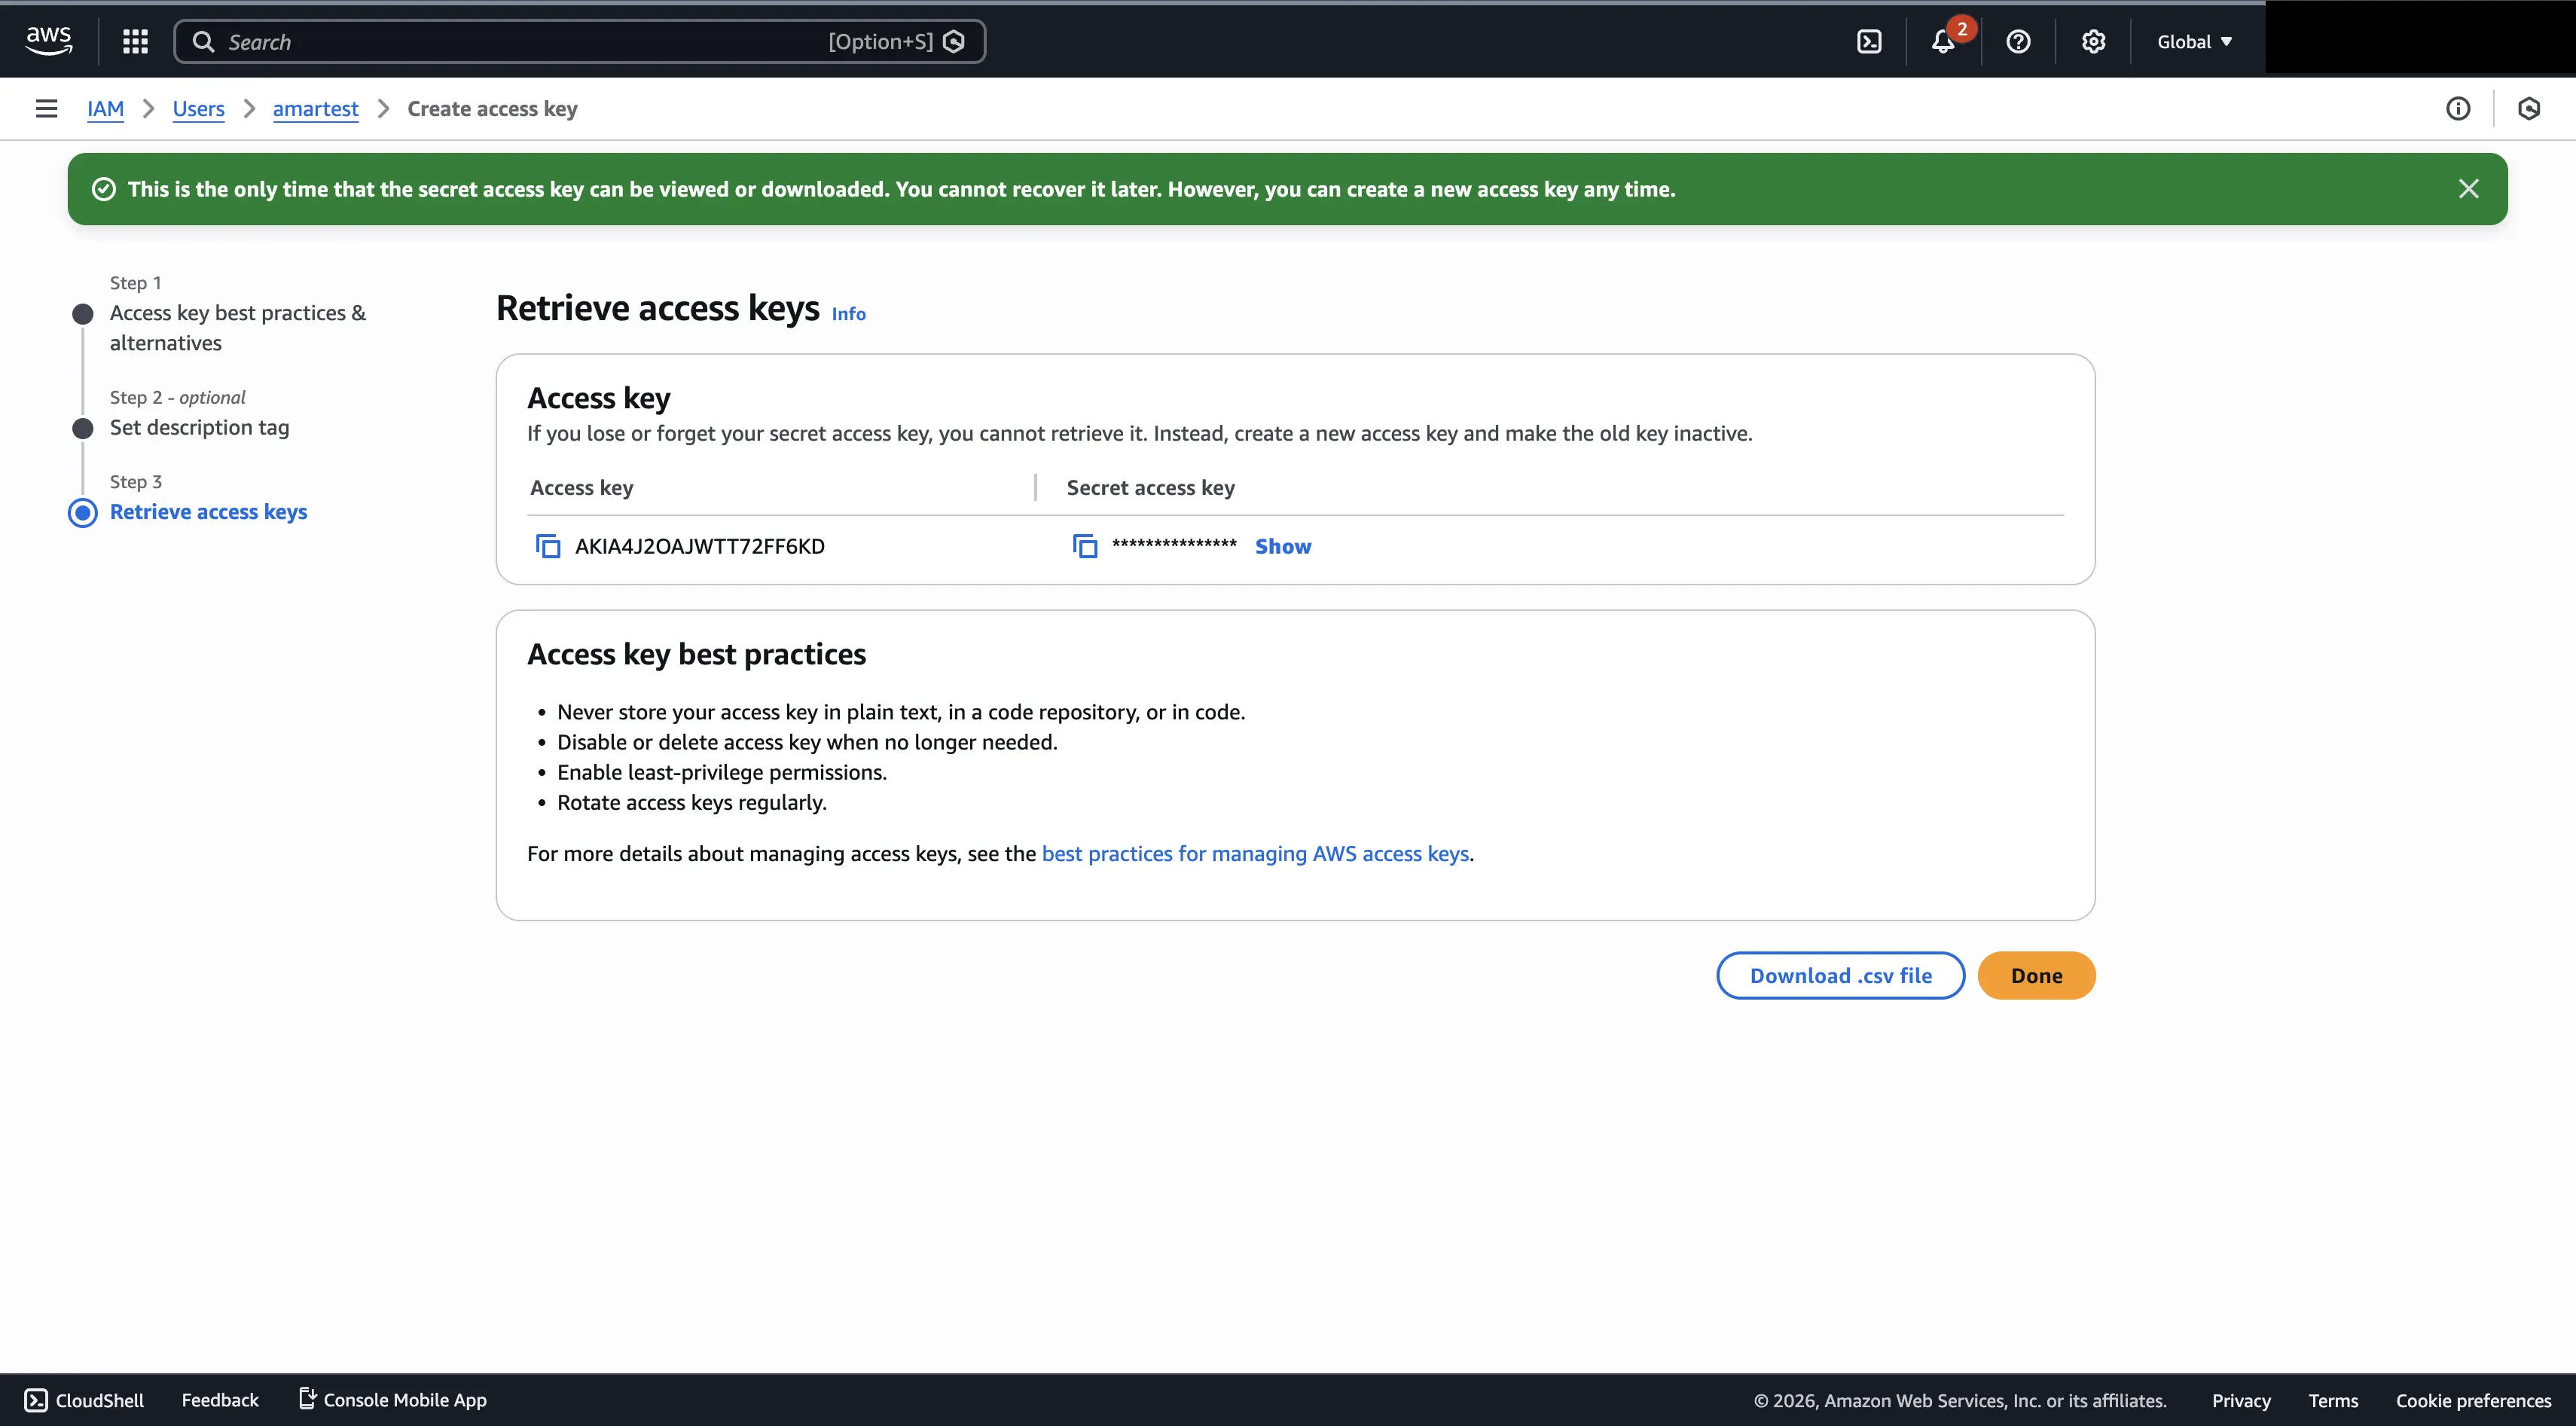
- Select Application running outside AWS (or the relevant use case). Copy and securely store the Access Key ID and Secret Access Key.
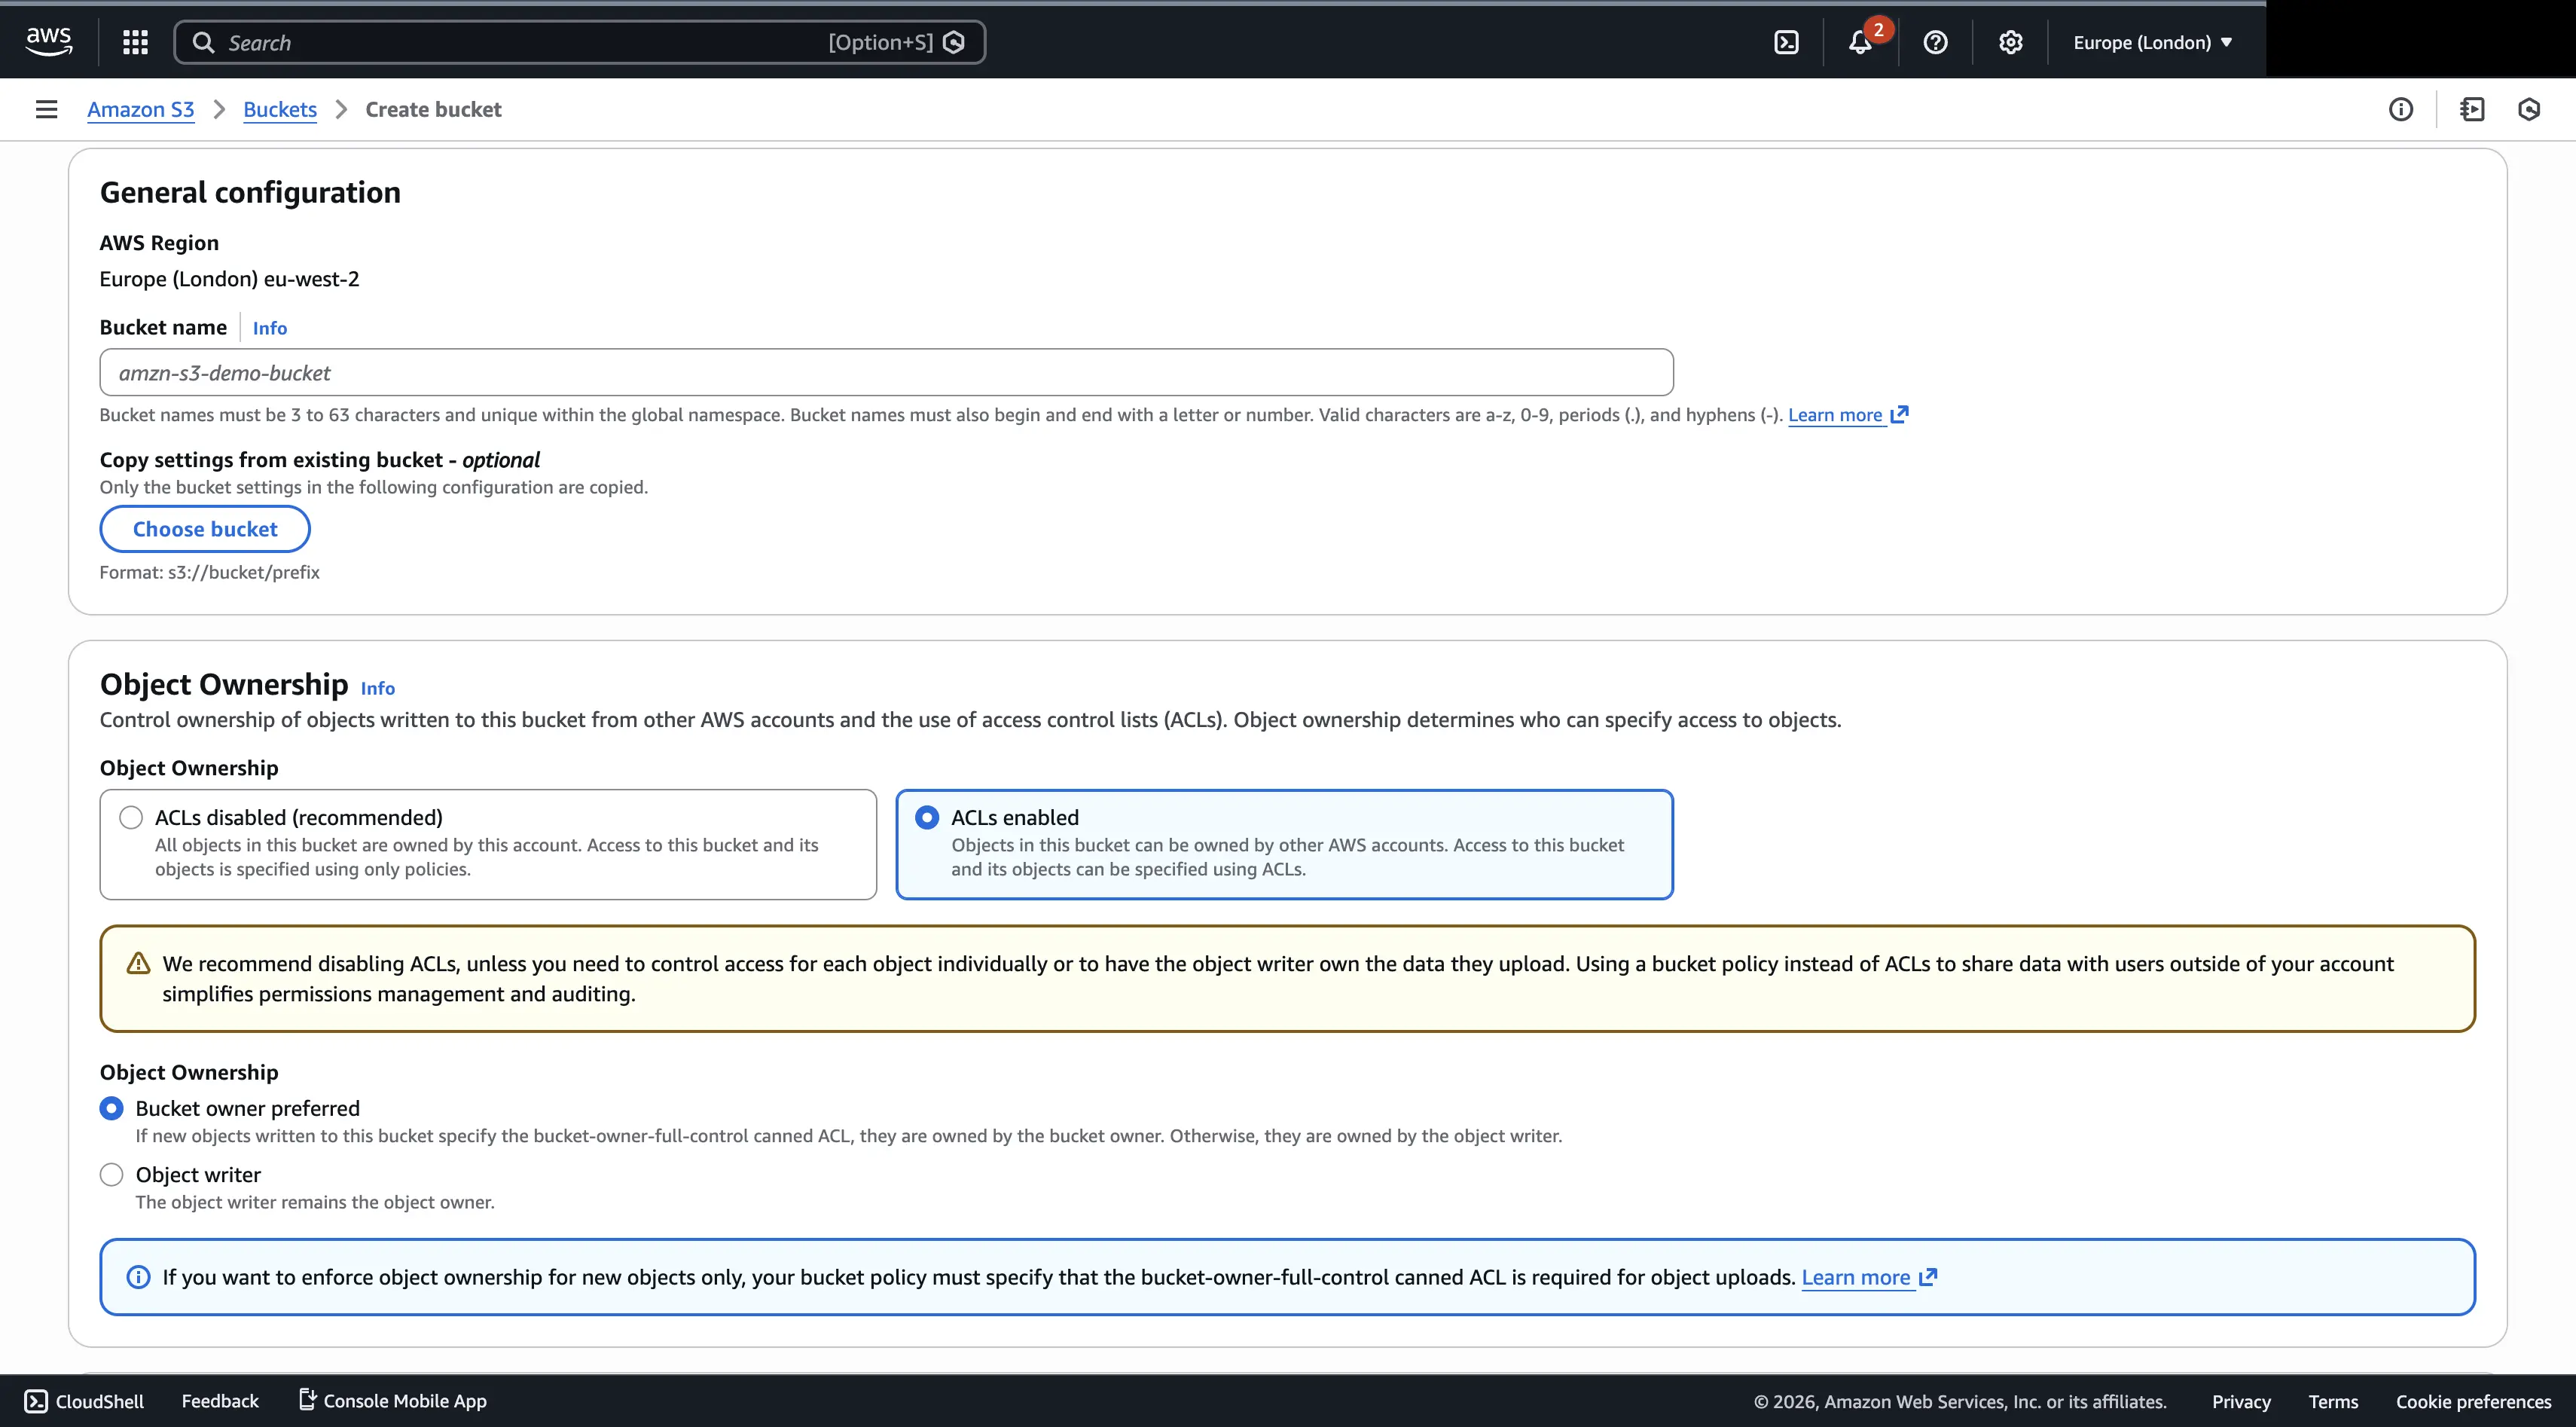
You must know the AWS region where your S3 bucket is located. If you don’t already have a bucket, you can create one from the Amazon S3 console.
Here you see the sample S3 credentials. You need to replace the placeholders with your actual S3 credentials. Then follow the below
- Log in to your Ant Media Server panel at
https://your_ams_server:5443. - Navigate to Applications and select your app (e.g.,
live). - Go to Settings.
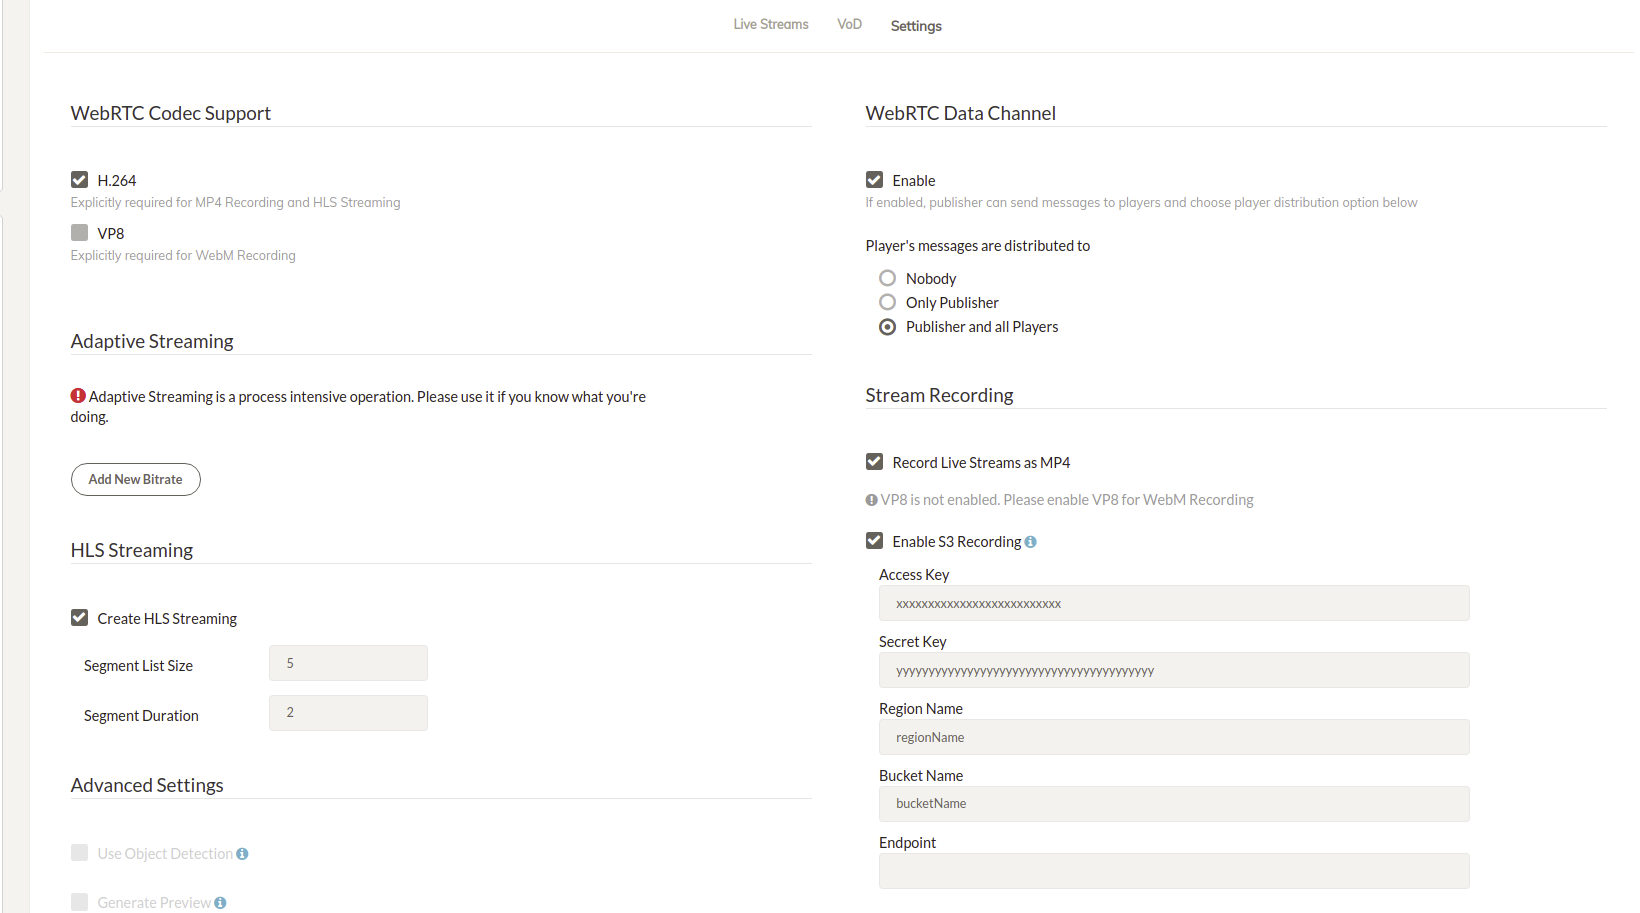
- Enable Record Live Streams as MP4.
- Enable S3 Recording.
- Enter the S3 credentials you created (Access Key, Secret Key, Bucket Name).
- Click Save to apply the settings.
Your MP4 and Preview files will be uploaded to your S3 Storage automatically.
Enable HTTP Forwarding for Playback
When your MP4 or preview files are uploaded to AWS S3, they will no longer be available on the Ant Media Server local storage. If you try to play them directly from AMS using the usual URL, you may receive a 404 Not Found error.
To fix this, configure HTTP Forwarding so that Ant Media Server automatically forwards requests to the AWS S3 bucket for the playback.
Steps to Enable HTTP Forwarding
-
Log in to the Ant Media Server Management Panel
-
Navigate to your application and go to Application Settings → Advanced Settings.
-
Set the following properties:
httpForwardingExtension: mp4,m3u8
httpForwardingBaseURL: https://s3BucketName.s3.awsRegion.amazonaws.com
Example:
httpForwardingExtension: mp4,m3u8
httpForwardingBaseURL: https://myvideos.s3.us-east-1.amazonaws.com -
Save your settings
Now, when you access:
https://your-domain:5443/AppName/streams/recording.mp4
Ant Media Server will forward the request to:
https://myvideos.s3.us-east-1.amazonaws.com/streams/recording.mp4
Play streams from an AWS S3 bucket using the embedded web player
If you would like to play the streams stored in an AWS S3 bucket, you need to configure CORS parameters on AWS S3 bucket permissions.
CORS parameters of the AWS S3 bucket should be modified so that the requests that are coming from another origin to play the VODs can be processed.
Go to your AWS -> Services -> S3 -> Buckets -> "Your Bucket" -> Permissions
At the bottom of the page, there is cross-origin resource sharing (CORS). The CORS configuration, written in JSON, defines a way for client web applications that are loaded in one domain to interact with resources in a different domain."
Click Edit and paste the code provided below:
You need to put your AMS domain address in the allowed origins field.
    [
        {
            "AllowedHeaders": [
                "*"
            ],
            "AllowedMethods": [
                "HEAD",
                "GET",
                "PUT",
                "POST",
                "DELETE"
            ],
            "AllowedOrigins": [
                "https://your-AMS-domain:5443"
            ],
            "ExposeHeaders": []
        }
    ]
* on the origin field, as it accepts requests from all origins, can be used for quick testing. However, it can be changed to allow permissions for exact origins, such as http://www.your-domain.com since you only want to accept requests that are coming from your end.
Your Streams on Cloud9 ☁️
You’ve successfully enabled MP4 recording and connected your Ant Media Server to AWS S3. Now, all your live streams are automatically uploaded to the cloud, safely stored, and ready for on-demand playback.
Fantástico! 🌩️ — your streams are now floating on Cloud9, accessible anytime, anywhere! 🚀