Creating a playlist
Ant Media Server (AMS) allows you to create and manage playlists, enabling seamless playback of multiple Video on Demand (VoD) files in a specified order. This feature is available in both the Community and Enterprise editions of AMS.
VoD files
To create a playlist, we need to have a set of VoD files that will be used as playlist items. Therefore, as the first step, we will upload some VoD files to the Ant Media Server.
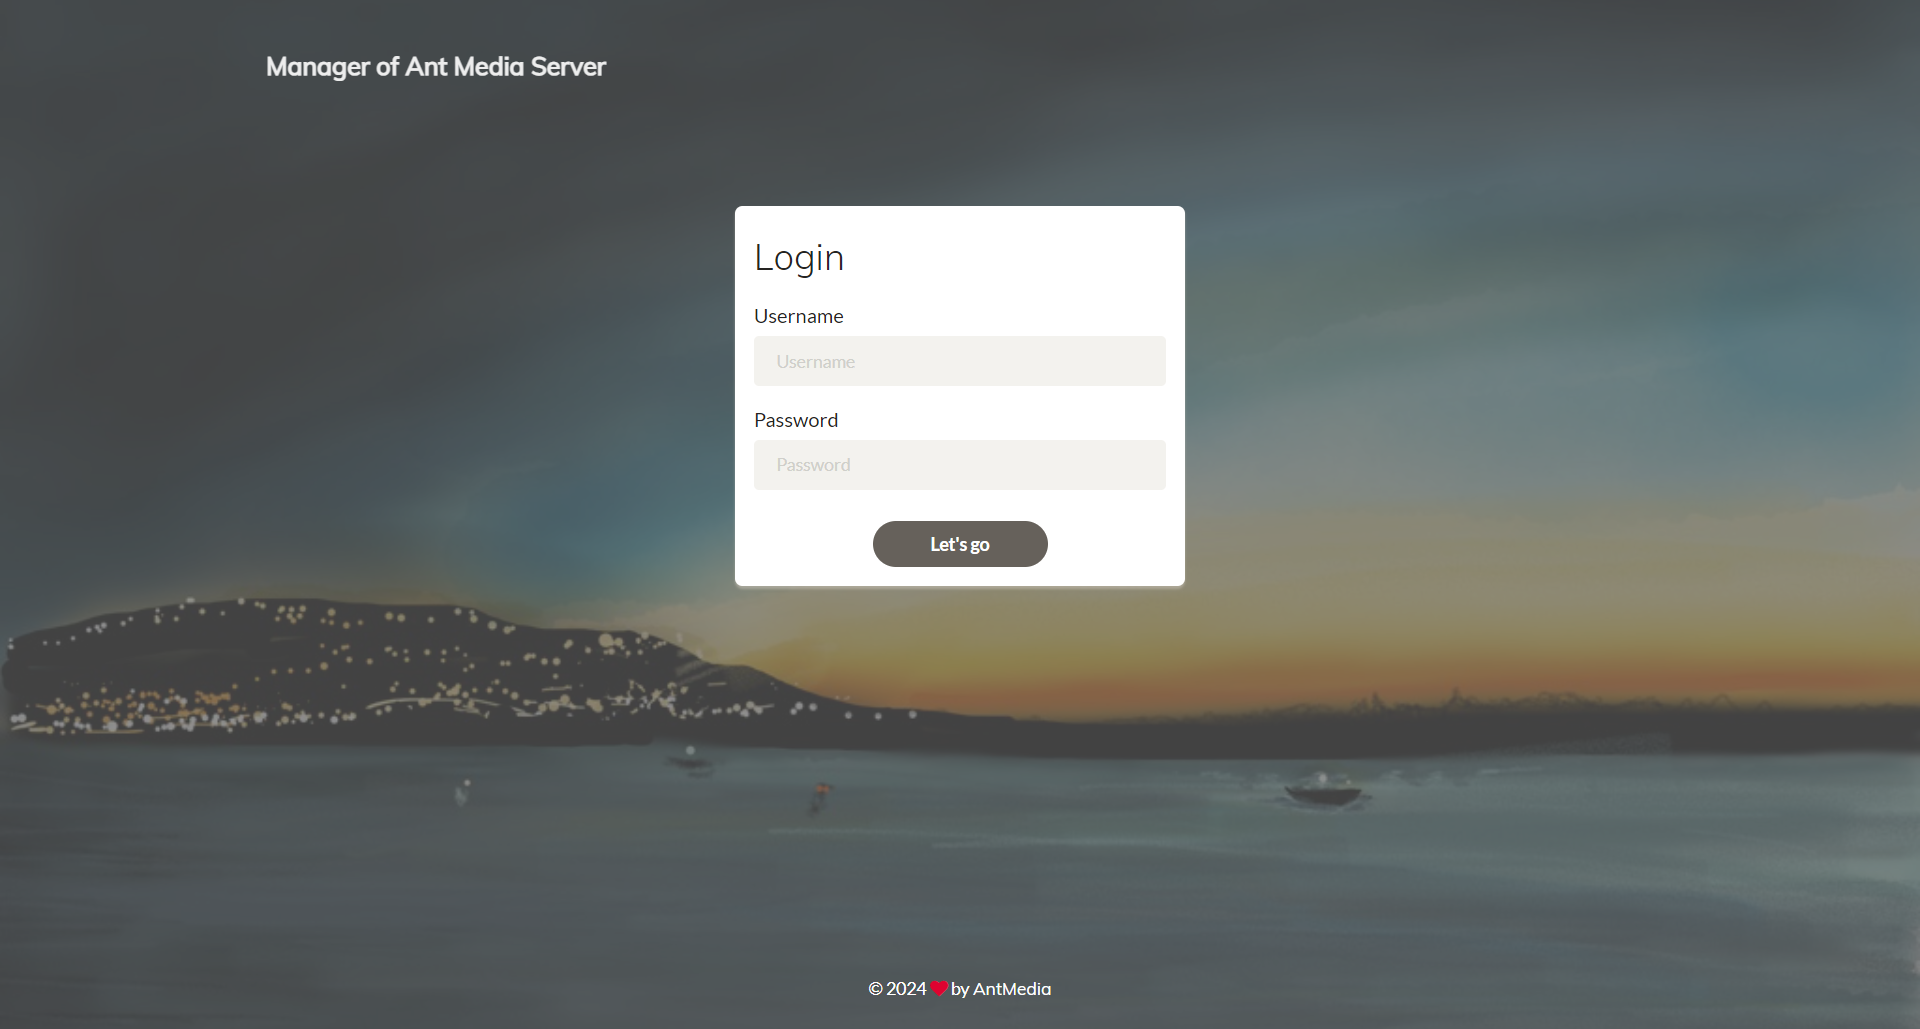
Login to your Ant Media Server Dashboard
Login to your Ant Media Server Web Panel/dashboard. The URL is like this: https://YOUR_ANT_MEDIA_SERVER:5443/
Accessing the Application
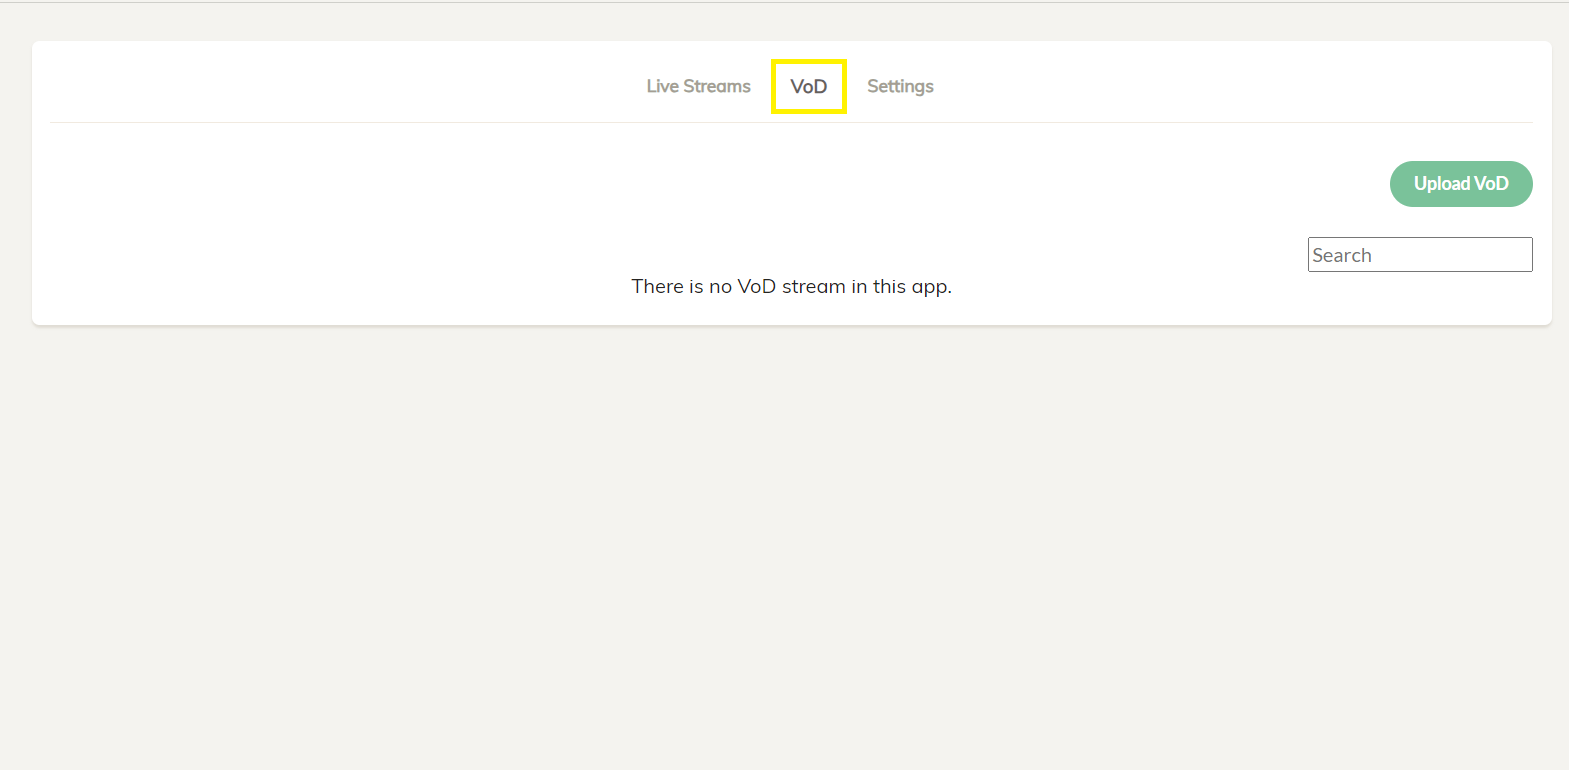
- Navigate to your preferred application from the left side. For this demonstration, we are using the live application.
- Once you are in the live application, go to the VoD section.
Uploading the VoD files
Using Web Panel
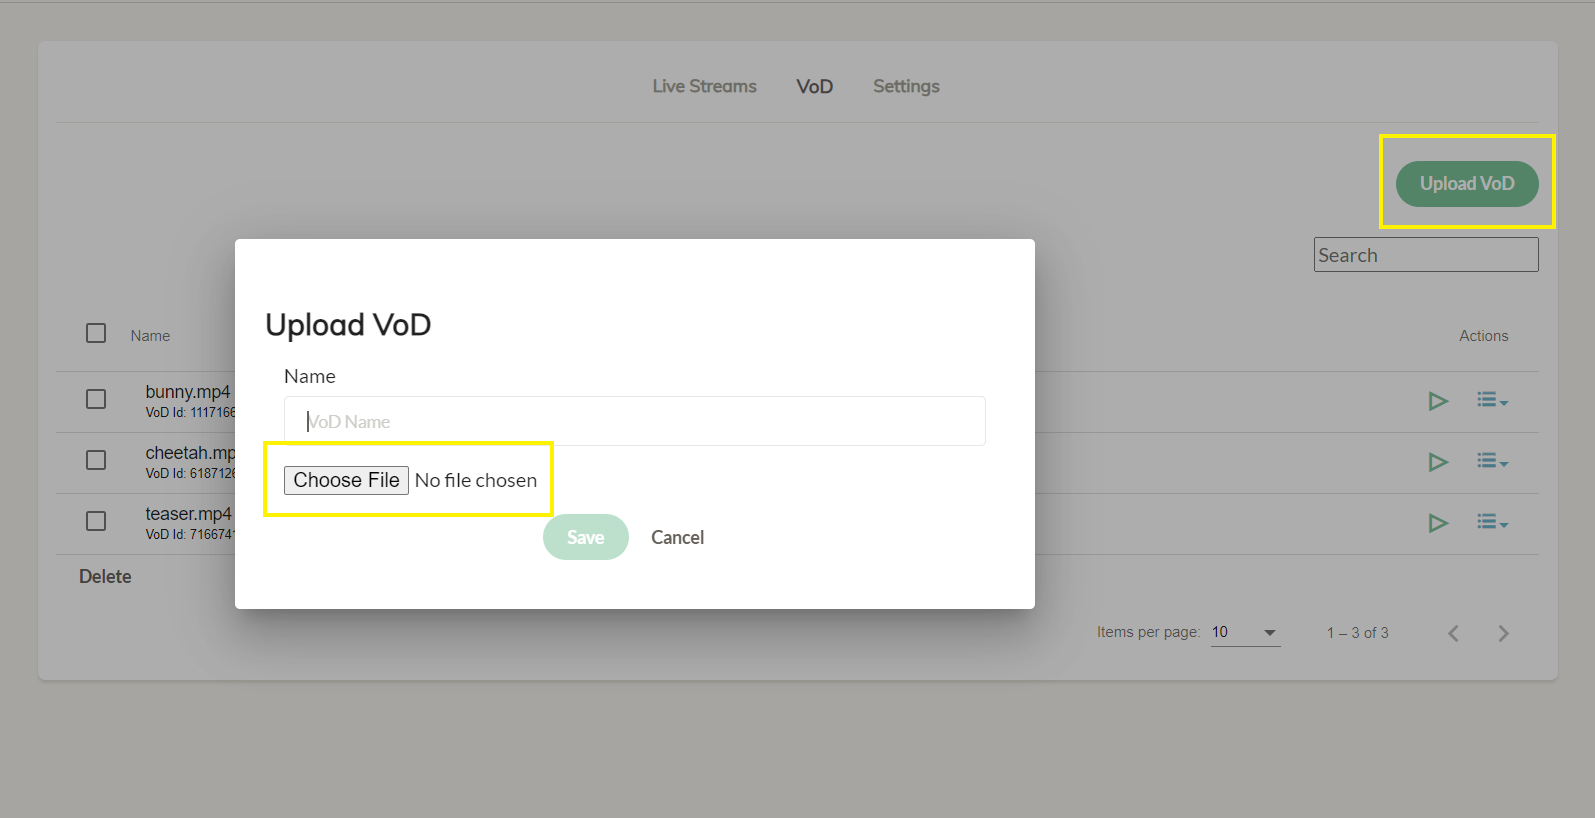
Now we can upload the VoD files that we want to stream with the playlist.
- Click on the
Upload VoDtab and then click onChoose Fileto select the files you want to upload. For this demonstration, I will upload three VoD files.
Furthermore, uploading MP4 files to your Ant Media Server is optional. Ant Media Server can retrieve MP4 files from any location. You simply need to ensure that the file URL is accessible to AMS.
Using REST API
You can upload MP4 files to Ant Media Server using the REST API with the following API call:
curl -X POST -F "file=@<YOUR-FILE-PATH>;type=video/*" https://AMS_URL:5443/live/rest/v2/vods/create?name=YOUR-FILE-NAME.mp4
Here is the curl sample:
curl -X POST -F "[email protected];type=video/*" https://AMS_URL:5443/WebRTCAppEE/rest/v2/vods/create?name=test.mp4
The uploaded file will be located in antmedia/webapps/live/streams directory. The MP4 file name will be changed to a random VOD ID, which you can find in the VOD section of the web panel application page.
You can use the Get VOD list rest API call to get the VOD file list from the database.
You can access the uploaded VOD file through the below URL format:
https://domain_or_IP:5443/AppName/streams/VOD-ID.mp4
Example:
https://AMS_URL:5443/WebRTCAppEE/streams/722484094956241856650105.mp4
Creating the Playlist
Now that we have the VoD files ready, we will create the playlist with these VoD files as the playlist items.
- Go to the
Live Streamssection, clickNew Live Stream, and then selectPlaylistfrom the drop-down menu.
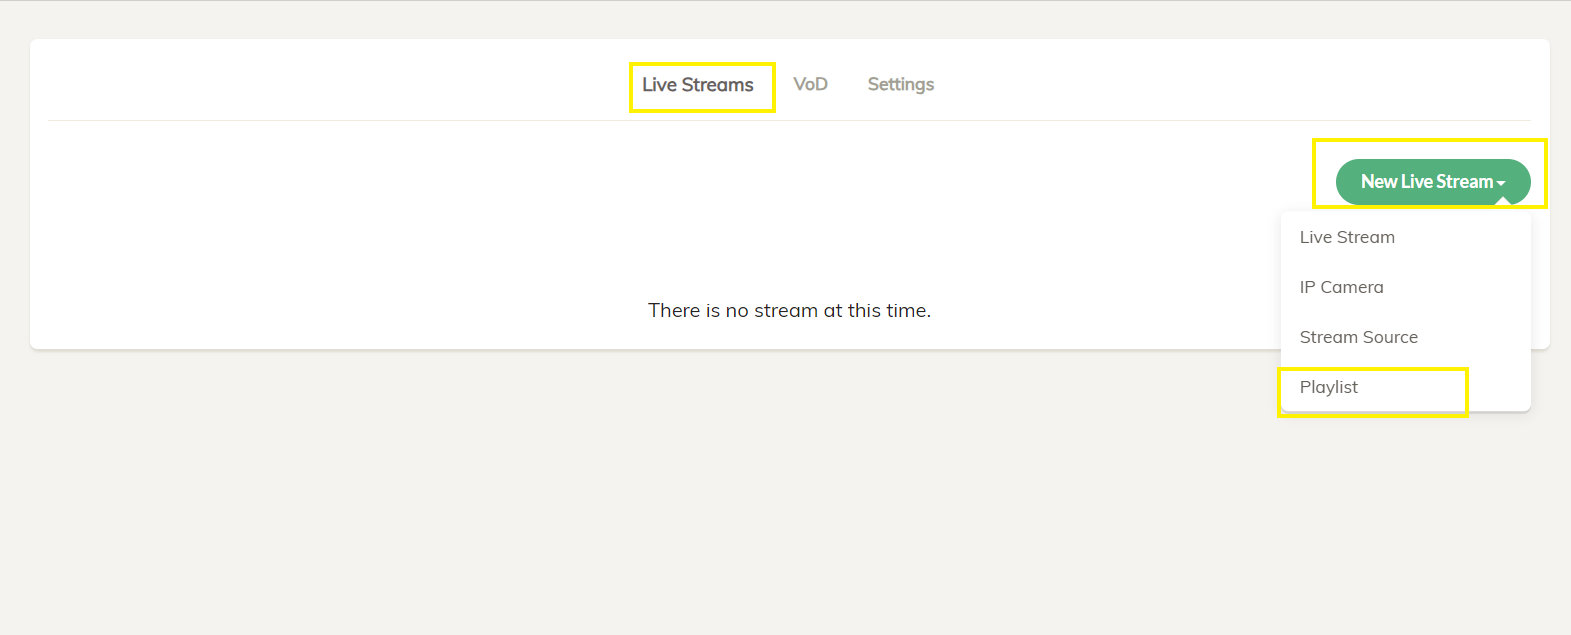
- Name your playlist, and click on
Add Playlist Item. Under the dropdown menu, there are two options.
- Add URL Directly
- Add From VODs
- Let's discuss both options and you can use any of these options based on your convenience.
Add URL Directly
If you have the VoD URL handy or are adding external VoDs, you can use this option.
Get the VoD URL
-
The sample path of a VoD file uploaded to the Ant Media Server VoD section is like
http(s)://ams-server-url:5080(5443)/LiveApp/streams/vod_id.mp4 -
To get the VOD URL, click on the hamburger icon, which is located on the right side of the screen, and then click
Copy VoD URL
- Now we have the VoDs accessible through the links below.
https://AMS_URL:5443/LiveApp/streams/044283659243035008593467.mp4
https://AMS_URL:5443/LiveApp/streams/127700726123231884567831.mp4
-
Add all the playlist items and then click
Create. -
The
stream Idfield is not mandatory but you can put your streamId.
-
The playlist is created and it is offline by default.
-
Click on the
Start Broadcastto start streaming of the playlist.
- Congratulations! The playlist is successfully created and running.
Add From VODs
This option is more useful if all the VoD files you want to stream are on your Ant Media Server itself under the VoD section.
- You can search for the uploaded VoD items with their name or VOD Id and click on the
Addoption.
- After you have added all the VoD files, click Create.
- The playlist is created and it is offline by default.
-
Playlist length shows the overall duration of the playlist with the added items.
-
You can edit the playlist and the items as needed.
- Click on the
Start Broadcastto start streaming of the playlist.
- Congratulations! The playlist is successfully created and running.
Scheduling Playlist
Starting from Ant Media server version 2.10.0, you can schedule your playlist to start at any time in advance with the Schedule to Start Automatically option and control the start of your playlist according to your schedule.
- This can be set at both times: When creating the playlist as well as after the playlist is created.
- Click
Schedule to Start Automatically, and choose the date from the calendar.
- Set the exact time when you want the playlist to be started and save.
Please make sure that your server time is in sync with the NTP.
- At the scheduled time, your playlist will start :)
Optimizing Playlist for Better Playback Experience
Now that we have learned how to create a playlist, let's make some configurations to optimize the playlist for a better playback experience.
- Go to the
Settingssection of the application and scroll down.
- Uncheck the
Delete HLS files after the stream is finishedas this setting will preserve the HLS files after the stream has ended.

-
Scroll to the bottom and Click the
Savebutton to save the changes. -
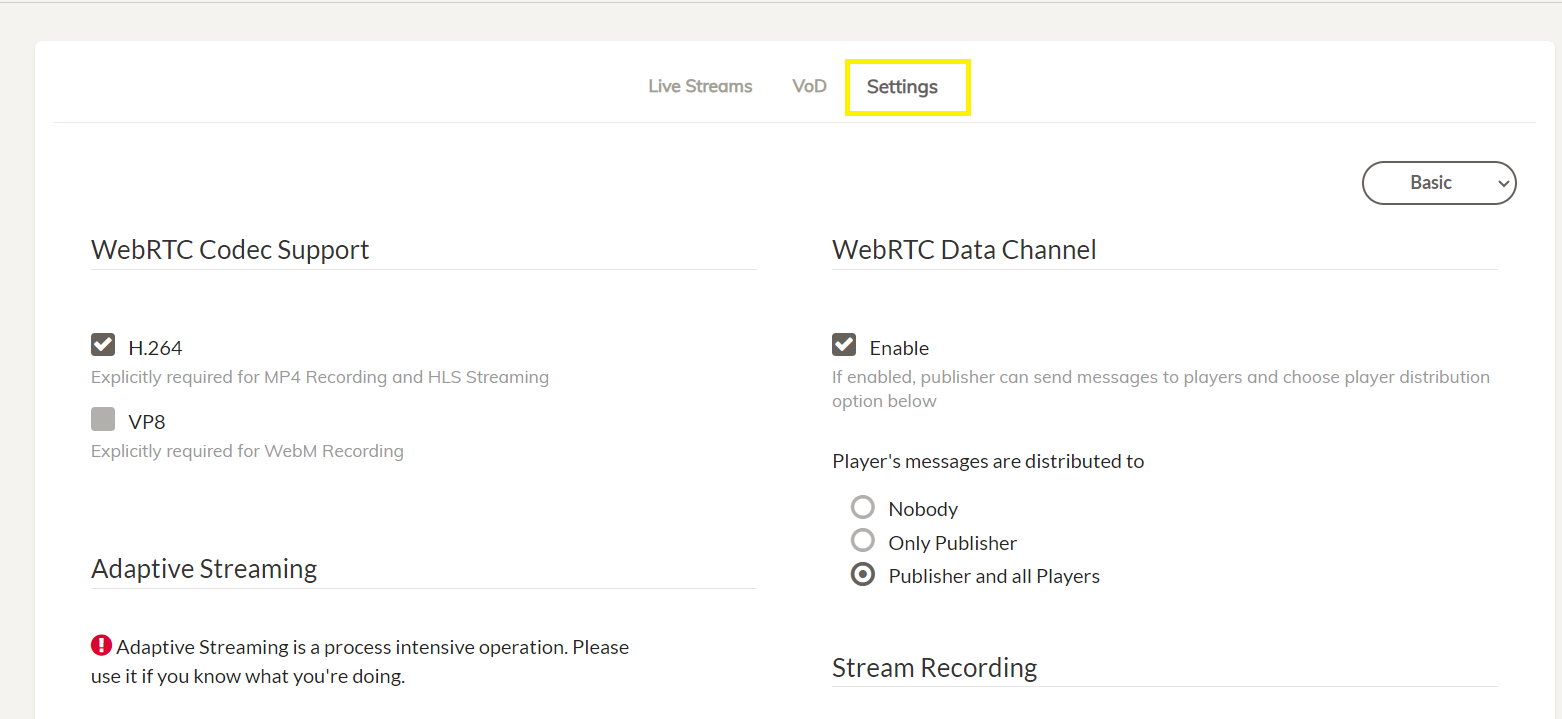
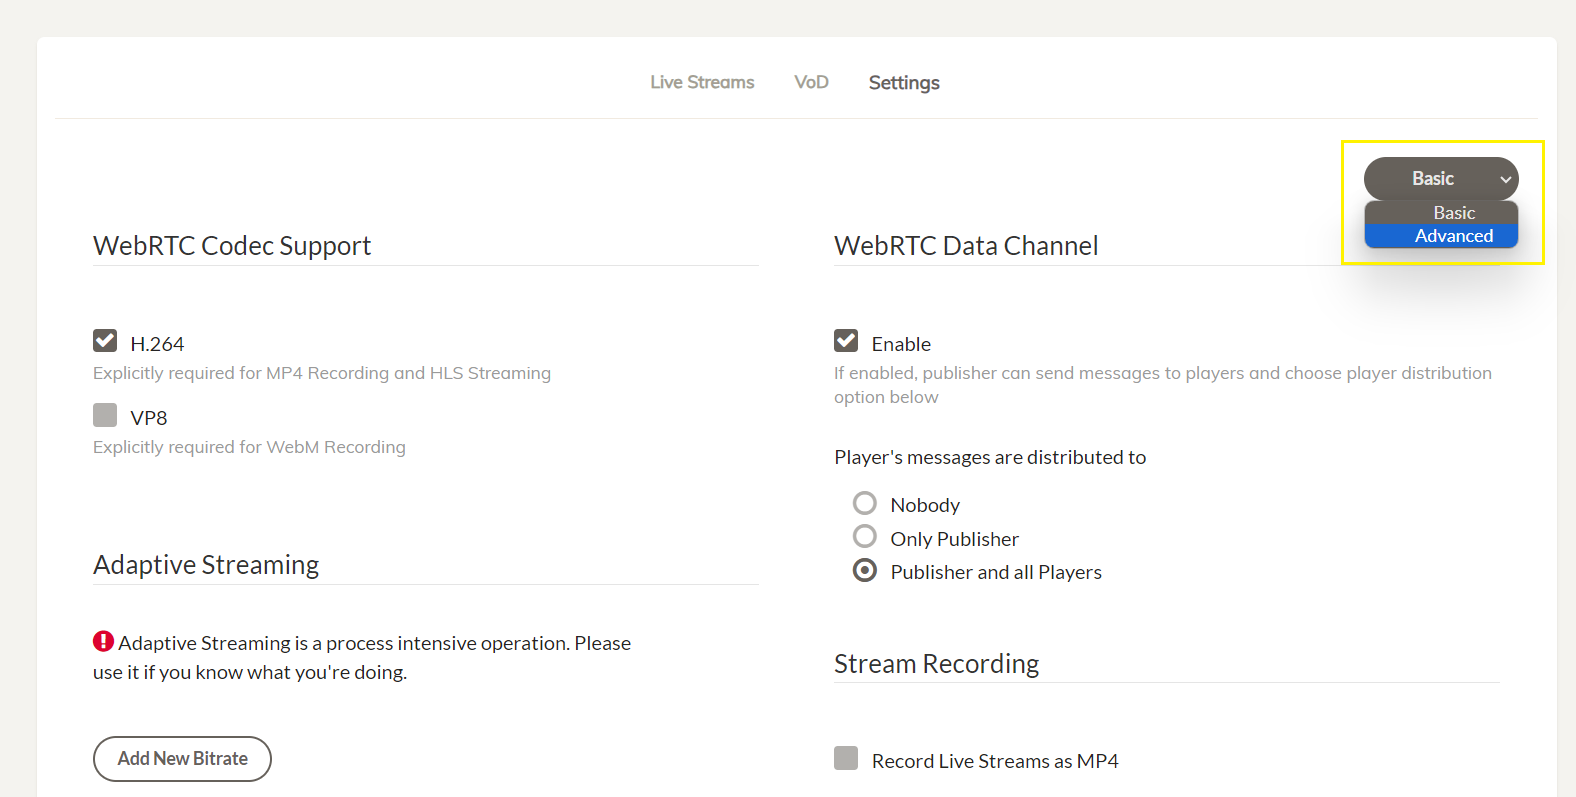
Scroll to the top and choose the settings mode from
BasictoAdvanced
- Find
hls flagsand change its value todelete_segments+append_list+omit_endlist
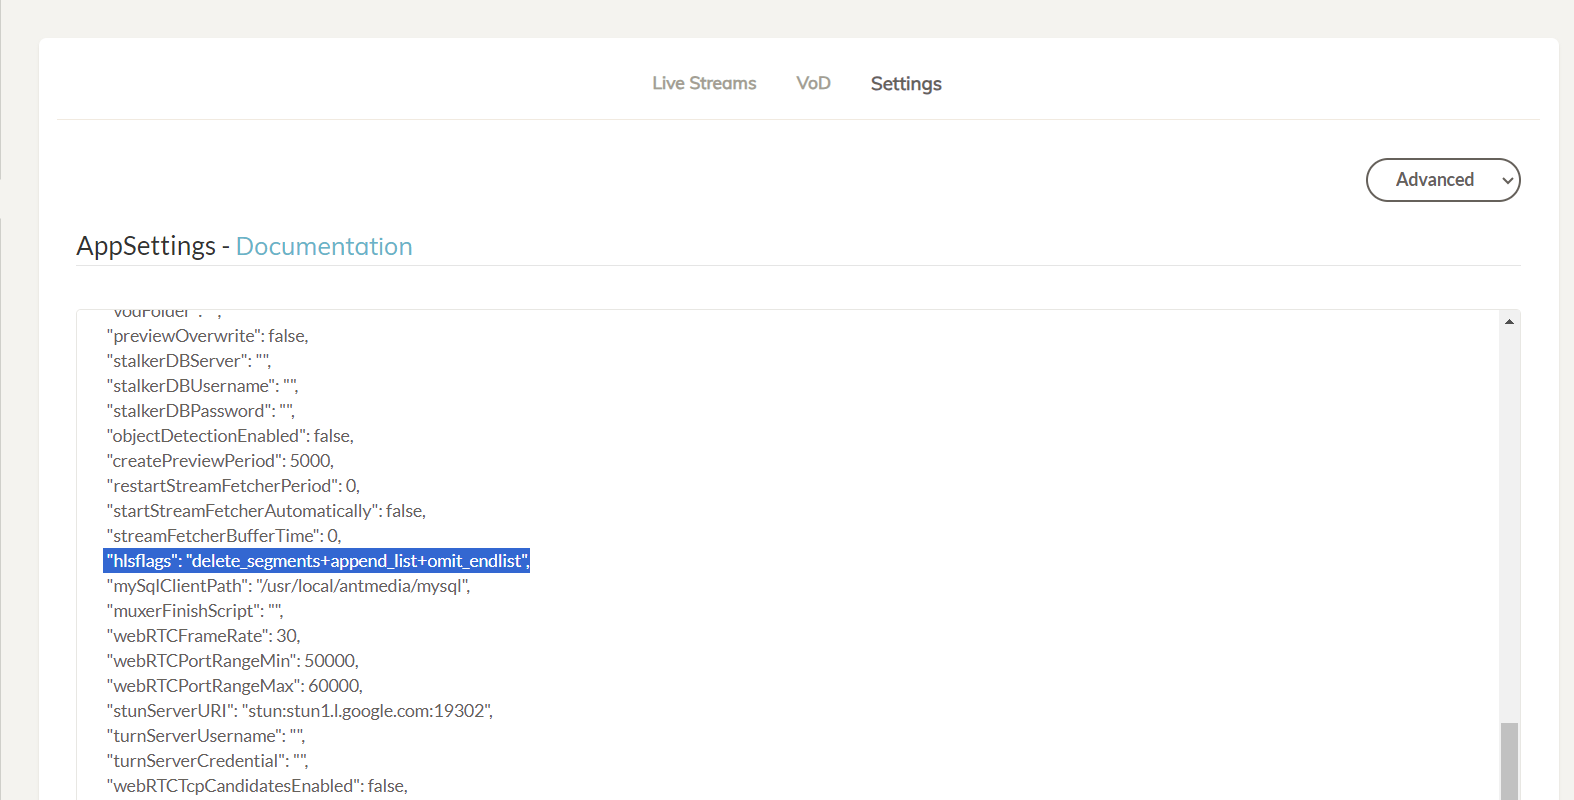
- Save the changes and start/restart the playlist to apply the changes.
BOOM! You're a Playlist Pro! 🎉
Congratulations! You've successfully created and streamed a playlist in Ant Media Server. Whether it's for continuous content delivery, event broadcasting, or creating a dynamic viewing experience, your playlist is now live and ready to engage your audience.
Your content is now seamlessly delivered, keeping your viewers entertained and engaged. Well done — your playlist is live and ready to shine!