Installing Ant Media Server on Azure AKS
In this document, you will see step-by-step instructions on how to run Ant Media Server Enterprise version on Azure Kubernetes Service (AKS).
You need to have the Azure CLI software and the Kubernetes command line tool installed on your computer.
Step 1: Create a Kubernetes Cluster
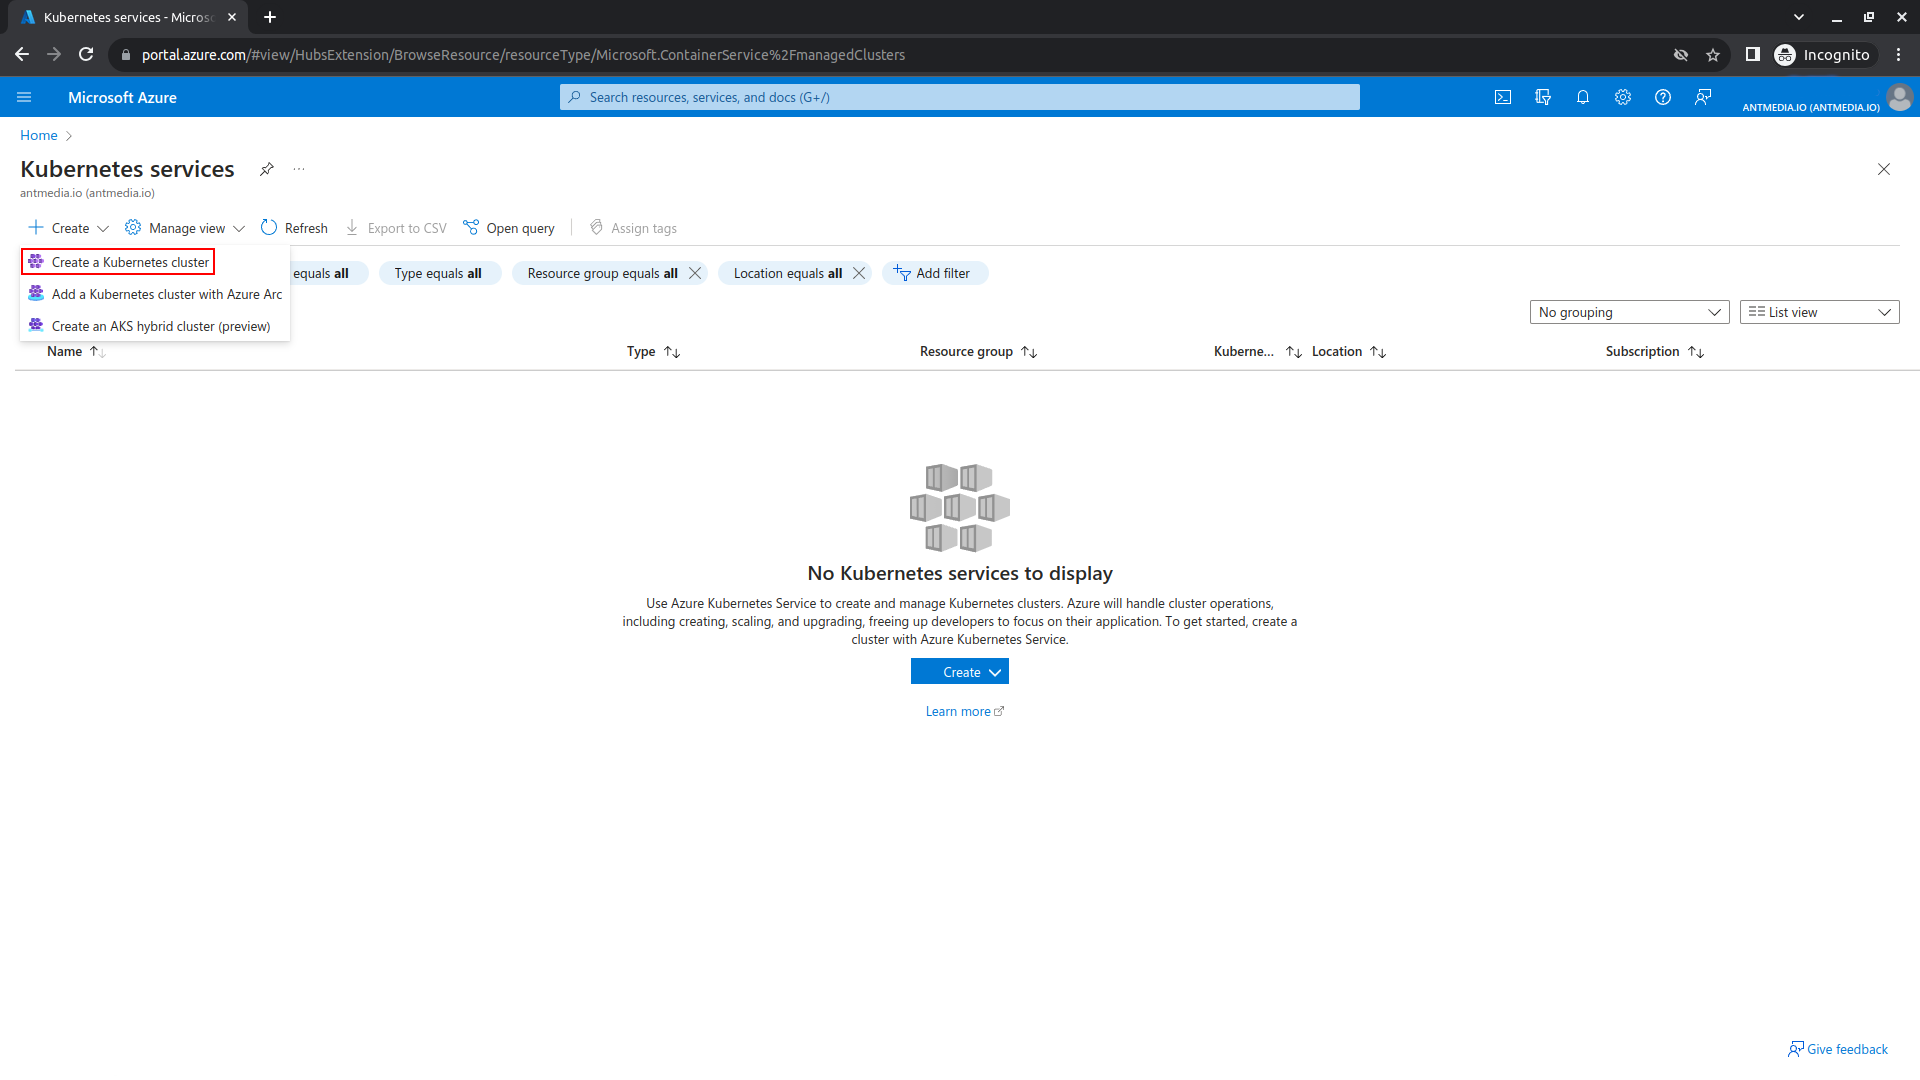
After logging in to the Azure Portal, open the Kubernetes service and click on the Create > Create a Kubernetes cluster button.
After creating the Resource Group and configuring settings such as Region and Kubernetes cluster name, navigate to the Next: Node pools tab.

Step 2: Configure Node Pools
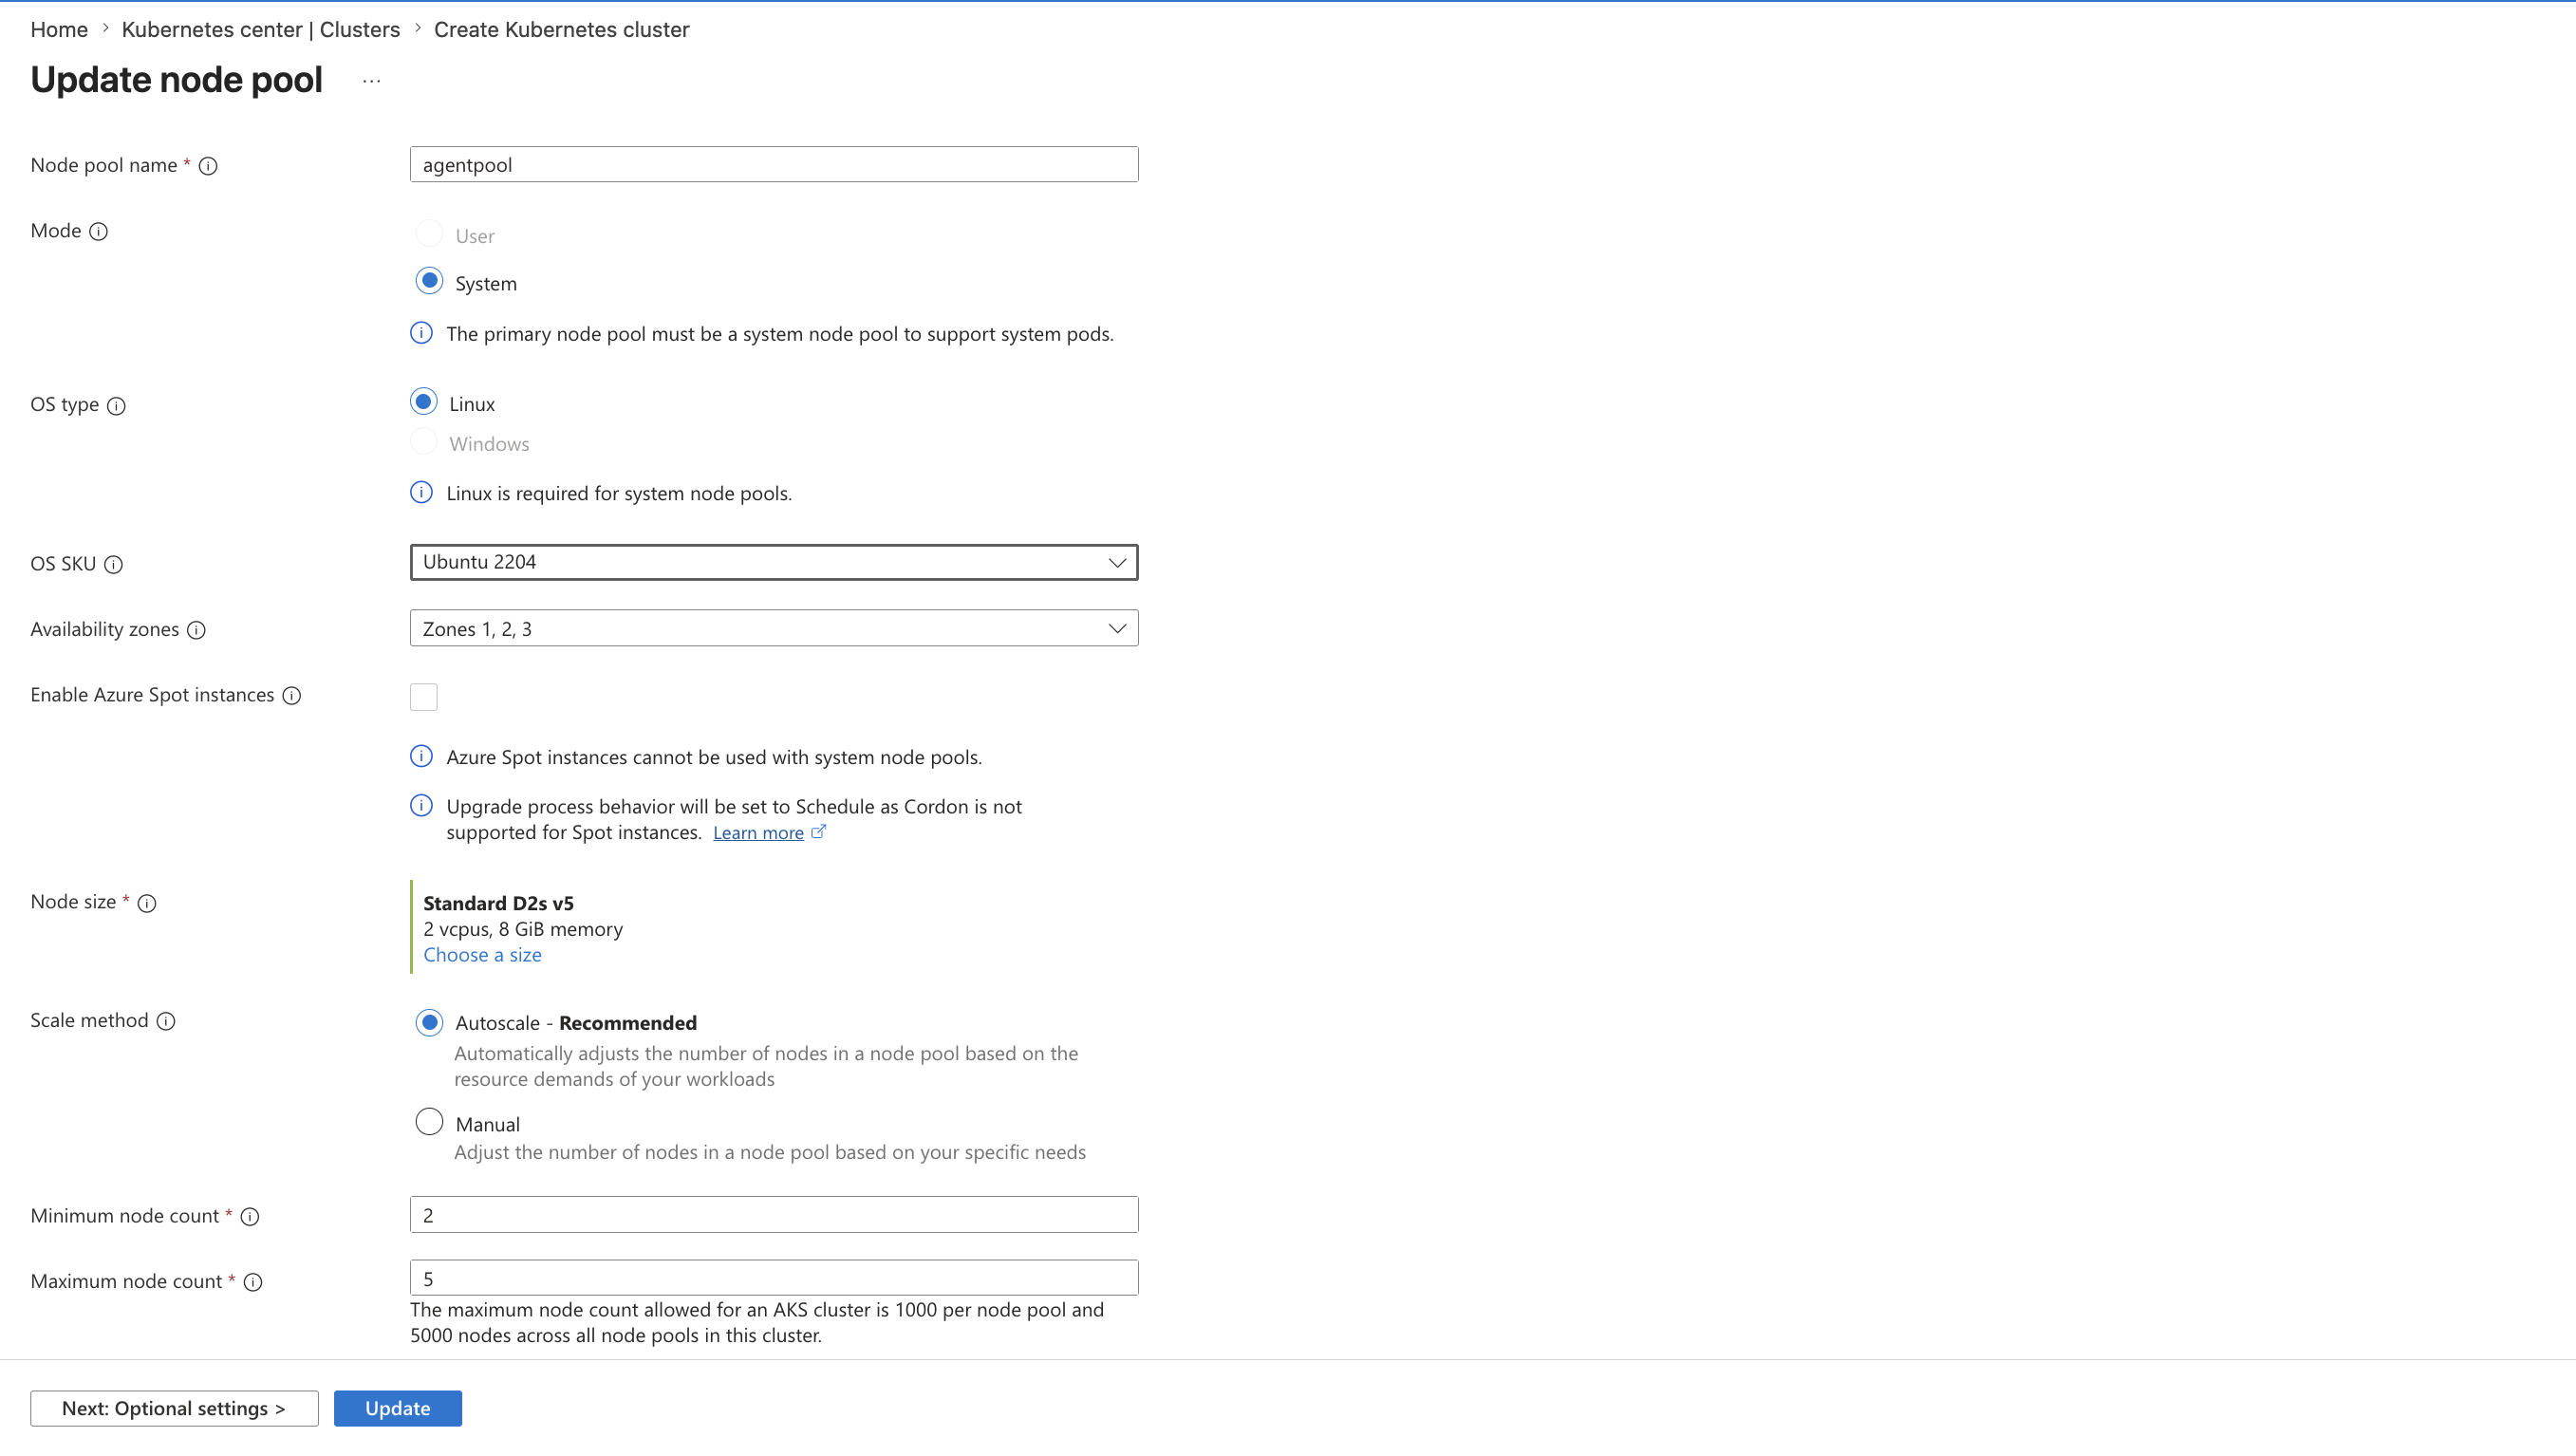
In the Node pools tab, enter the node pool (default agent pool) and make the desired changes according to your preferences.
Now go to optional settings and Enable public IP per node option and update the node pool.
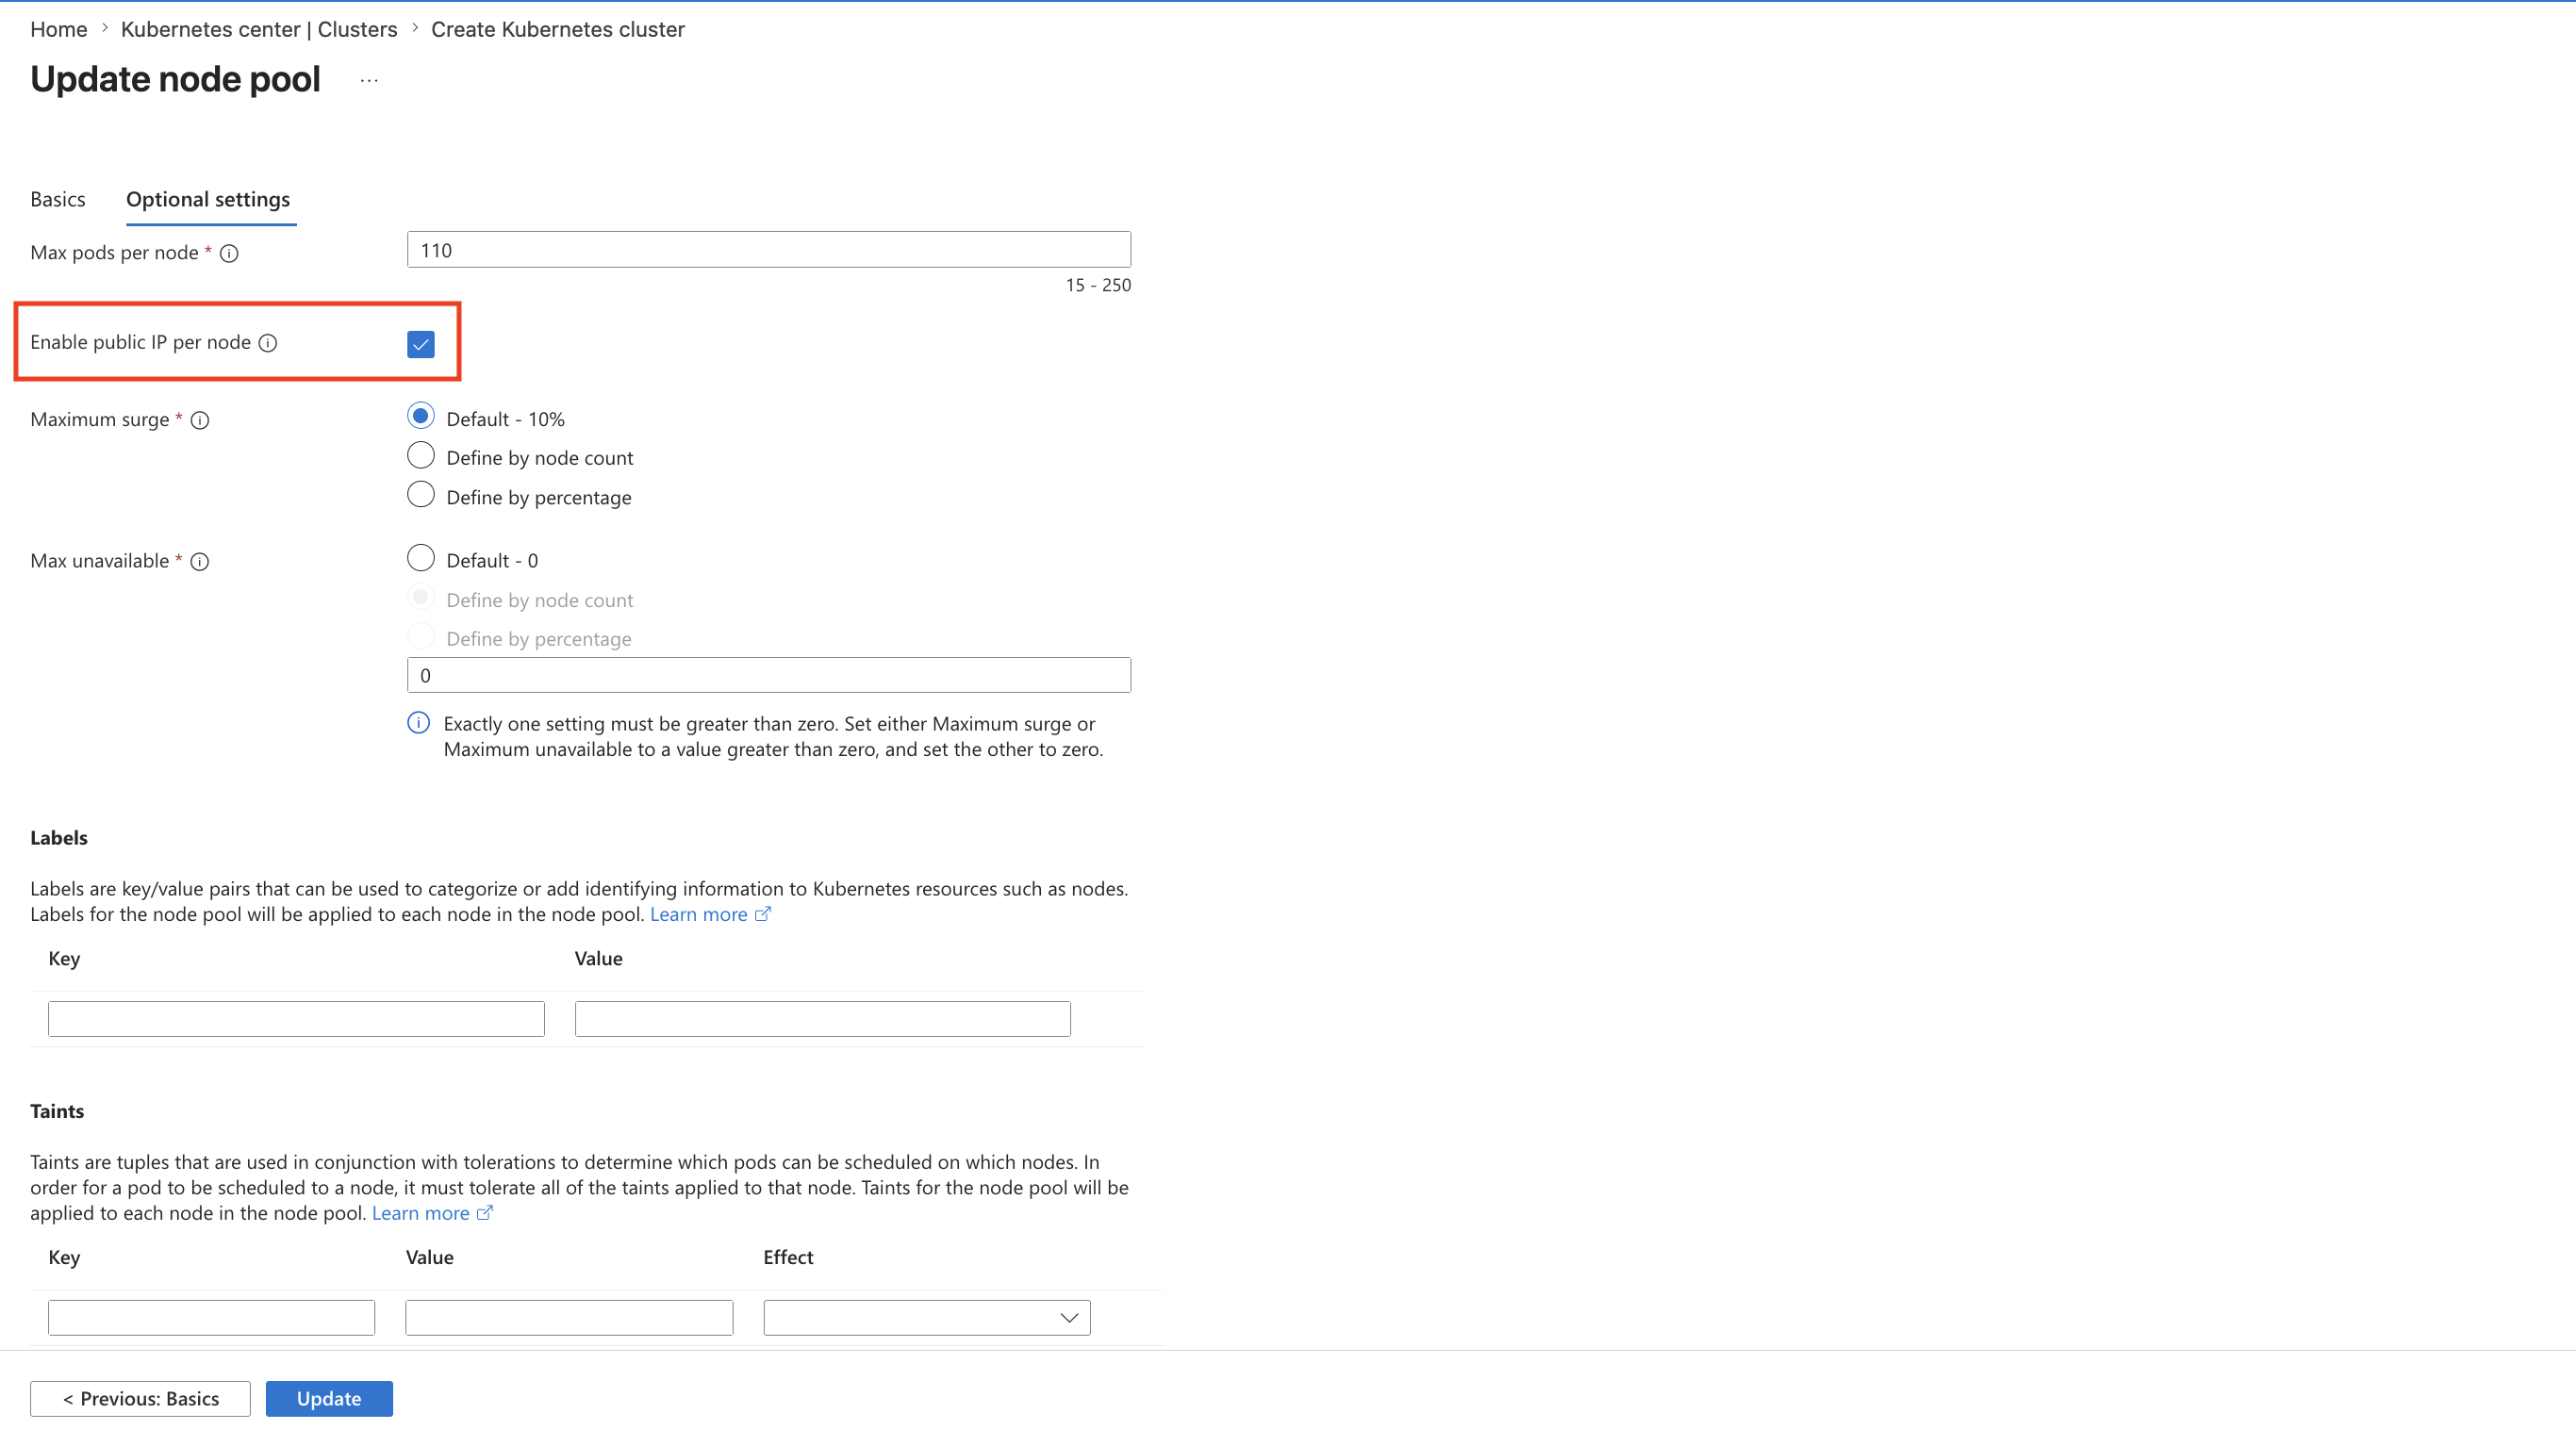
- The public IP per node is needed if you want to establish the WebRTC publish/play connection directly.
- If running over a private IP, the WebRTC protocol won't work without a turn server due to port issues and NAT restrictions. But the HLS, DASH, and other protocols will still work without a public as well via LB or Gateway.
- For TURN server installation, check here. It is required to make the WebRTC work.
Step 3: Review and Create Cluster
Navigate to the Review + create tab and click Create to complete the setup (other settings are optional).
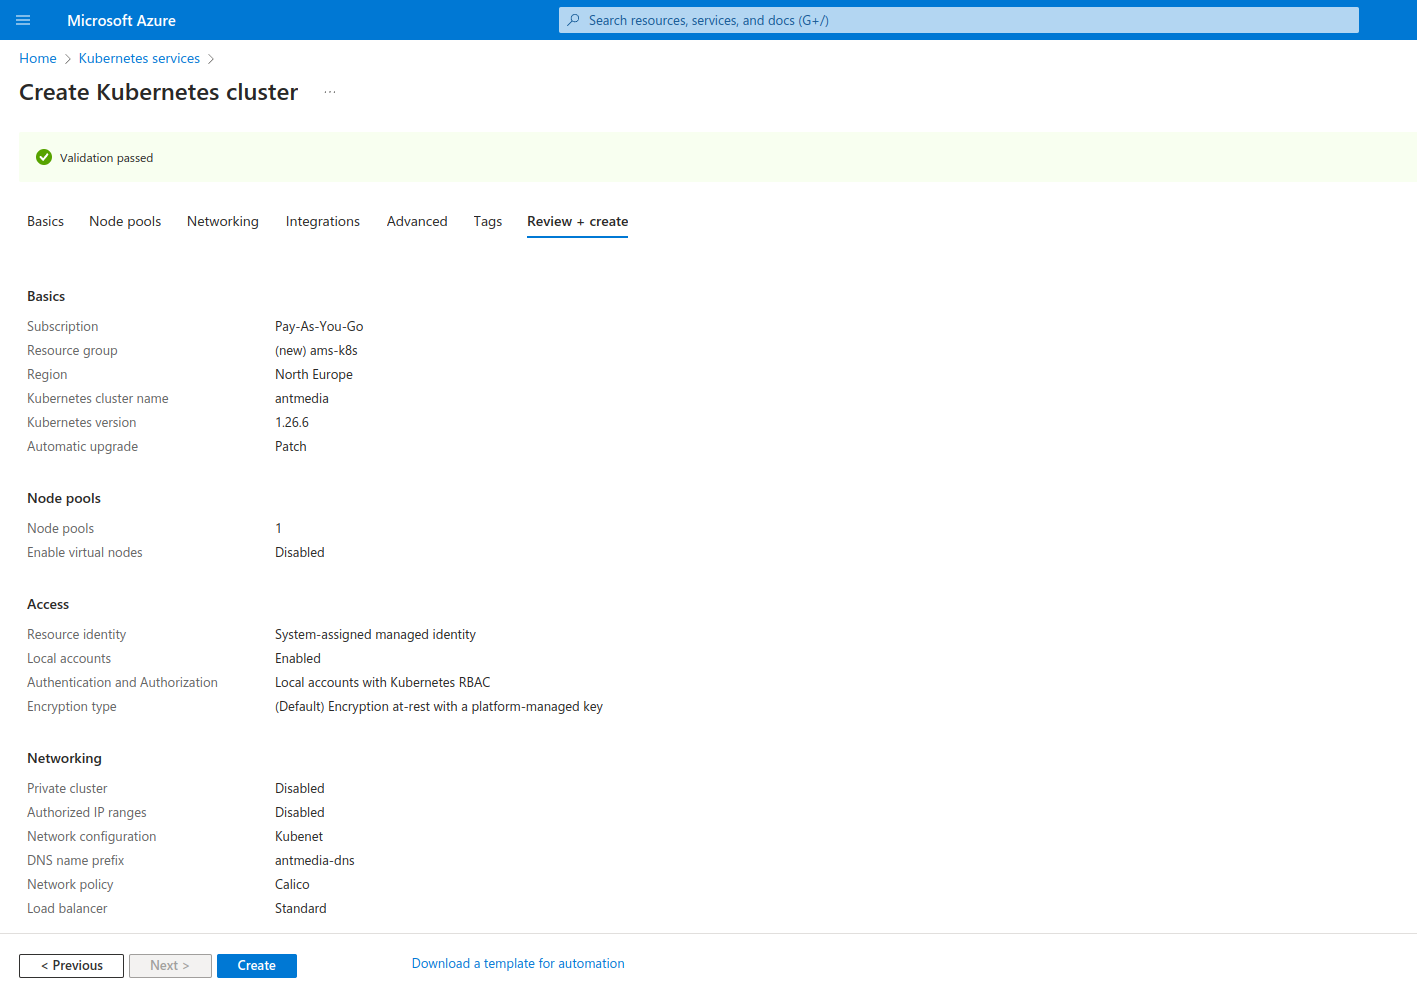
Step 4: Connect to Cluster
When the installation is complete, you will see a screen like the one below. And then click on the Connect to cluster button.
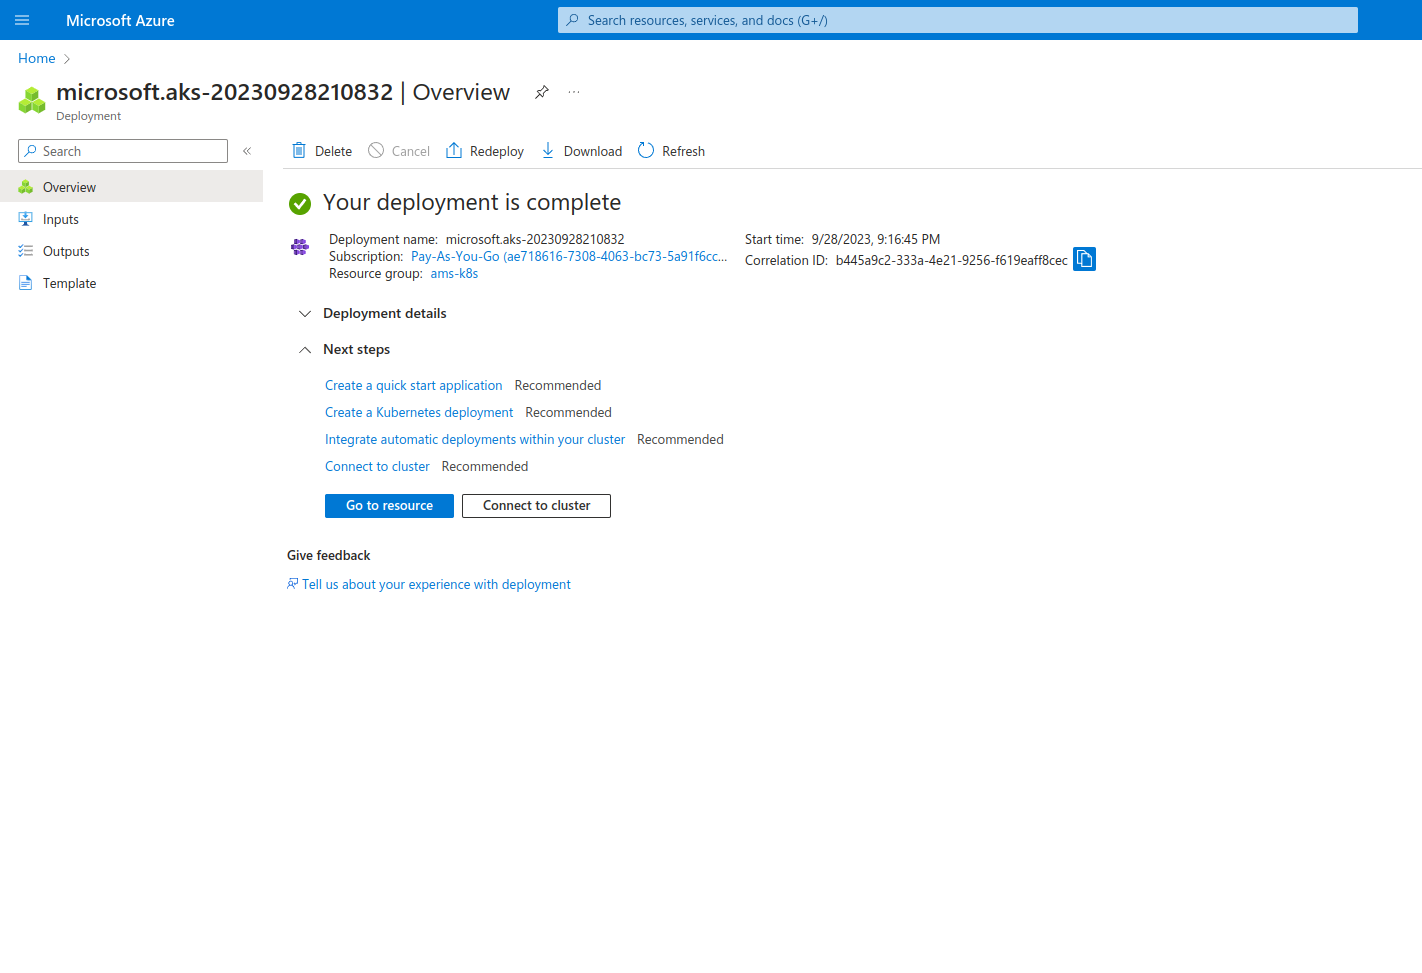
There are a number of ways to connect to the cluster, like using the Cloud Shell, Azure CLI, or Run command. So, let's discuss a couple of them.
Using Cloud Shell
Open Cloud Shell and run the below commands to connect to the cluster directly from the web.
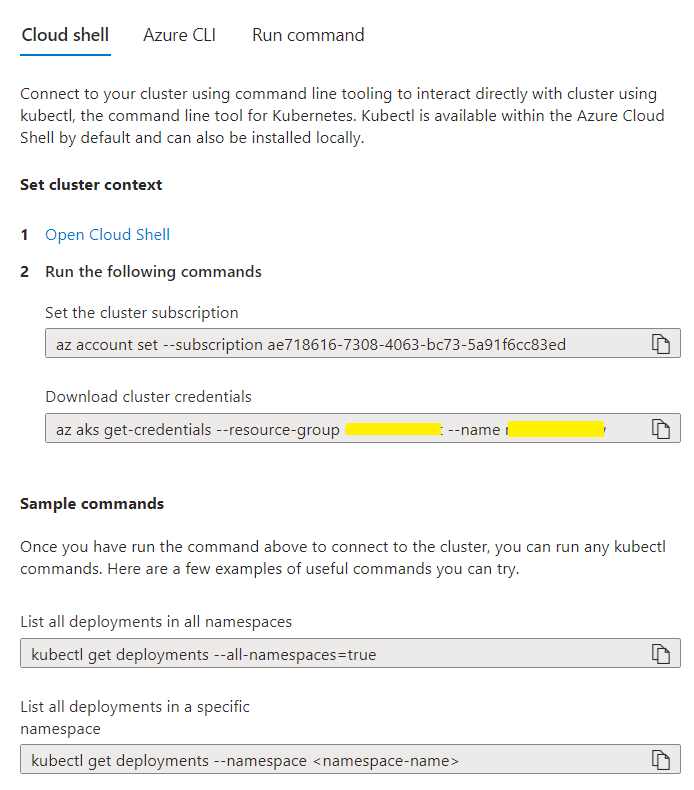
az account set --subscription your-subscription
az aks get-credentials --resource-group your-resource-group --name your-cluster-name
Using Azure CLI
To use Azure CLI on your computer, please make sure the prerequisites Azure CLI and Kubectl are installed on your computer.
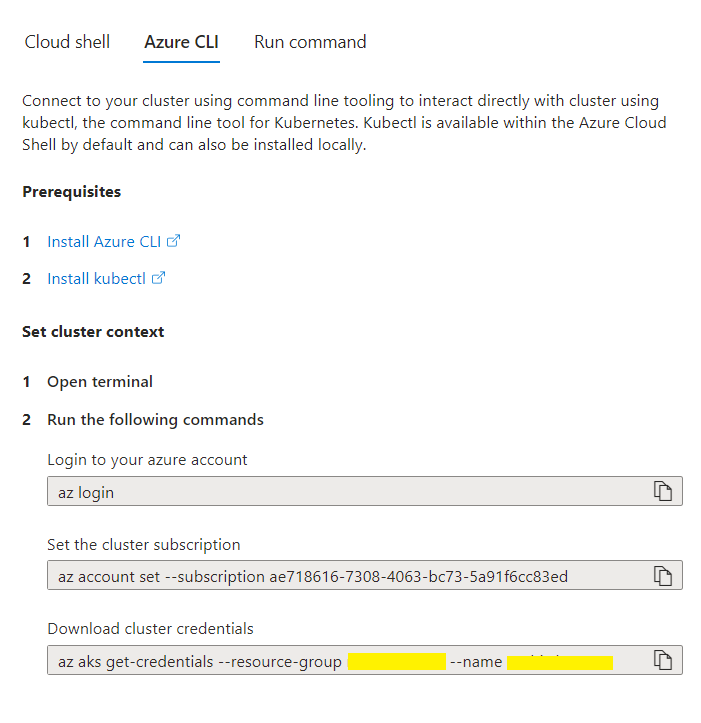
Run the below commands to connect to the cluster from your computer.
az login
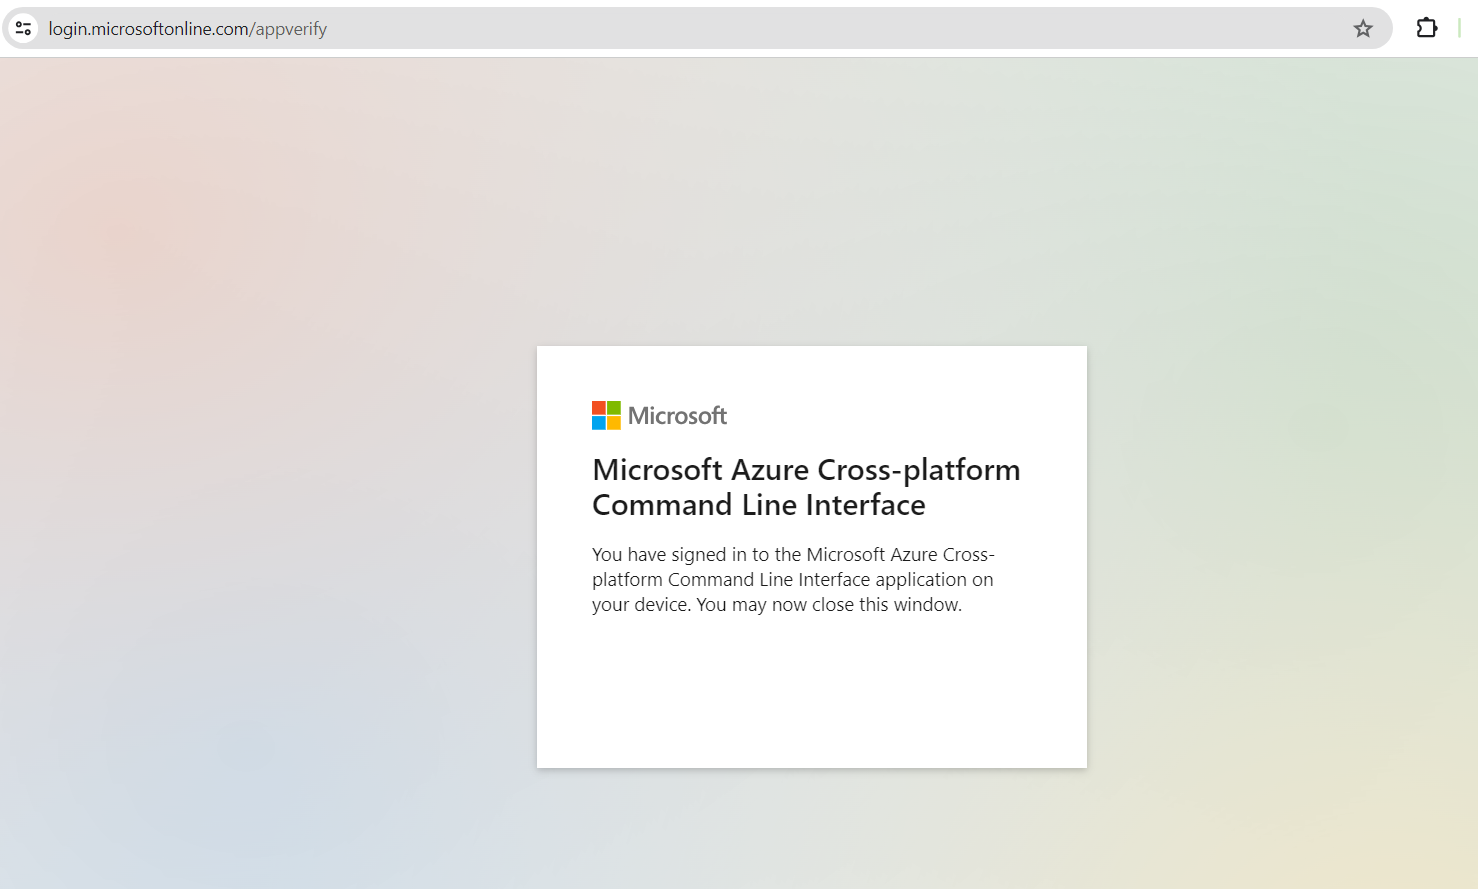
After you run the above command, you will see a prompt message like "To sign in, use a web browser to open the page https://microsoft.com/devicelogin and enter the code XXXXXXXXX to authenticate.
- Follow the instructions, authenticate the code, and
Azure CLIwill open in the terminal.
az account set --subscription your-subscription
az aks get-credentials --resource-group your-resource-group --name your-cluster-name
Step 5: Install Ant Media Server via Helm
After successfully accessing the cluster, let's add and update the Ant Media Helm repository as follows.
helm repo add antmedia https://ant-media.github.io/helm
helm repo update
And start the installation as follows:
Don't forget to change your licenseKey, origin and edge values.
helm install antmedia antmedia/antmedia --set origin=origin.antmedia.cloud --set edge=edge.antmedia.cloud  --set licenseKey="your-key" --set UseGlobalIP=false
--namespace antmedia --create-namespace
Step 6: Configure Ingress Controller
There are two alternatives for an ingress controller:
- Nginx Ingress Controller.
- Azure Application Gateway
-
Nginx Ingress Controller:
For the Nginx Ingress Controller, you will only need to run the following command.
kubectl annotate service antmedia-ingress-nginx-controller service.beta.kubernetes.io/azure-load-balancer-health-probe-request-path=/healthz -n antmedia -
Azure Application Gateway:
For Application Gateway, go to Networking > Virtual Network Integration > Enable ingress controller from your cluster, and then create the application gateway.
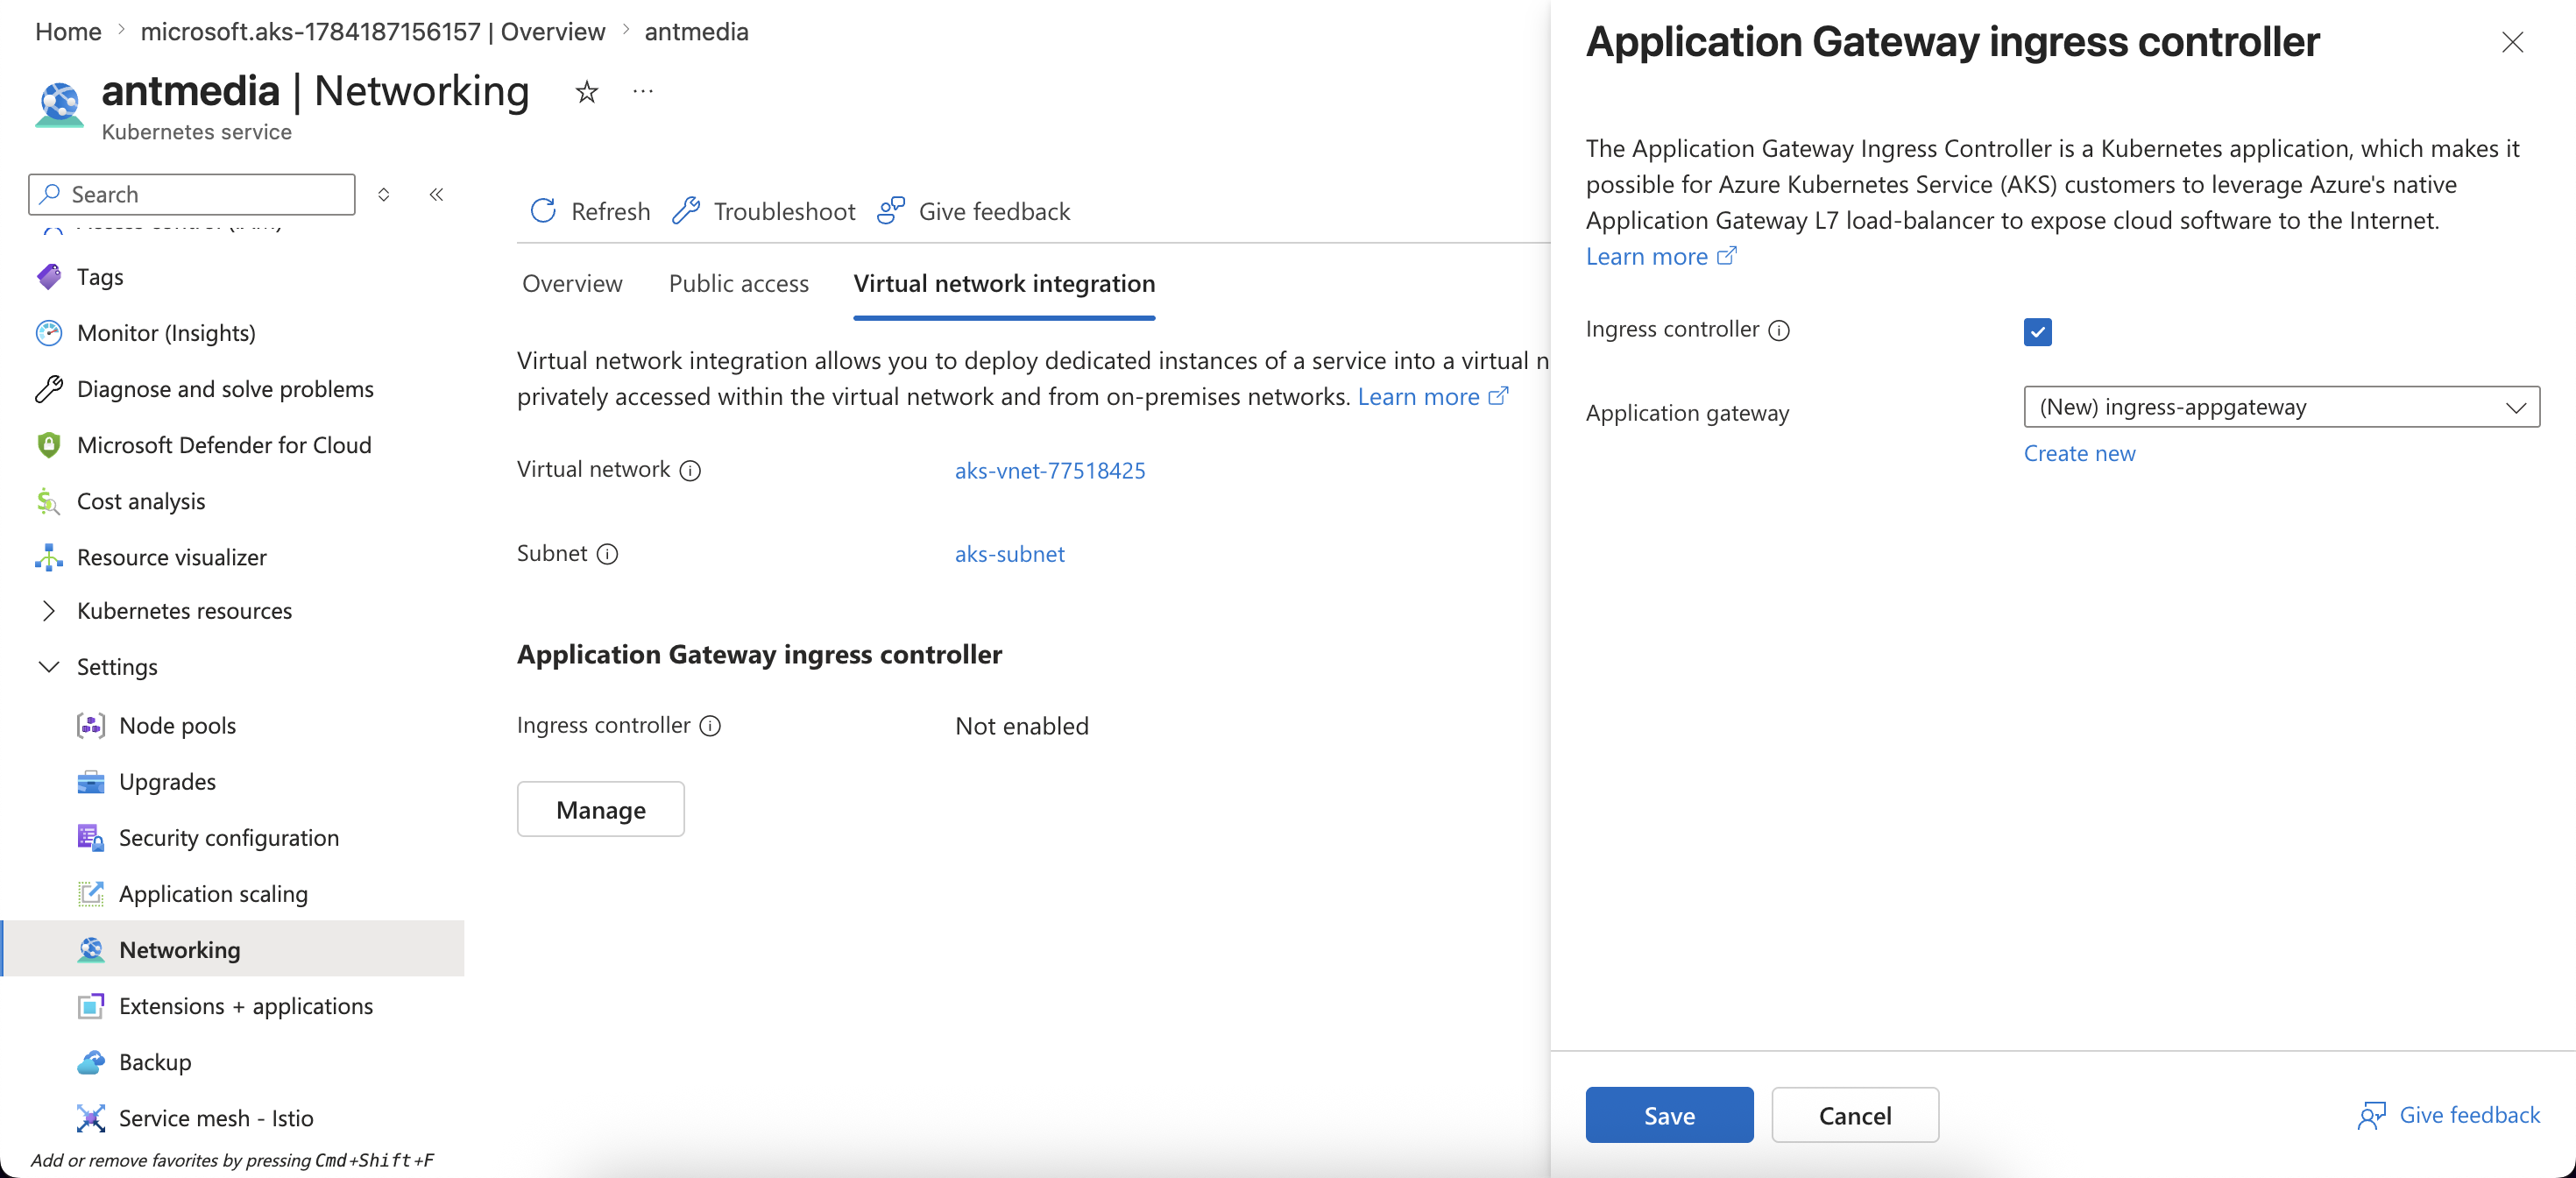
Then run the following command to enable Application Gateway Ingress.
kubectl annotate ingress -n antmedia kubernetes.io/ingress.class=azure/application-gateway --overwrite --allIf you are using Application Gateway as ingress, you should make changes to the deployment files as follows.
kubectl edit deployment ant-media-server-origin -n antmediaAdd the following lines under
imagevariable:image: antmedia/enterprise:x.x.ximagePullPolicy: IfNotPresentlifecycle:postStart:exec:command:- /bin/sh- -c- sed -i '/org.apache.catalina.valves.RemoteIpValve/d' /usr/local/antmedia/conf/jee-container.xmlThese changes must be made on both the origin and edge deployment sides.
Step 7: Verify IP assignment
If the installation and configuration were successful, the public IP address/domain name will be output when running the command kubectl get ingress -n antmedia. After making the DNS registration, you will be able to access Ant Media Server using the hostname that's been configured.

Execute the kubectl get svc -n antmedia command to fetch the RTMP address from the EXTERNAL-IP column to start live streaming using RTMP on port 1935.

Step 8: Enable SSL
We will discuss how to enable SSL for both cases, using Nginx Ingress Controller or using Azure Application Gateway.
Nginx Ingress Controller
After creating the DNS records for both Origin and Edge, get the ams-k8s-ssl.sh script and run it to enable SSL.
wget https://raw.githubusercontent.com/ant-media/helm/add_helm_repo/ams-k8s-ssl.sh
bash ams-k8s-ssl.sh
Azure Application Gateway
Enabling SSL for Azure Application Gateway is complicated as compared to Nginx Ingress.
If you want to use Azure Application gateway, please follow this guide to Enable SSL for Azure Application Gateway
Step 9: Access AMS Cluster
If everything was set up correctly, origin.yourdomain.com or edge.yourdomain.com will display the Ant Media Server Create Account Page:
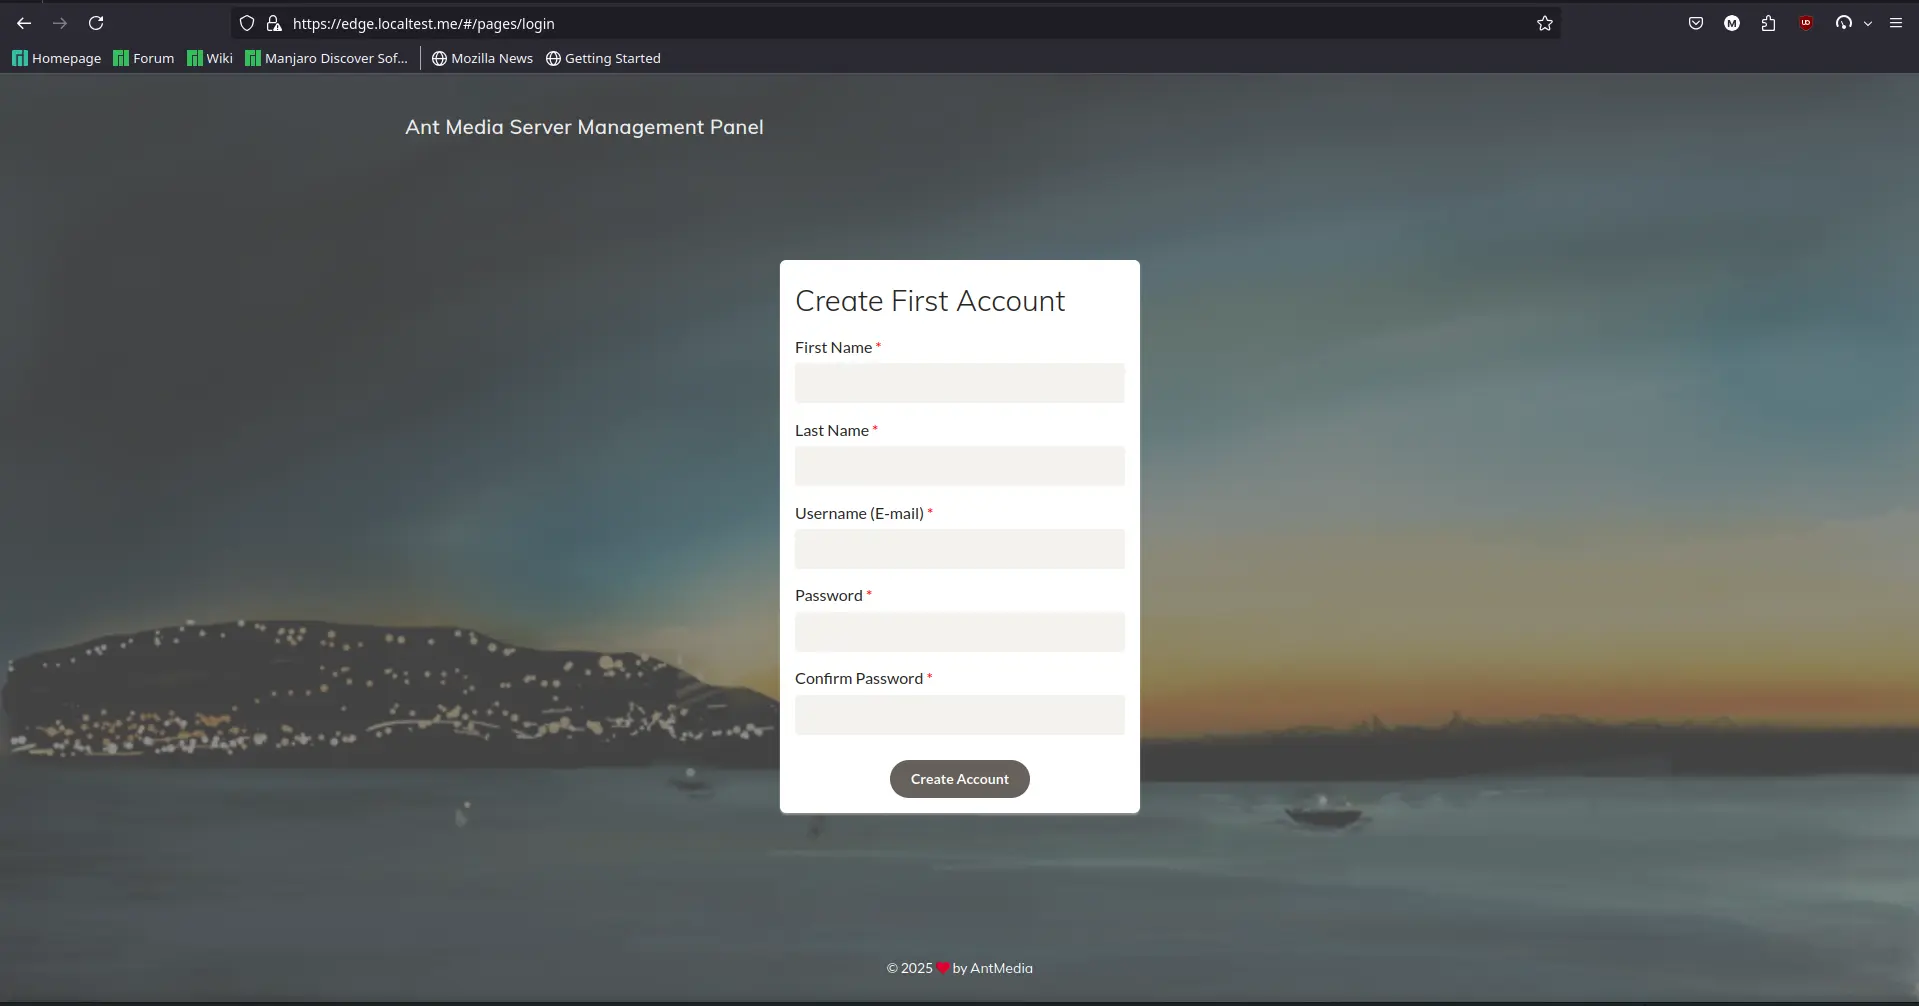
Congratulations! You've successfully deployed Ant Media Server on AKS. Let's get ready to publish and play!
🎉 Azure AKS — Your Streaming Empire Awaits! 🚀
Congratulations! Your Ant Media Server cluster is now live on Azure Kubernetes Service, featuring Origin and Edge deployments, a MongoDB backend, and an Application Gateway to route traffic. With resources scaling automatically, your streaming infrastructure is ready to handle high loads with resilience and flexibility.
Sit back, relax, and let the streams roll — your viewers are in for a smooth ride! 🎬🚀